
10+ How to Install Bathroom Vanity
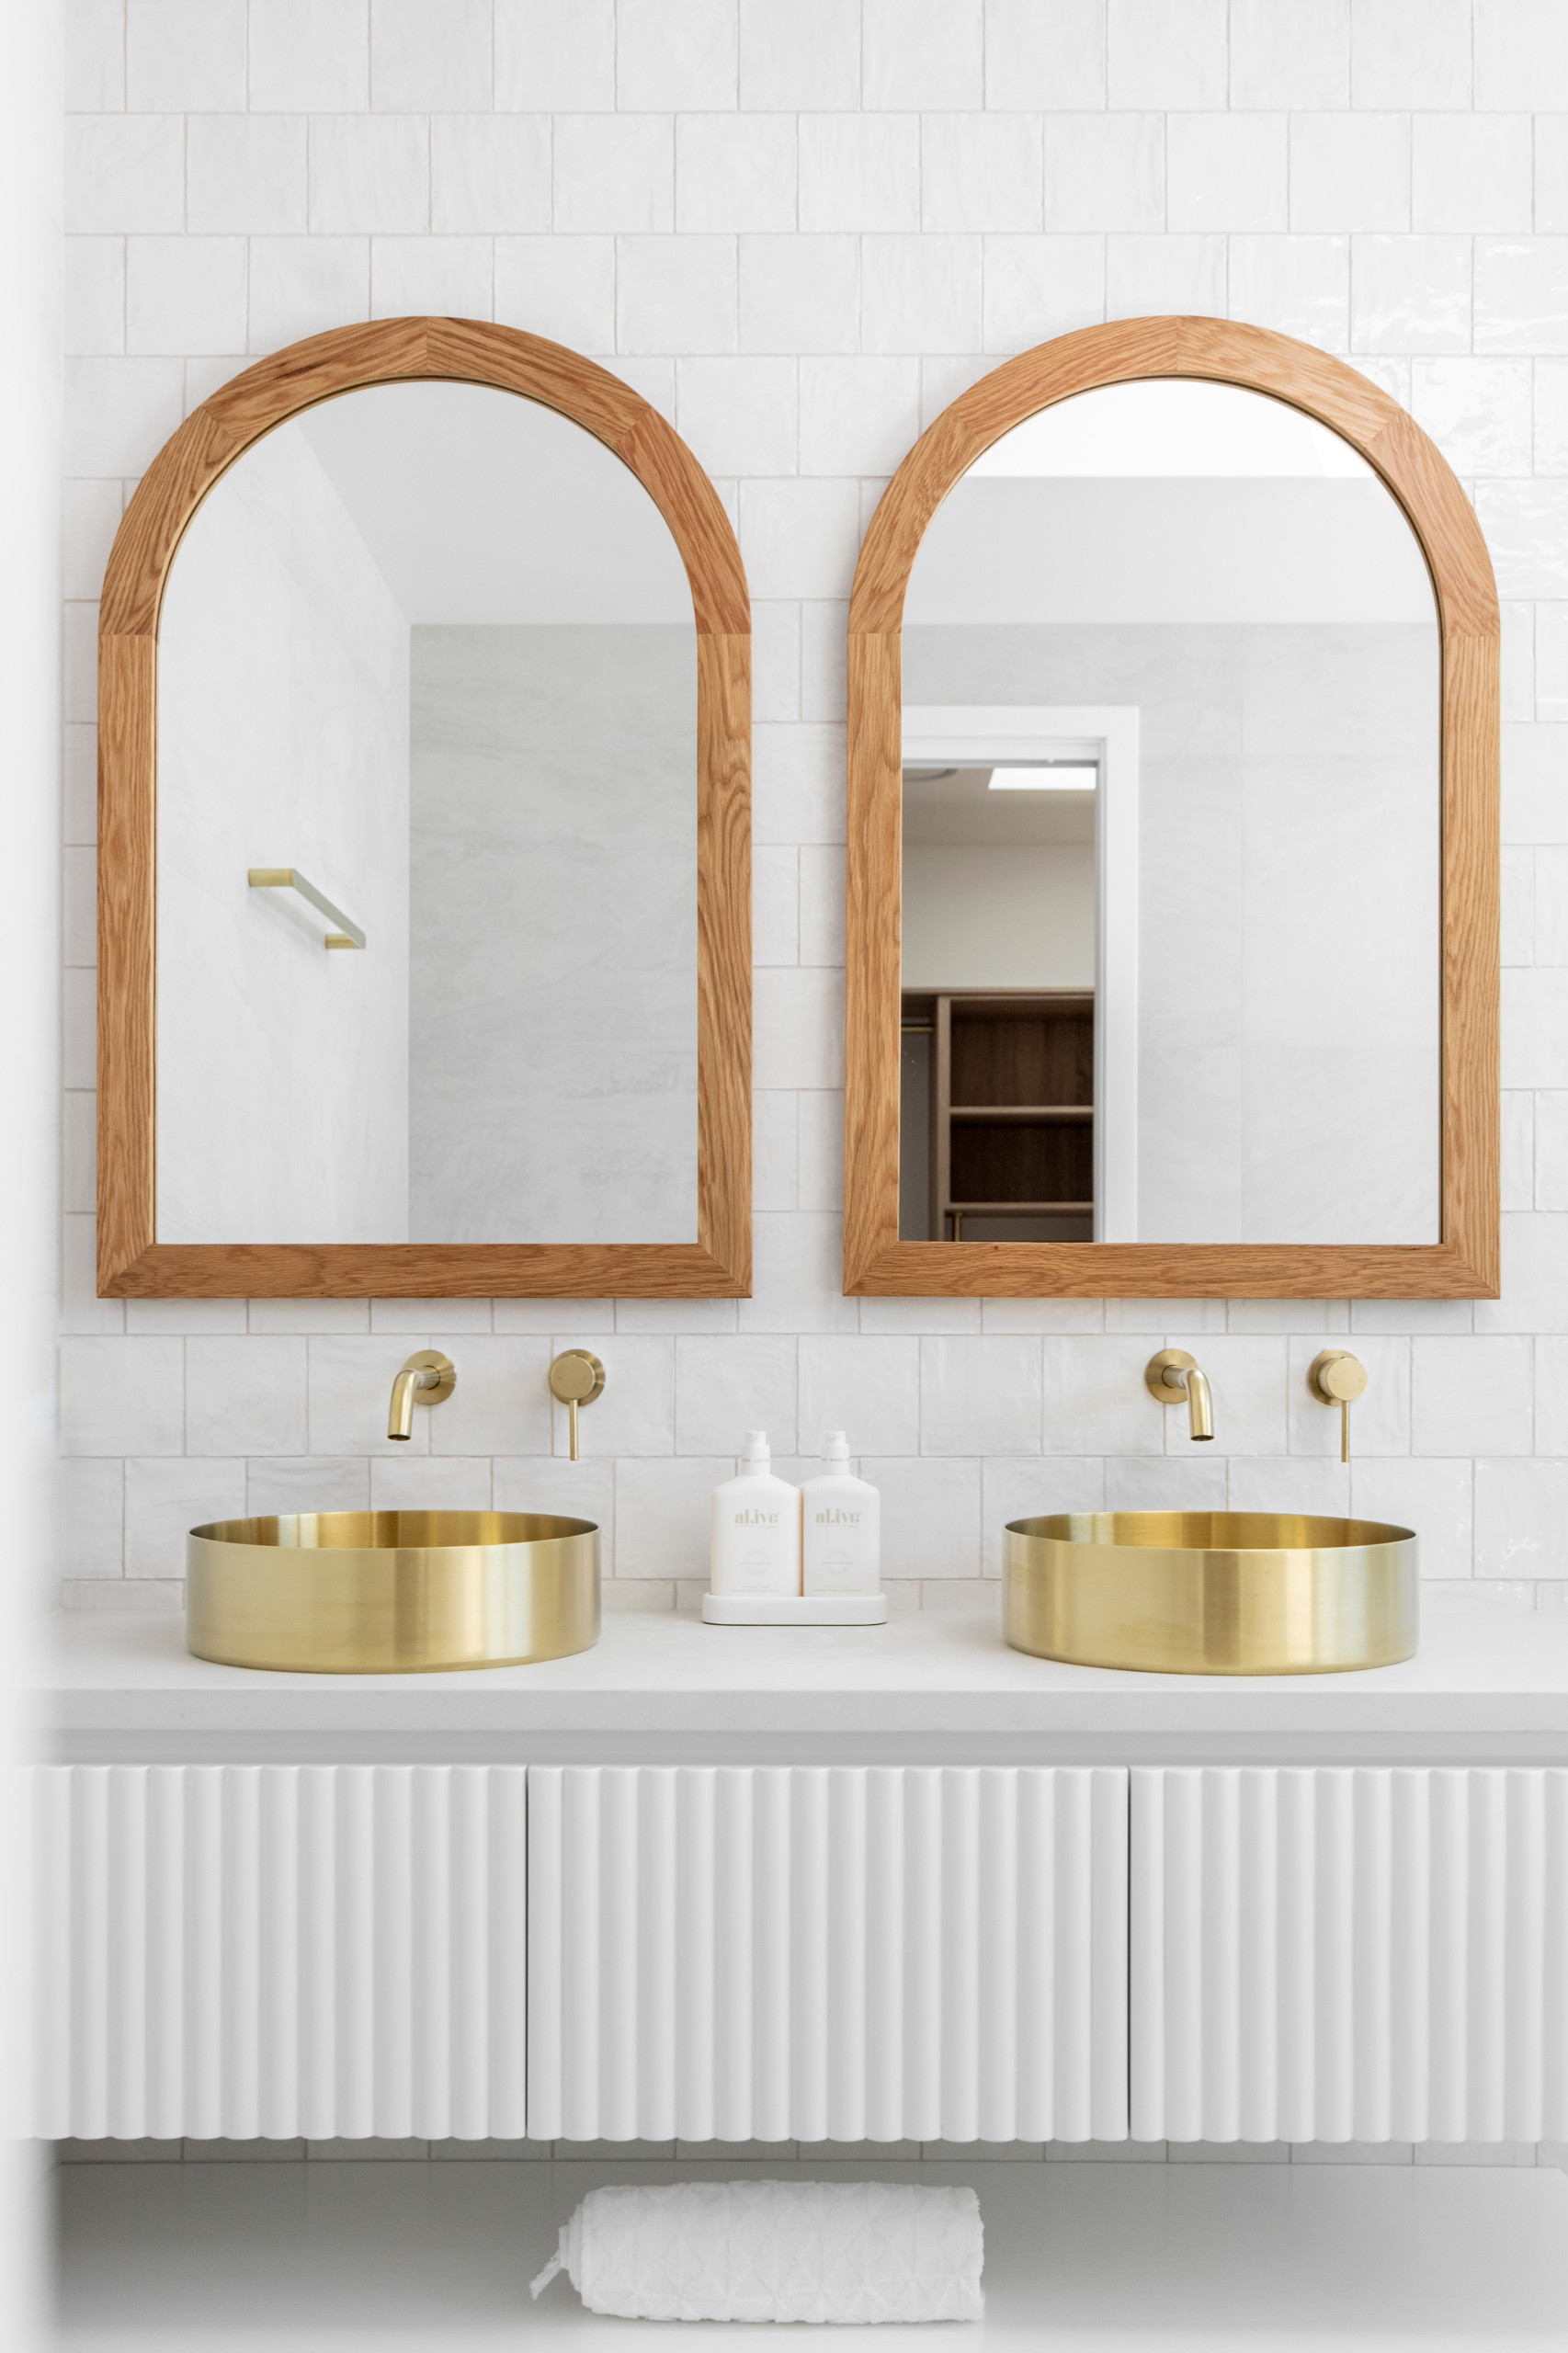
ID# 150901 | Houzz.com – Credit | © Habitat Studio Architects
Beach Style Bathroom Vanity with Stylish White Cabinets
Featuring a white floating vanity and gold double sinks, this beach-themed bathroom. Gold wall faucets provide a touch of opulence and wood-framed mirrors with an arched top complete the seaside aesthetic. The room seems light and open thanks to the white walls and backsplash made of subway tiles. Its sleek and tranquil overall appearance makes it the ideal getaway for a leisurely day at the beach.
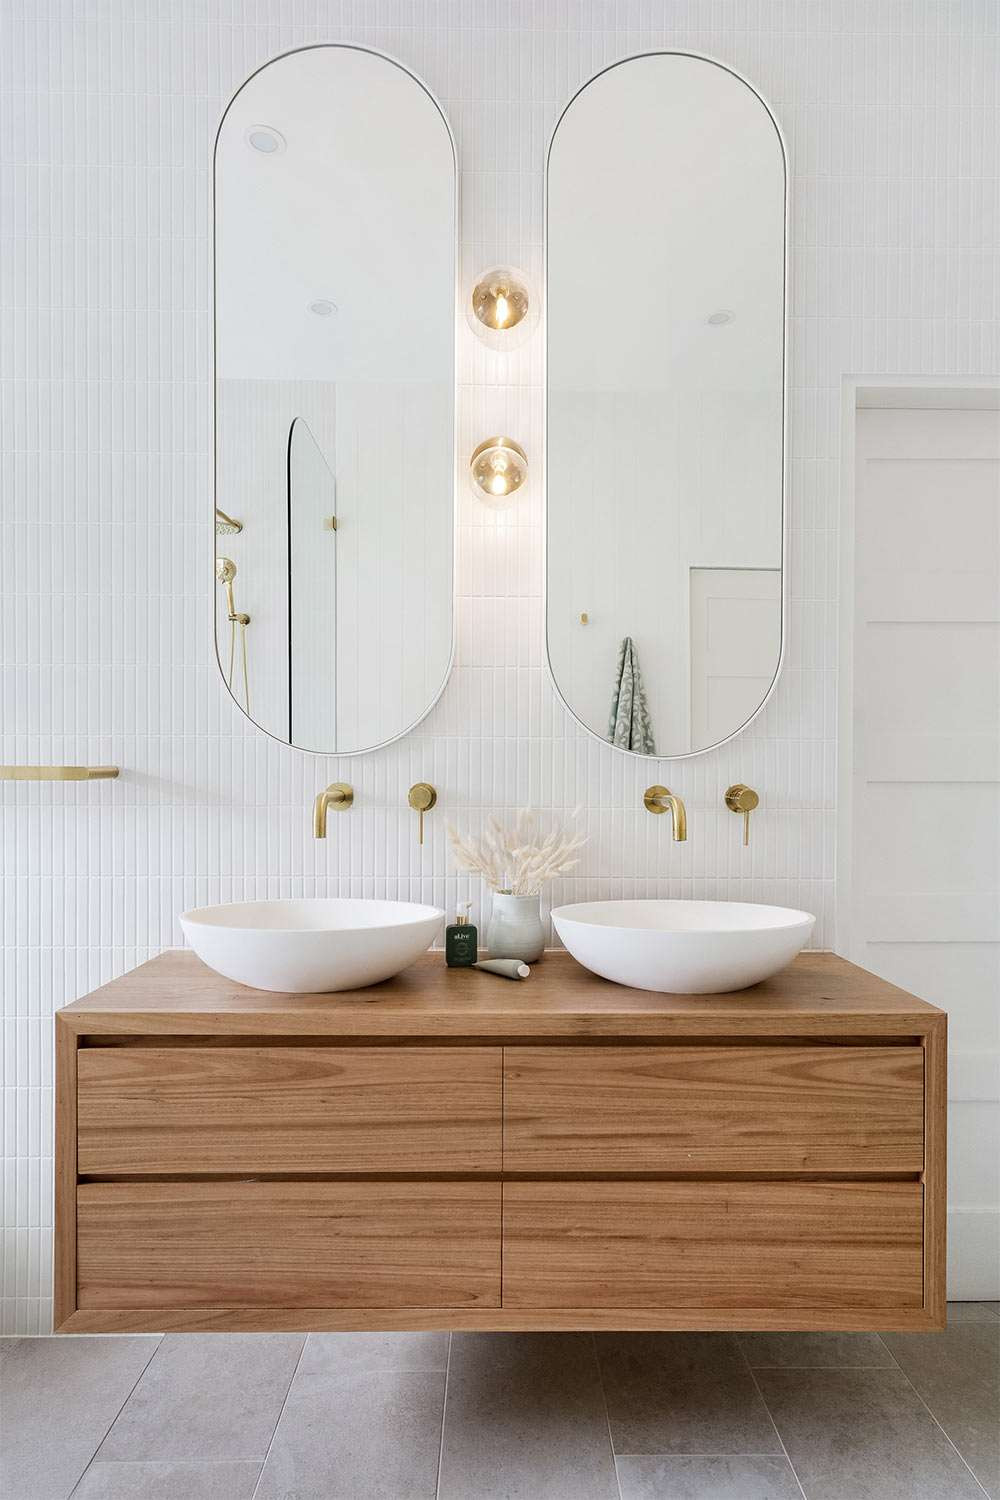
ID# 150906 | Houzz.com – Credit | © Small Bathroom Renovations Perth
Light Wood Floating Bathroom Vanity with Brass Accents
A floating vanity with a flat panel in medium-tone wood, wood worktops, and white double sinks can be seen in this modern bathroom. The area is given a warm and elegant touch by the brass accents. The eye is drawn in and a sense of grandeur is produced by the arching mirrors. The bathroom’s sleek and contemporary appearance is completed by the light gray floor tiles and white matchstick backsplash wall.
How to Install Bathroom Vanity
Bathroom vanities are an essential part of any bathroom, serving as a practical storage solution and a stylish focal point. If you’re looking to renovate your bathroom or simply want to update its look, installing a new vanity is a great place to start. But how to choose the right one and how to install bathroom vanity? With so many options available, it can be overwhelming to choose the perfect vanity for your space. Here are a few ideas to help you get started:
– Consider the size of your bathroom.
Before you start shopping for a new vanity, it’s important to measure your space and consider the size of your bathroom. A vanity that is too large or too small can make the room feel cluttered or cramped. Consider the size of your sink and faucet as well – you’ll want to make sure there is enough space around them to comfortably use the sink.
– Choose a style that fits your taste.
There are countless styles of bathroom vanities to choose from, ranging from traditional to modern. Think about what style fits your taste and the overall aesthetic of your home. If you have a small bathroom, a floating vanity can help create the illusion of more space.
– Decide on a material.
Selecting a material for your bathroom vanity is an important decision, as it will set the tone and feel of your bathroom. Wood has a classic, timeless look that can bring warmth and character. Marble looks luxurious, but is prone to staining and can be pricey. Quartz is durable and low-maintenance but may come with a higher cost.
– Choose the right countertop.
When choosing a countertop, marble, granite and quartz are the most popular selections. If you are looking for more affordable options, laminate or solid surface countertops will be perfect.
– Don’t forget about storage.
As for storage, make sure to factor that in, as well; having ample space for towels, toiletries, and other bathroom essentials will keep things organized and prevent clutter. Selecting the right material for your vanity is an important task, but one that yields rewards for years to come!
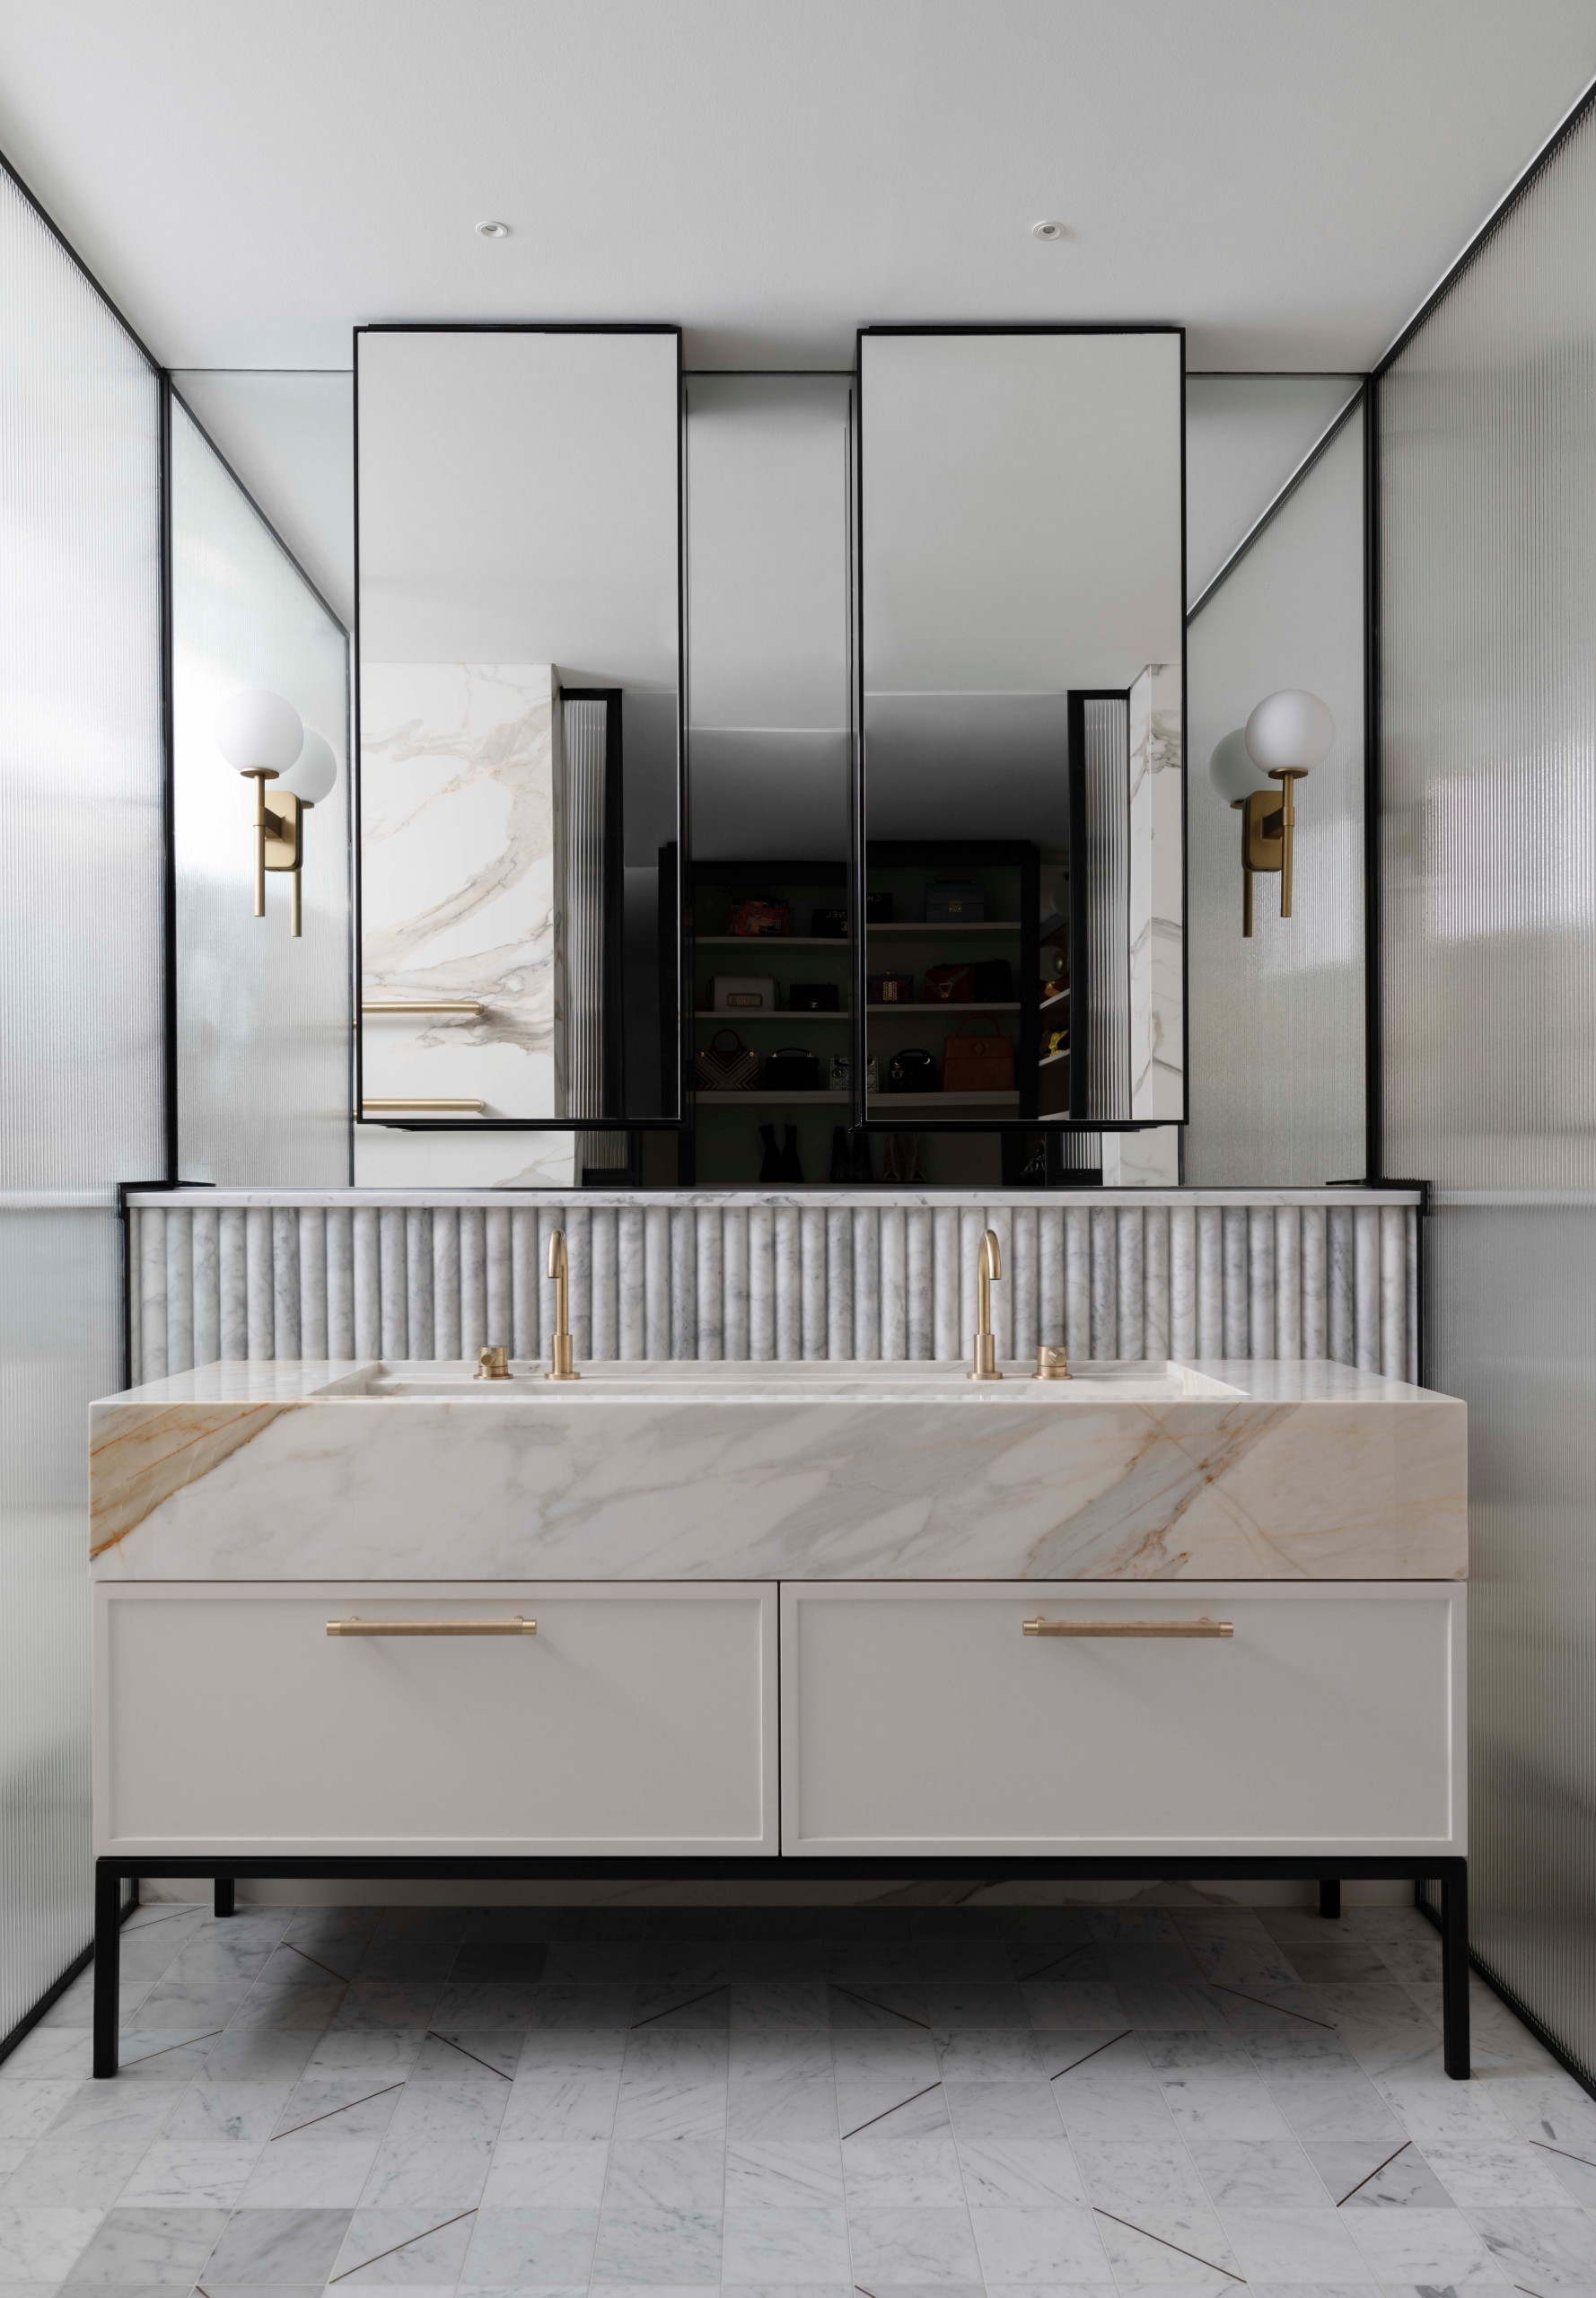
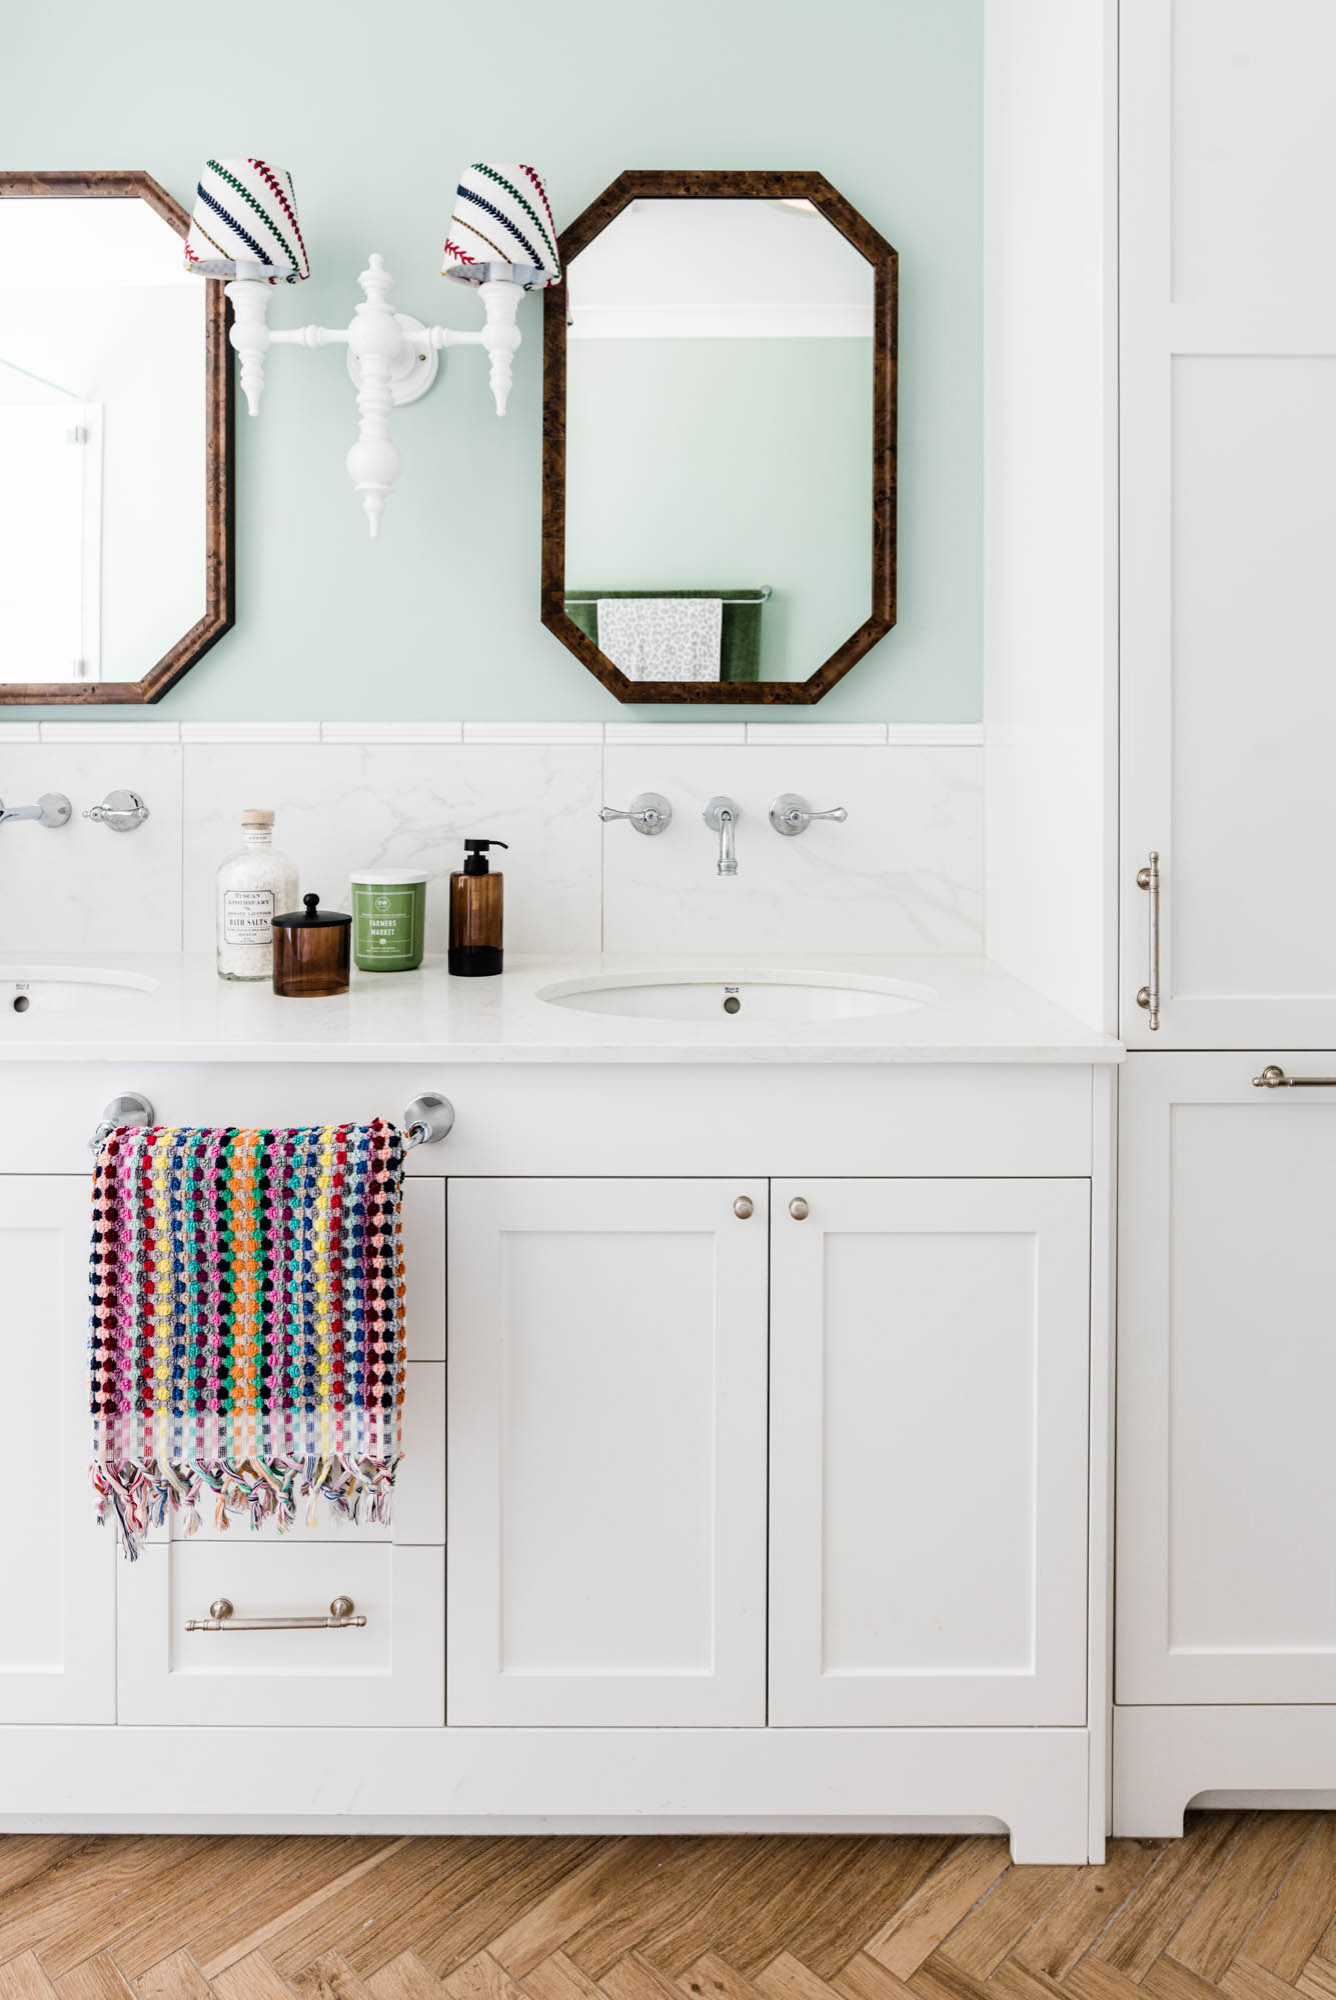
ID# 150902 | Houzz.com – Credit | © D’Cruz Design Group
Have a Marble Top and Backsplash for a Contemporary Touch
There are two under-mount sinks and a counter with a marble top in this contemporary bathroom. Brass faucets provide a sense of refinement, as do black accents. A marble backsplash and a leveled mirror pattern complete the modern design. The white flat-panel cabinets and golden fixtures add to the vanity’s stunning overall look. The finished product is a gorgeous and useful space.
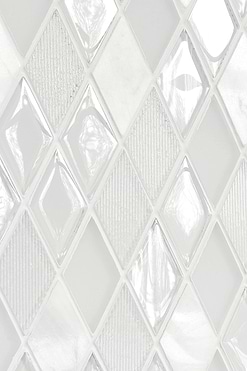
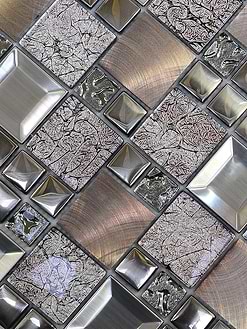
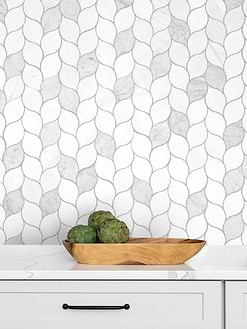
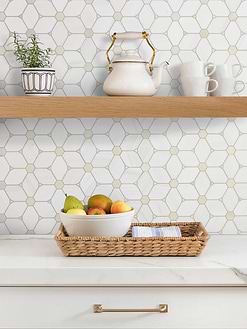
Best Seller Mosaic Tiles

Is it hard to install a bathroom vanity?
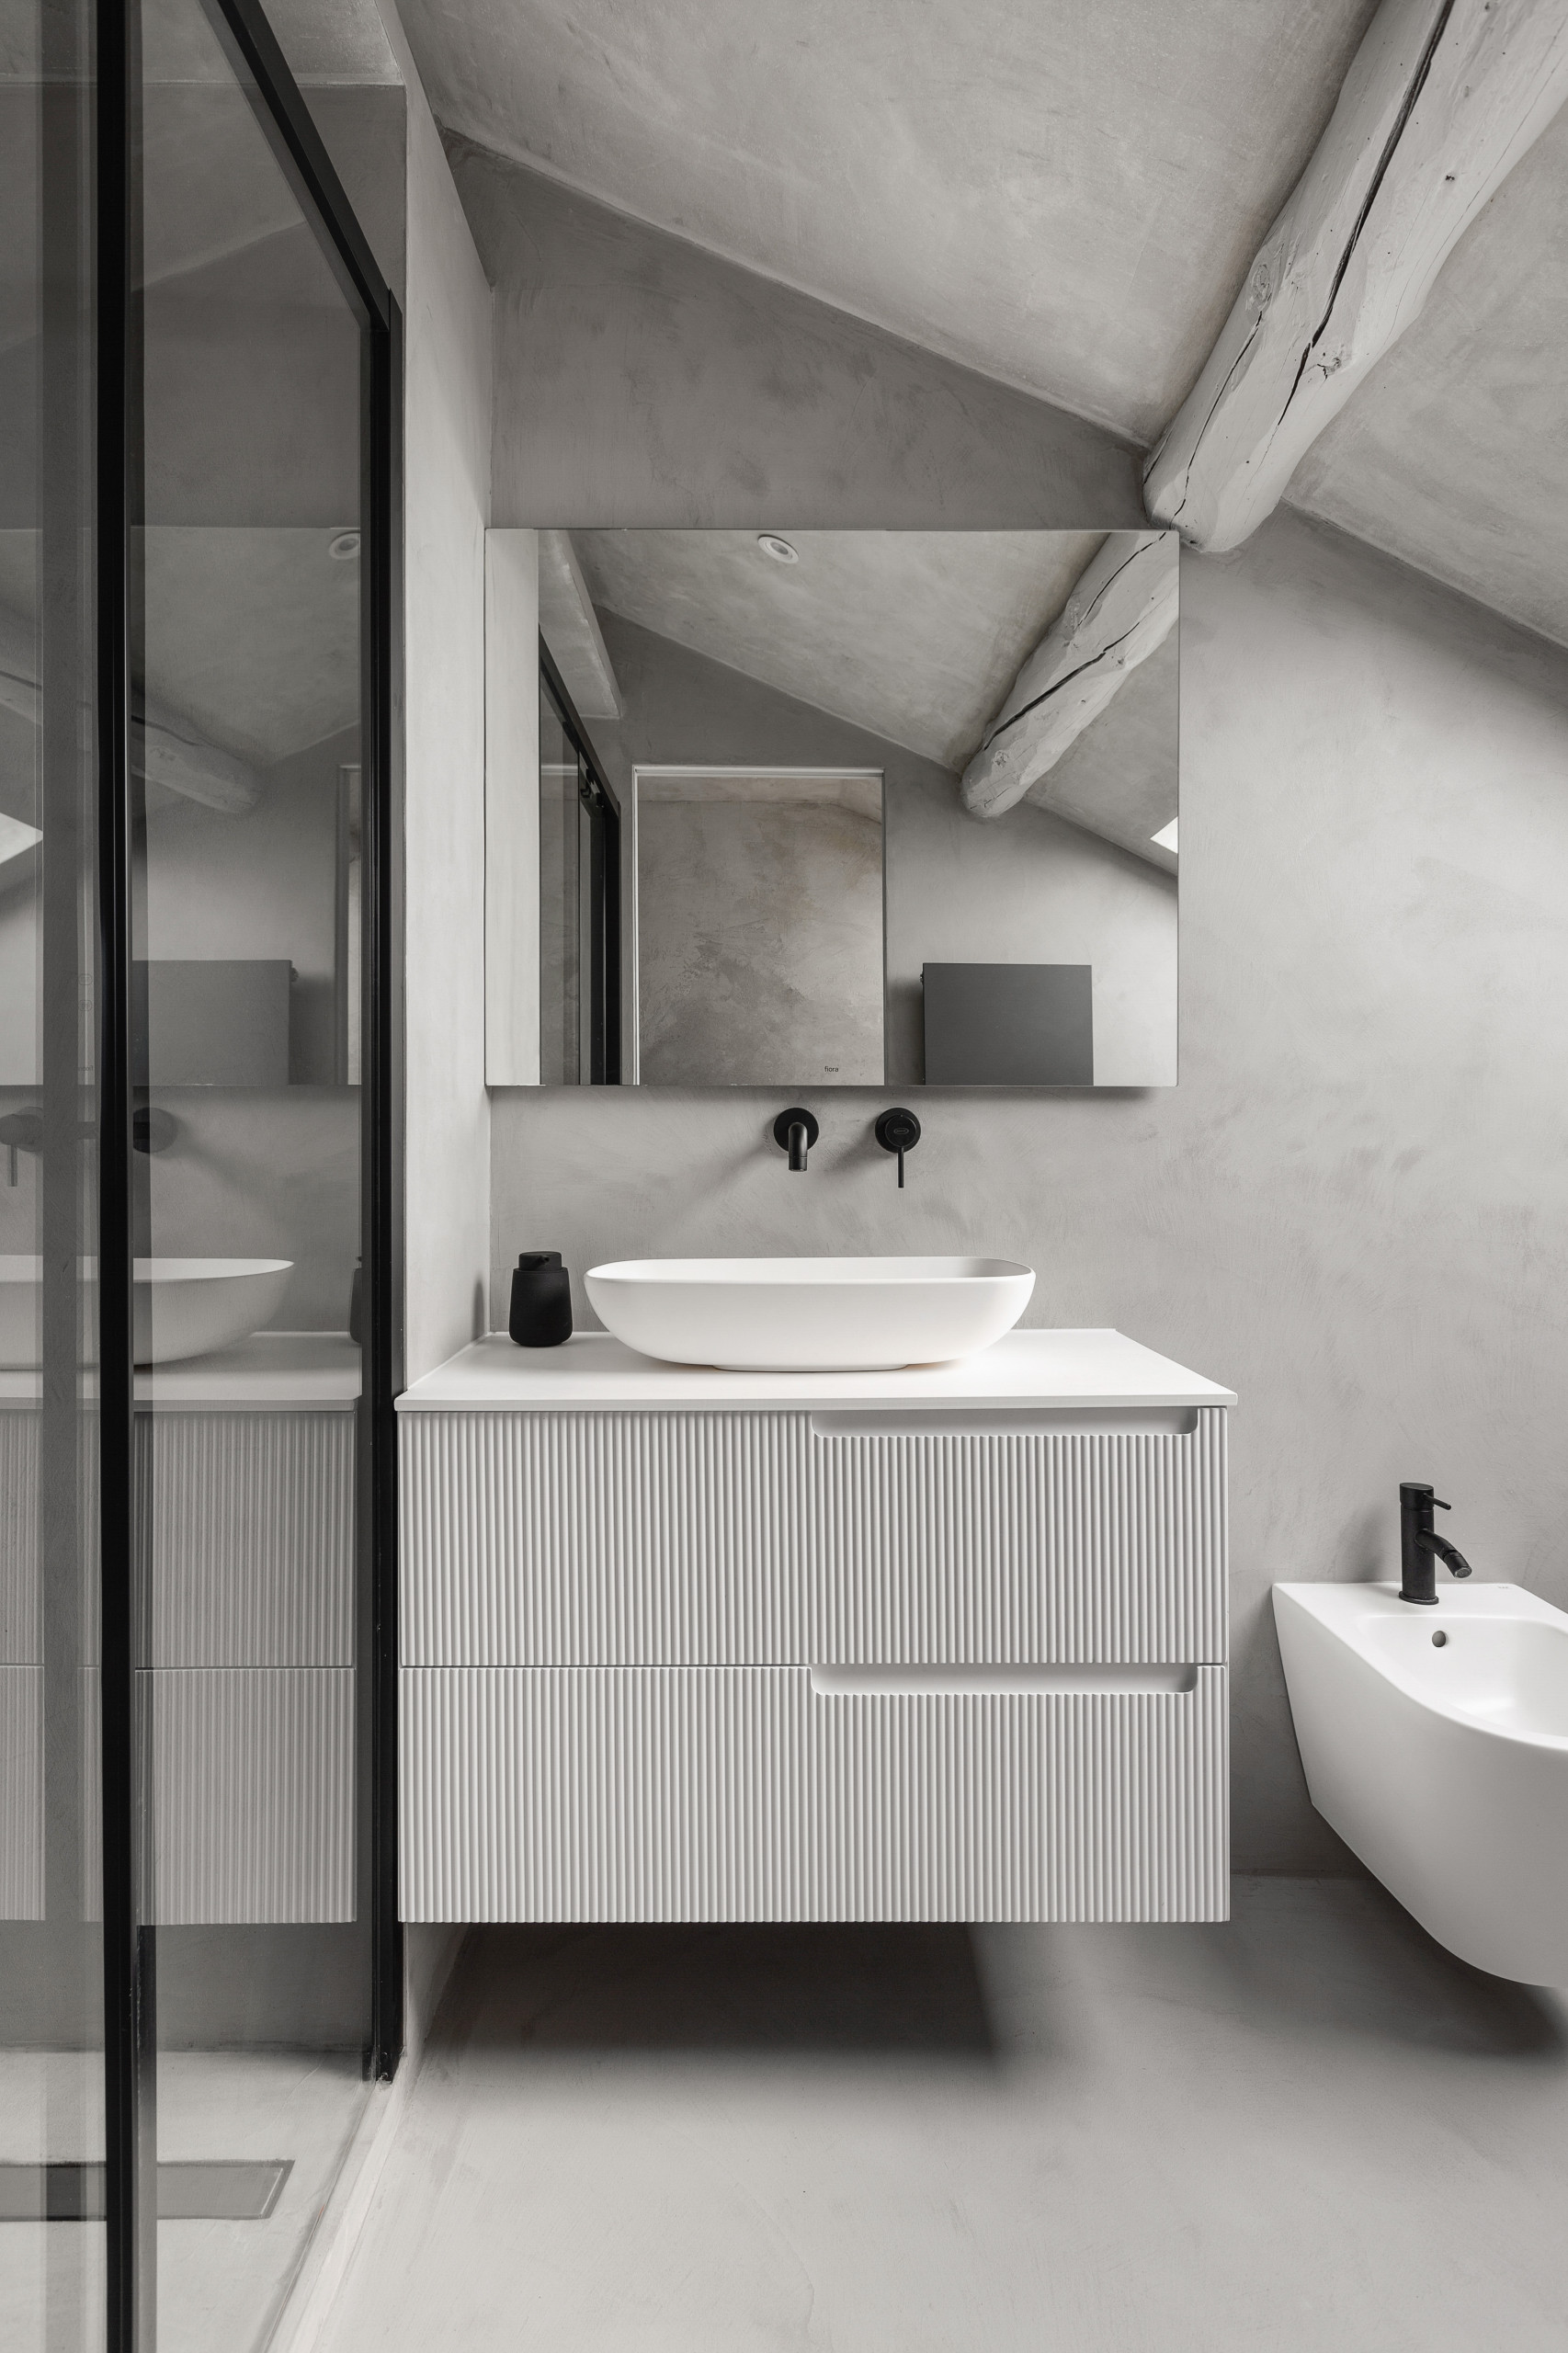
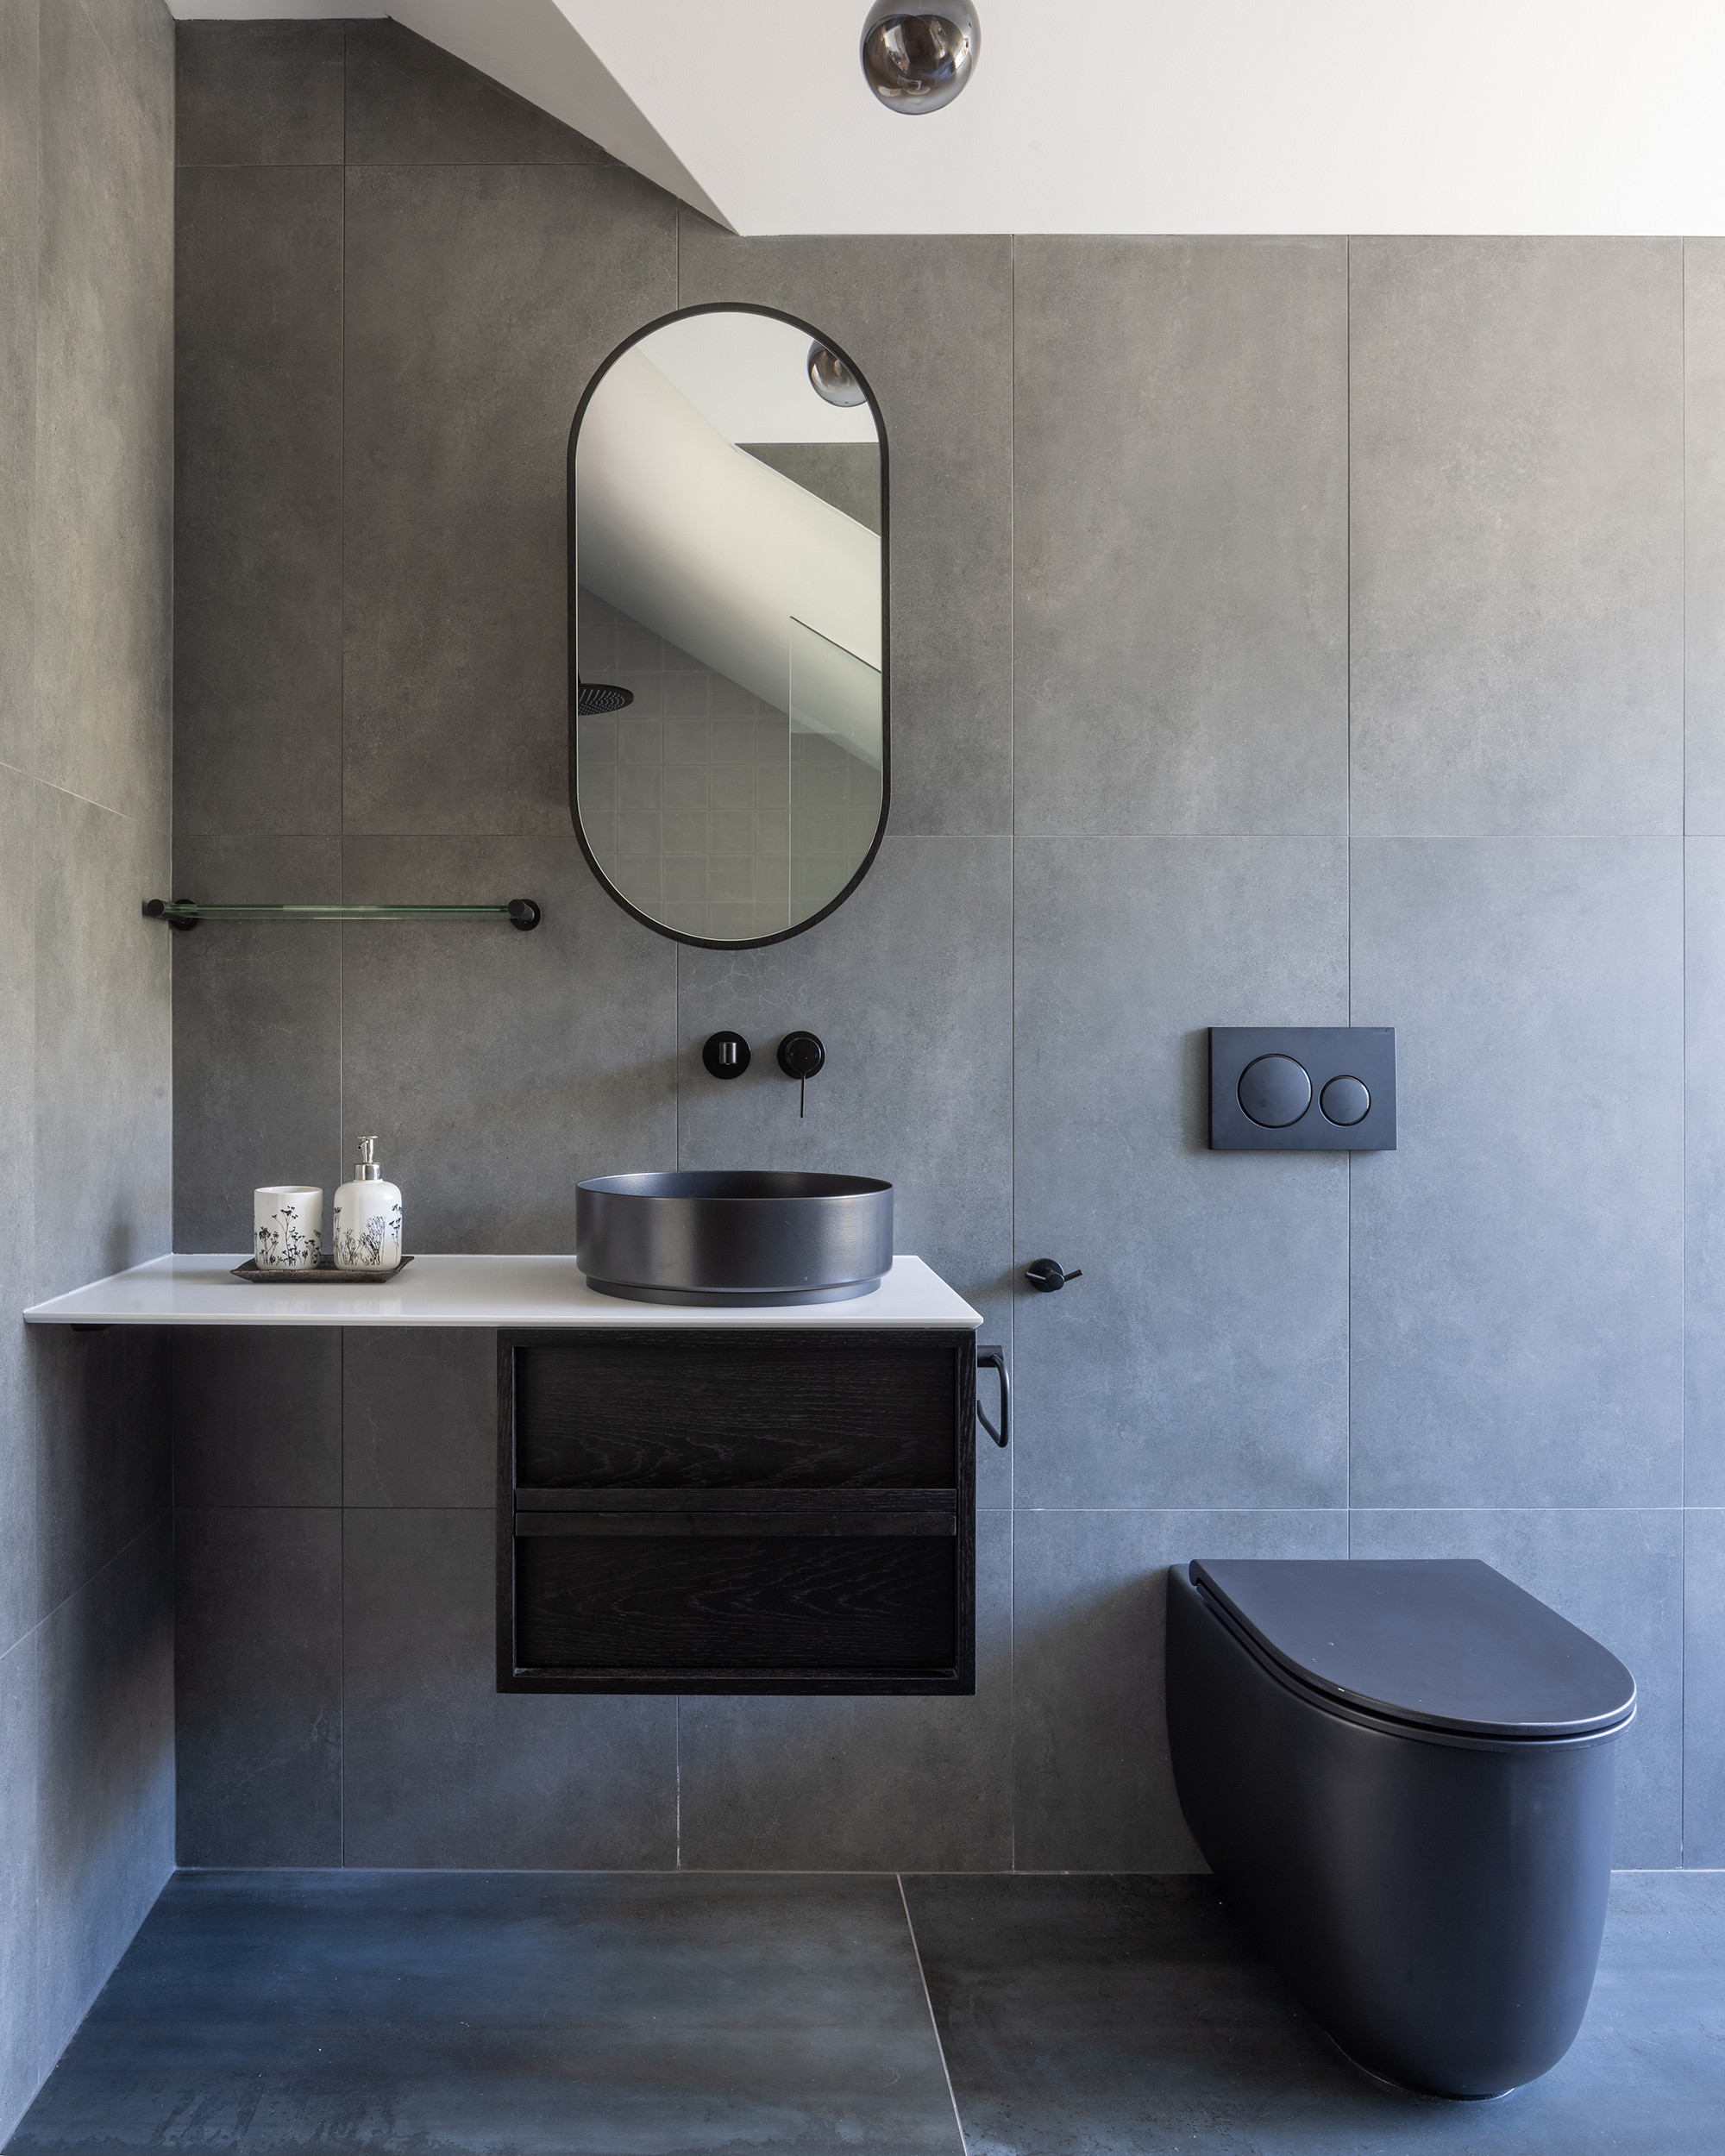
ID# 150903 | Houzz.com – Credit | © MATTEO MARTINI ARCHITETTO
Scandinavian Bathroom Vanity with a Vaulted Ceiling
The wood beam of the vaulted ceiling in this bathroom lends a warm, rustic feel to the space, while the cool grey concrete flooring and walls give it a modern, industrial edge. The white floating vanity with its white countertop and vessel sink is the perfect harmony between the two tones, while the black faucets add a touch of contemporary chic. The frameless mirror contributes to the minimalist aesthetic, creating an airy, spacious vibe that imbues the room with a deep sense of relaxation and contentment!
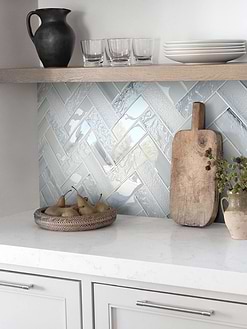
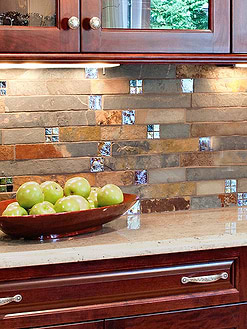
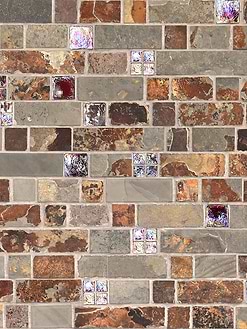
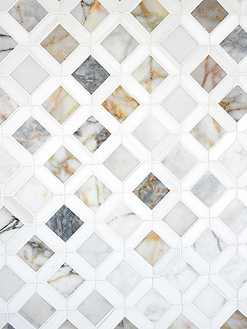
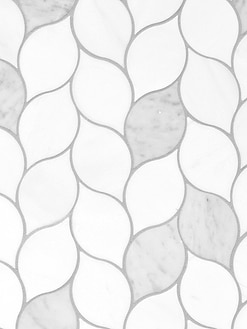
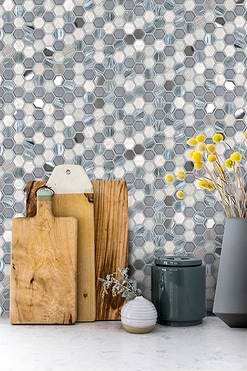
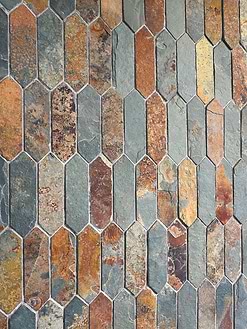
Modern Mosaic Tiles


Install a Bathroom Vanity Step by Step
Your bathroom’s decor may be elevated with the addition of a modern vanity. Installing a new bathroom cabinet is a fantastic way to improve your single or primary bathroom, whether you are doing a full makeover or making a few modifications for a fresh appearance.
To install a bathroom vanity step by step, first, let’s check what you will need:
- Power Drill/Driver & Bits
- Stud Finder
- Hole Saw Kit
- Utility Knife
- Adjustable Wrench
- Basin Wrench
- Tape Measure
- Caulk Gun
- Bucket
- Cleaning Cloths
- Cleaning Gloves
- Eye Protection
- Bathroom Vanity
- Bathroom Sink Faucet
- Caulk
- Plumbers Tape
- Plumbers Putty
1- Preparation
Ensuring all supplies and tools are available before starting to remove an old vanity is essential. Gathering a drill, screwdriver, and adjustable wrench as well as any necessary replacement components such as water lines and mounting hardware for the faucet is part of the job. It’s advisable to inspect all electricity and plumbing to verify they are functioning correctly. If the vanity is aged, it’s also critical to shut down the main water supply and electricity to the bathroom for safety’s sake. Wearing protective gear such as gloves and eyewear is suggested. Once you have specified all the items, you’re ready to start by removing the old vanity. This will typically involve loosening and removing any mounting screws or bolts that are securing the vanity to the wall, as well as disconnecting the plumbing and electrical connections. Be sure to work slowly and carefully to avoid damaging any pipes or wires, and be prepared to make any necessary repairs or replacements as you go.
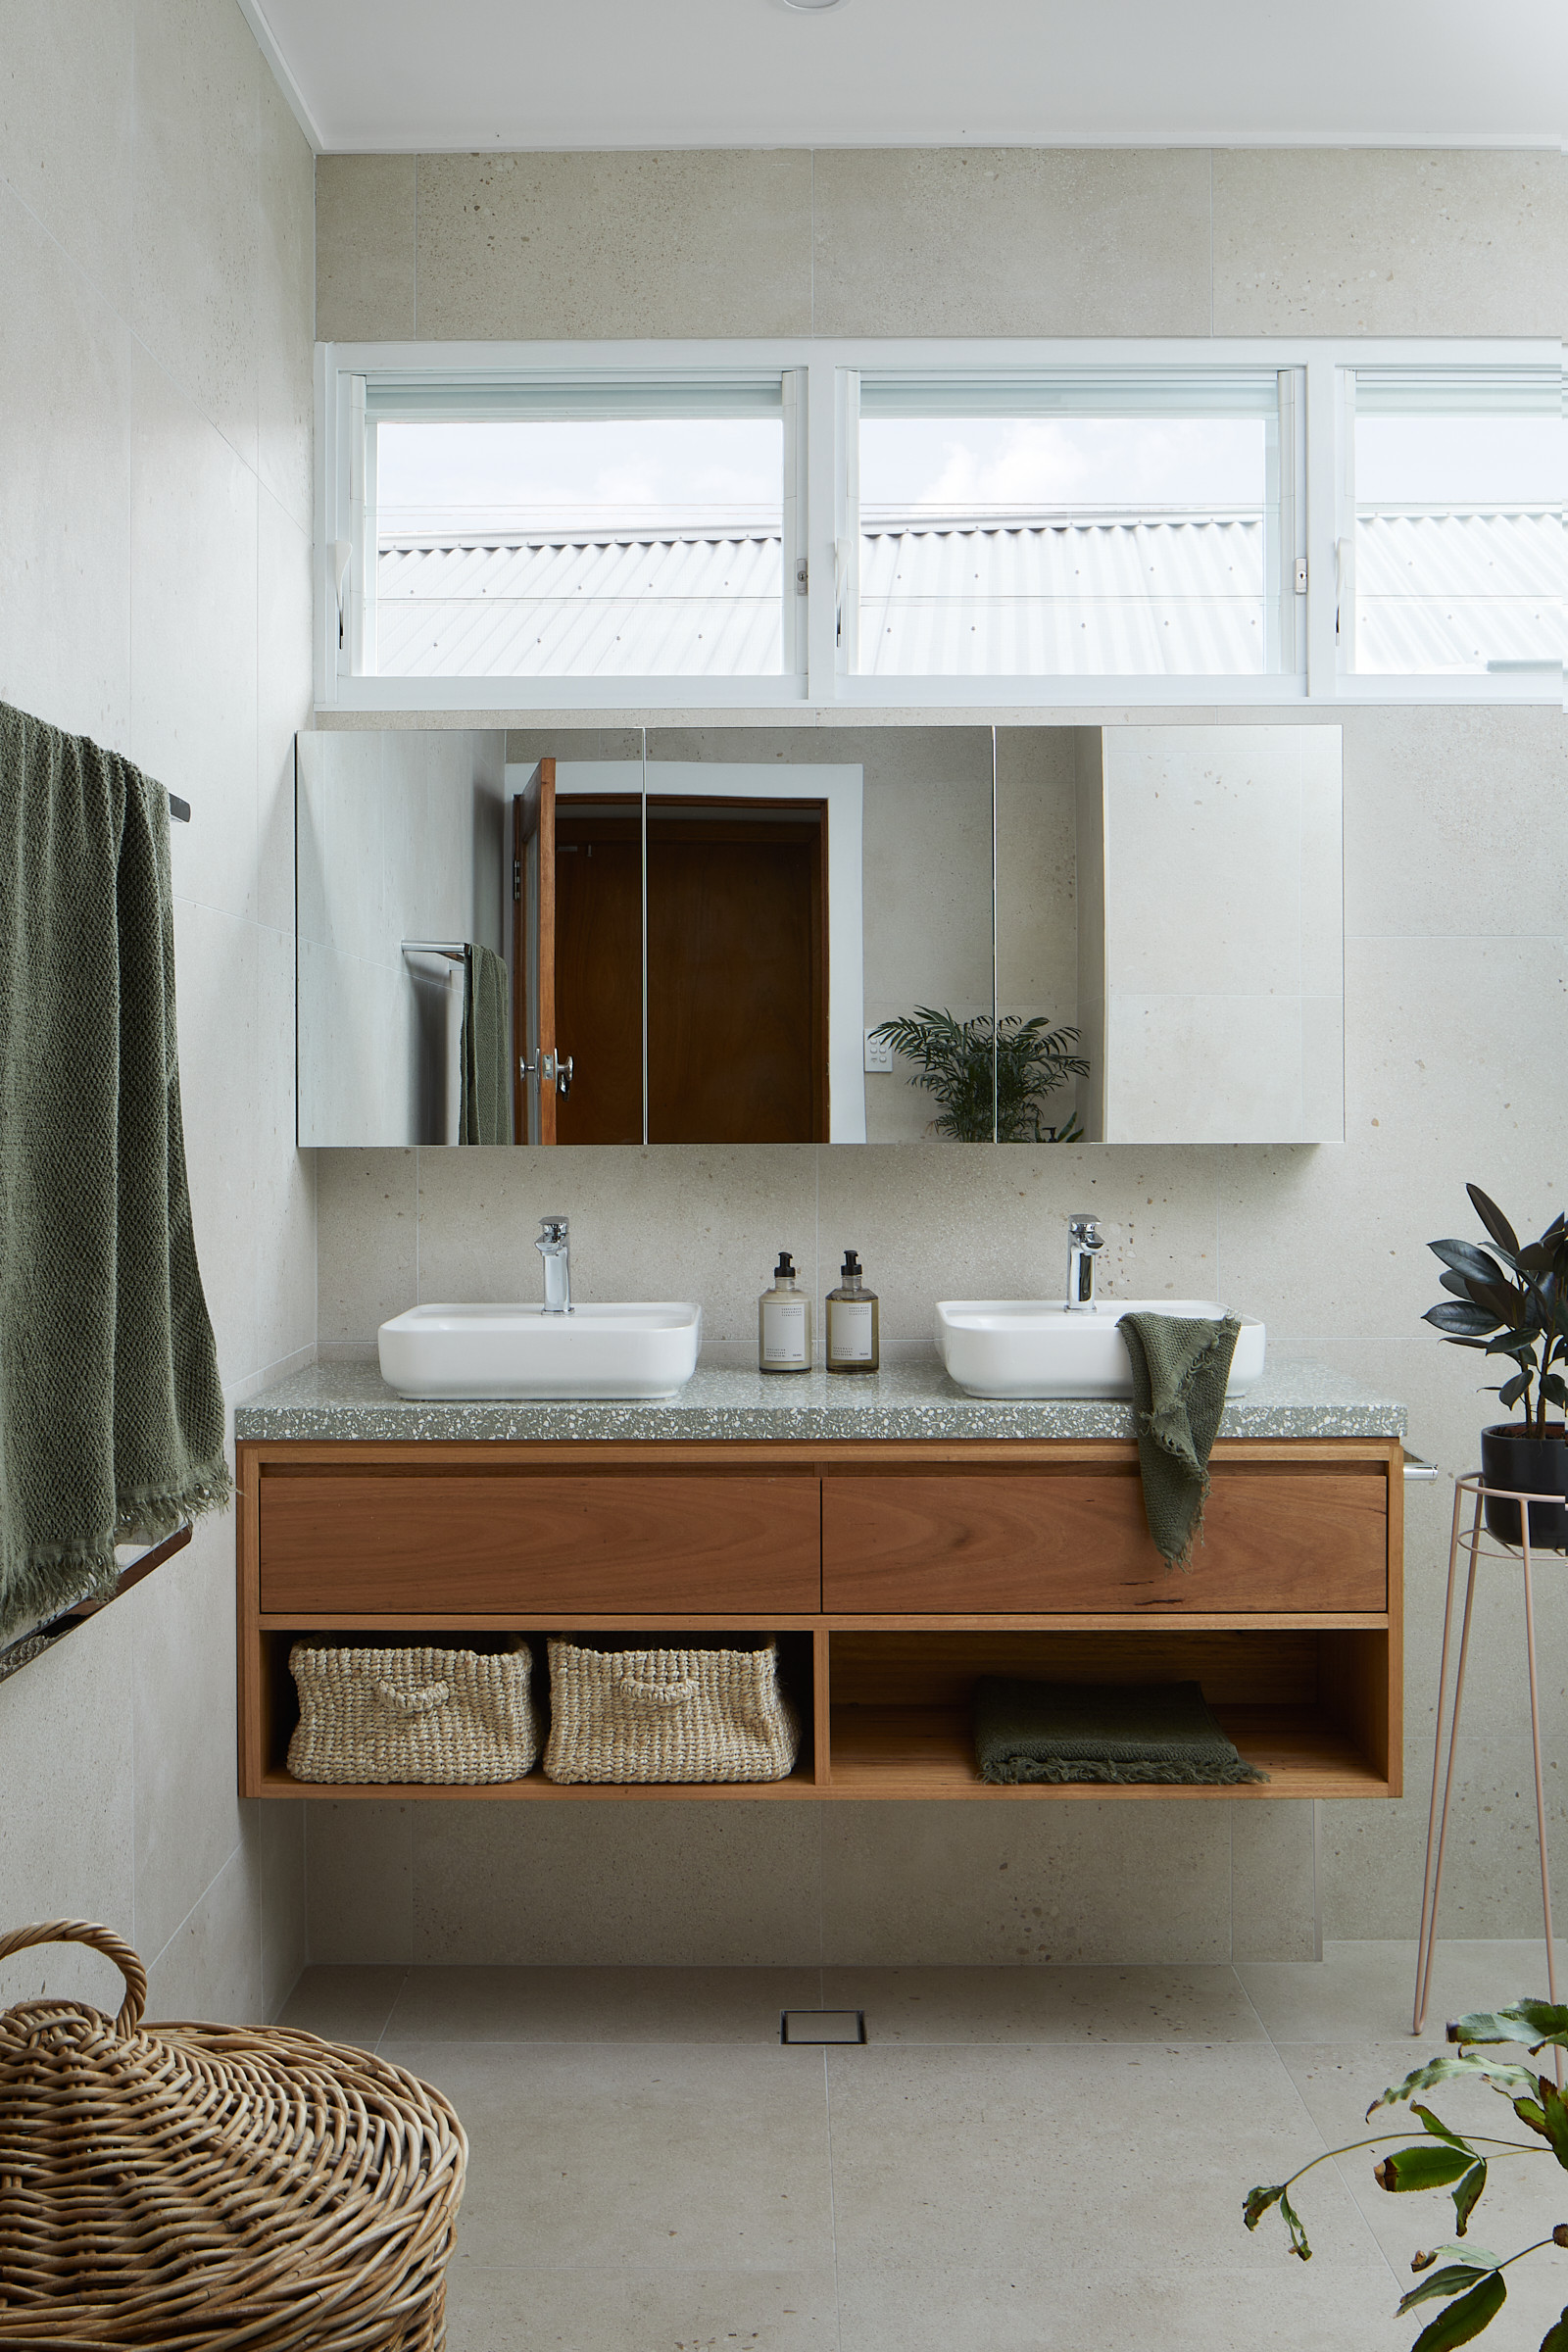
ID# 150904 | Houzz.com – Credit | © Katherine Charlton Design
Midcentury Bathroom Vanity with White Countertops and a White Shiplap Backsplash
The large window openings likely allow for plenty of natural light, which can help to make the space feel bright and open. The gray floor tiles add a neutral, contemporary touch, while the light wood floating double sink vanity with flat-panel cabinets provides a warm and inviting feel. The white countertops and chrome faucets give the vanity a clean and sleek look, while the white shiplap ceiling and backsplash add a touch of rustic charm.
2- Disconnect the Sink’s Plumbing
If you are removing an old vanity, you need to prepare the area before the new installation. Disconnecting the sink’s plumbing is an important step when removing an old vanity. This will typically involve loosening and removing any mounting screws or bolts that are securing the sink to the countertop, as well as disconnecting the water supply lines and drain pipes.
To begin, you will need to locate the shut-off valves for the hot and cold water supply lines. These valves are usually located underneath the sink, and you will need to turn them off to stop the flow of water. Once the water has been shut off, you can loosen the mounting screws or bolts that are holding the sink in place and gently lift the sink out of the countertop.
Next, you will need to disconnect the water supply lines and drain pipes. Disconnecting the water supply lines and drain pipes can be tricky, so it’s important to be careful when using any tools. Using a wrench or pliers, carefully loosen the mounting nut and mount flange, being mindful not to damage the pipes and fittings. Once the connections are disconnected, remove the old vanity and clear the area for the new installation. To ensure nothing is forgotten, keep track of any small objects or hardware to use later in the new vanity installation. To make this job smoother, let’s take a deep breath and do this with patience.
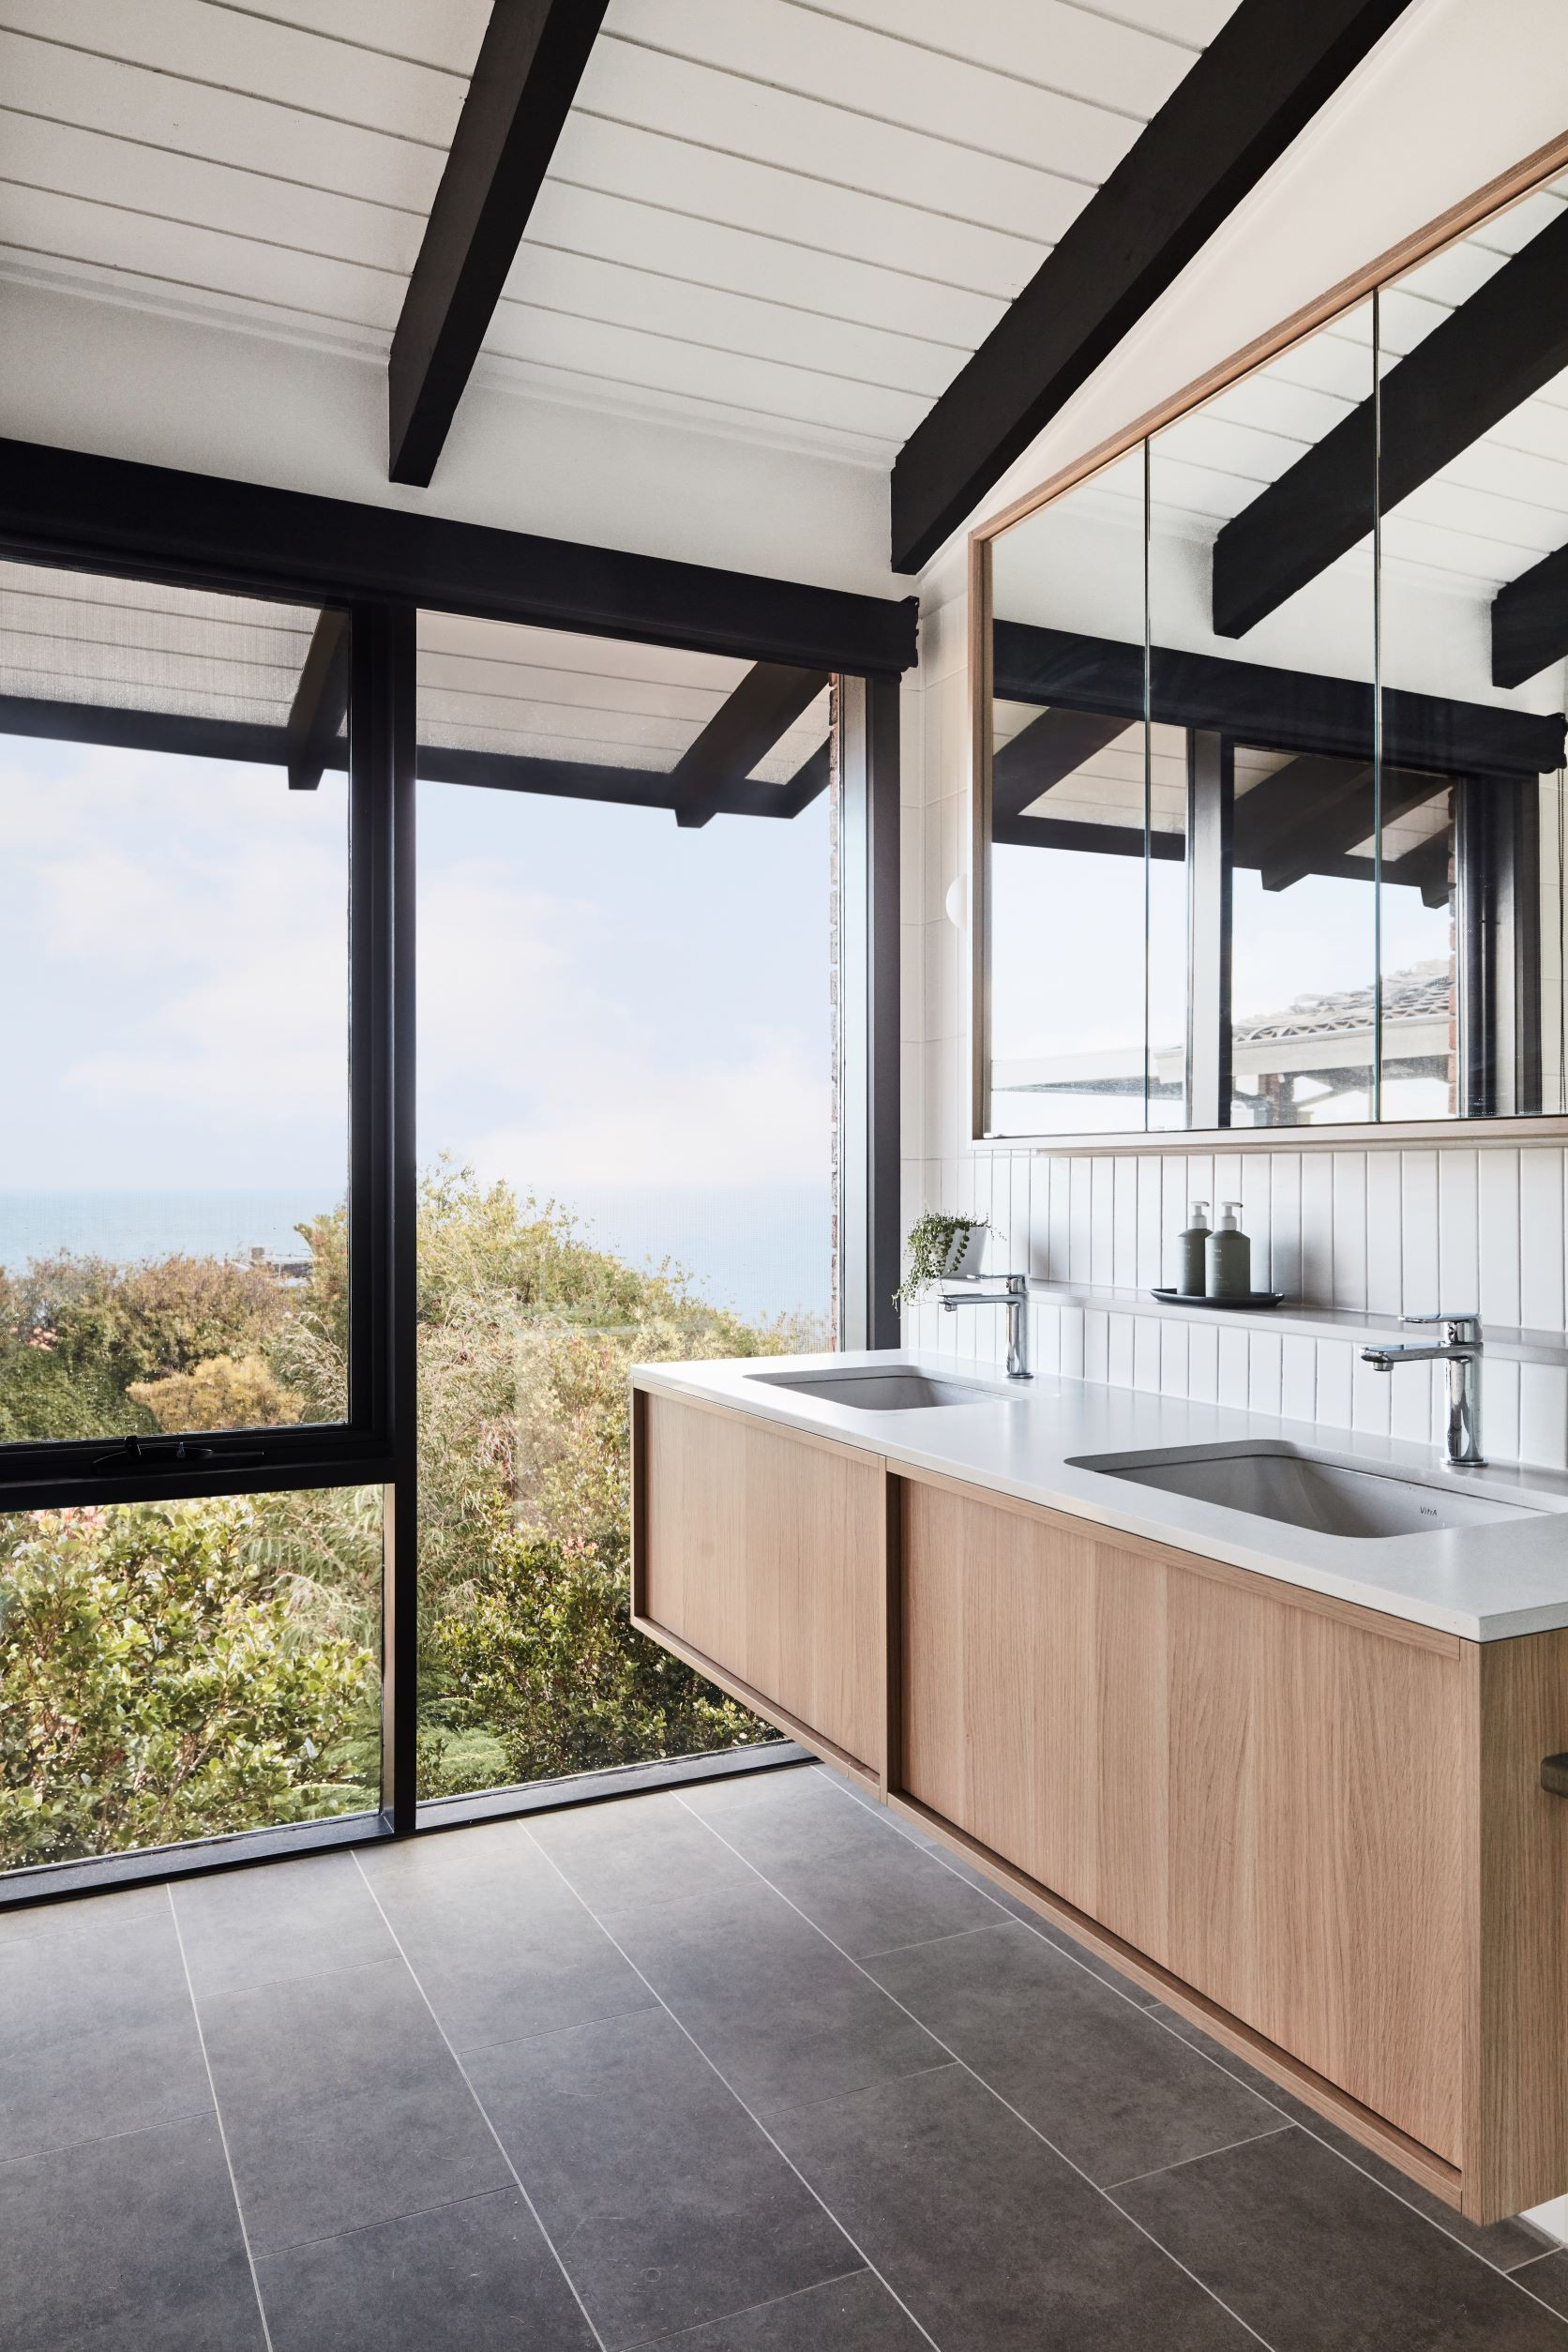
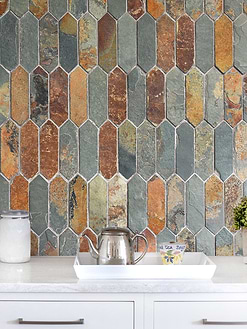
ID# 150905 | Houzz.com – Credit | © EKAH Studio | Architecture + Interiors
Wood Floating Bathroom Vanity With Double Vessel Sinks
This bathroom’s floating vanity includes gray worktops, a flat panel in a mid-tone, and two white vessel sinks. The tranquil base of the light beige floors and walls provides the ideal contrast to the deep olive gray accents. This bathroom is a great example of how the right color combination can create a stylish and friendly ambiance.
3- Remove the Old Vanity
To remove an old vanity, remove the mounting screws or bolts: Look for any screws or bolts that are securing the vanity to the wall or floor. Use a drill or screwdriver to remove these fasteners.
Lift the vanity out of place: Once the mounting screws or bolts have been removed, you should be able to gently lift the vanity out of place. Be careful not to damage the wall or floor as you do this.
Once the old vanity has been removed, you will need to clear the area in preparation for the new installation. This may involve removing any debris or old mounting hardware and cleaning the floor or wall to ensure a smooth and level surface for the new vanity.
Keep in mind that the specifics of this process may vary depending on the age, size, and design of your vanity, as well as the layout of your bathroom. It is always a good idea to carefully read the instructions that come with the new vanity, as well as any applicable building codes, to ensure a safe and successful installation.
Does the bathroom vanity need to be attached to the wall?
4- Install New Vanity
You must measure and mark the wall for the new vanity before you can install it. With the new bathroom vanity’s width and height, mark the new location. Locate and mark the studs inside this vanity’s outline using a stud finder. If the back of your new vanity is solid, take measurements of the pipes’ locations on the wall and convert those dimensions to the vanity’s back. Use the right-sized hole saw to cut pipe holes.
To align it with the preceding marks, slide the vanity cabinet into place. If necessary, you can take the doors off your new vanity to make installation simpler. Shims may be used to alter the height if necessary after making sure it is level. Drill pilot holes into the closest studs after the vanity has been leveled, and then attach them with screws. You will need wall anchors if there aren’t any studs for you to drill into. Apply the appropriate anchor to your wall. You can discover anchors that are suitable for plaster, tile, or drywall.
ID# 150907 | Houzz.com – Credit | © Nathalie Scipioni Architects
Contemporary Bathroom with a Gray Vanity and Gray Tiles
The sleek and contemporary gray wood floating vanity with flat panels evokes a sense of modern sophistication while the bright white countertop adds a refreshing and clean contrast! The large gray tile floors and walls bring unity to the bathroom and the black accents lend a touch of drama and elegance. Neutral tones and smooth lines create a tranquil and peaceful atmosphere, and the vessel sink adds a playful element and visual appeal.
5- Attach the Vanity to the Wall
To attach the vanity to the wall;
– Hold the vanity against the wall in the desired location and use a level to ensure it is straight. Mark the locations of the mounting points on the wall with a pencil.
– Using a drill and the appropriate drill bit, create pilot holes at the marked locations on the wall. These holes will help to guide the screws or mounting brackets and prevent the wall from cracking or chipping.
– If your vanity comes with mounting brackets, attach these to the wall using the screws or mounting hardware provided. If your vanity does not come with mounting brackets, you can use screws or toggle bolts to secure the vanity directly to the wall.
– Place the vanity against the wall and use screws or bolts to secure it to the mounting brackets or wall. Make sure the vanity is level, and use a caulk gun to seal any gaps around the edges.
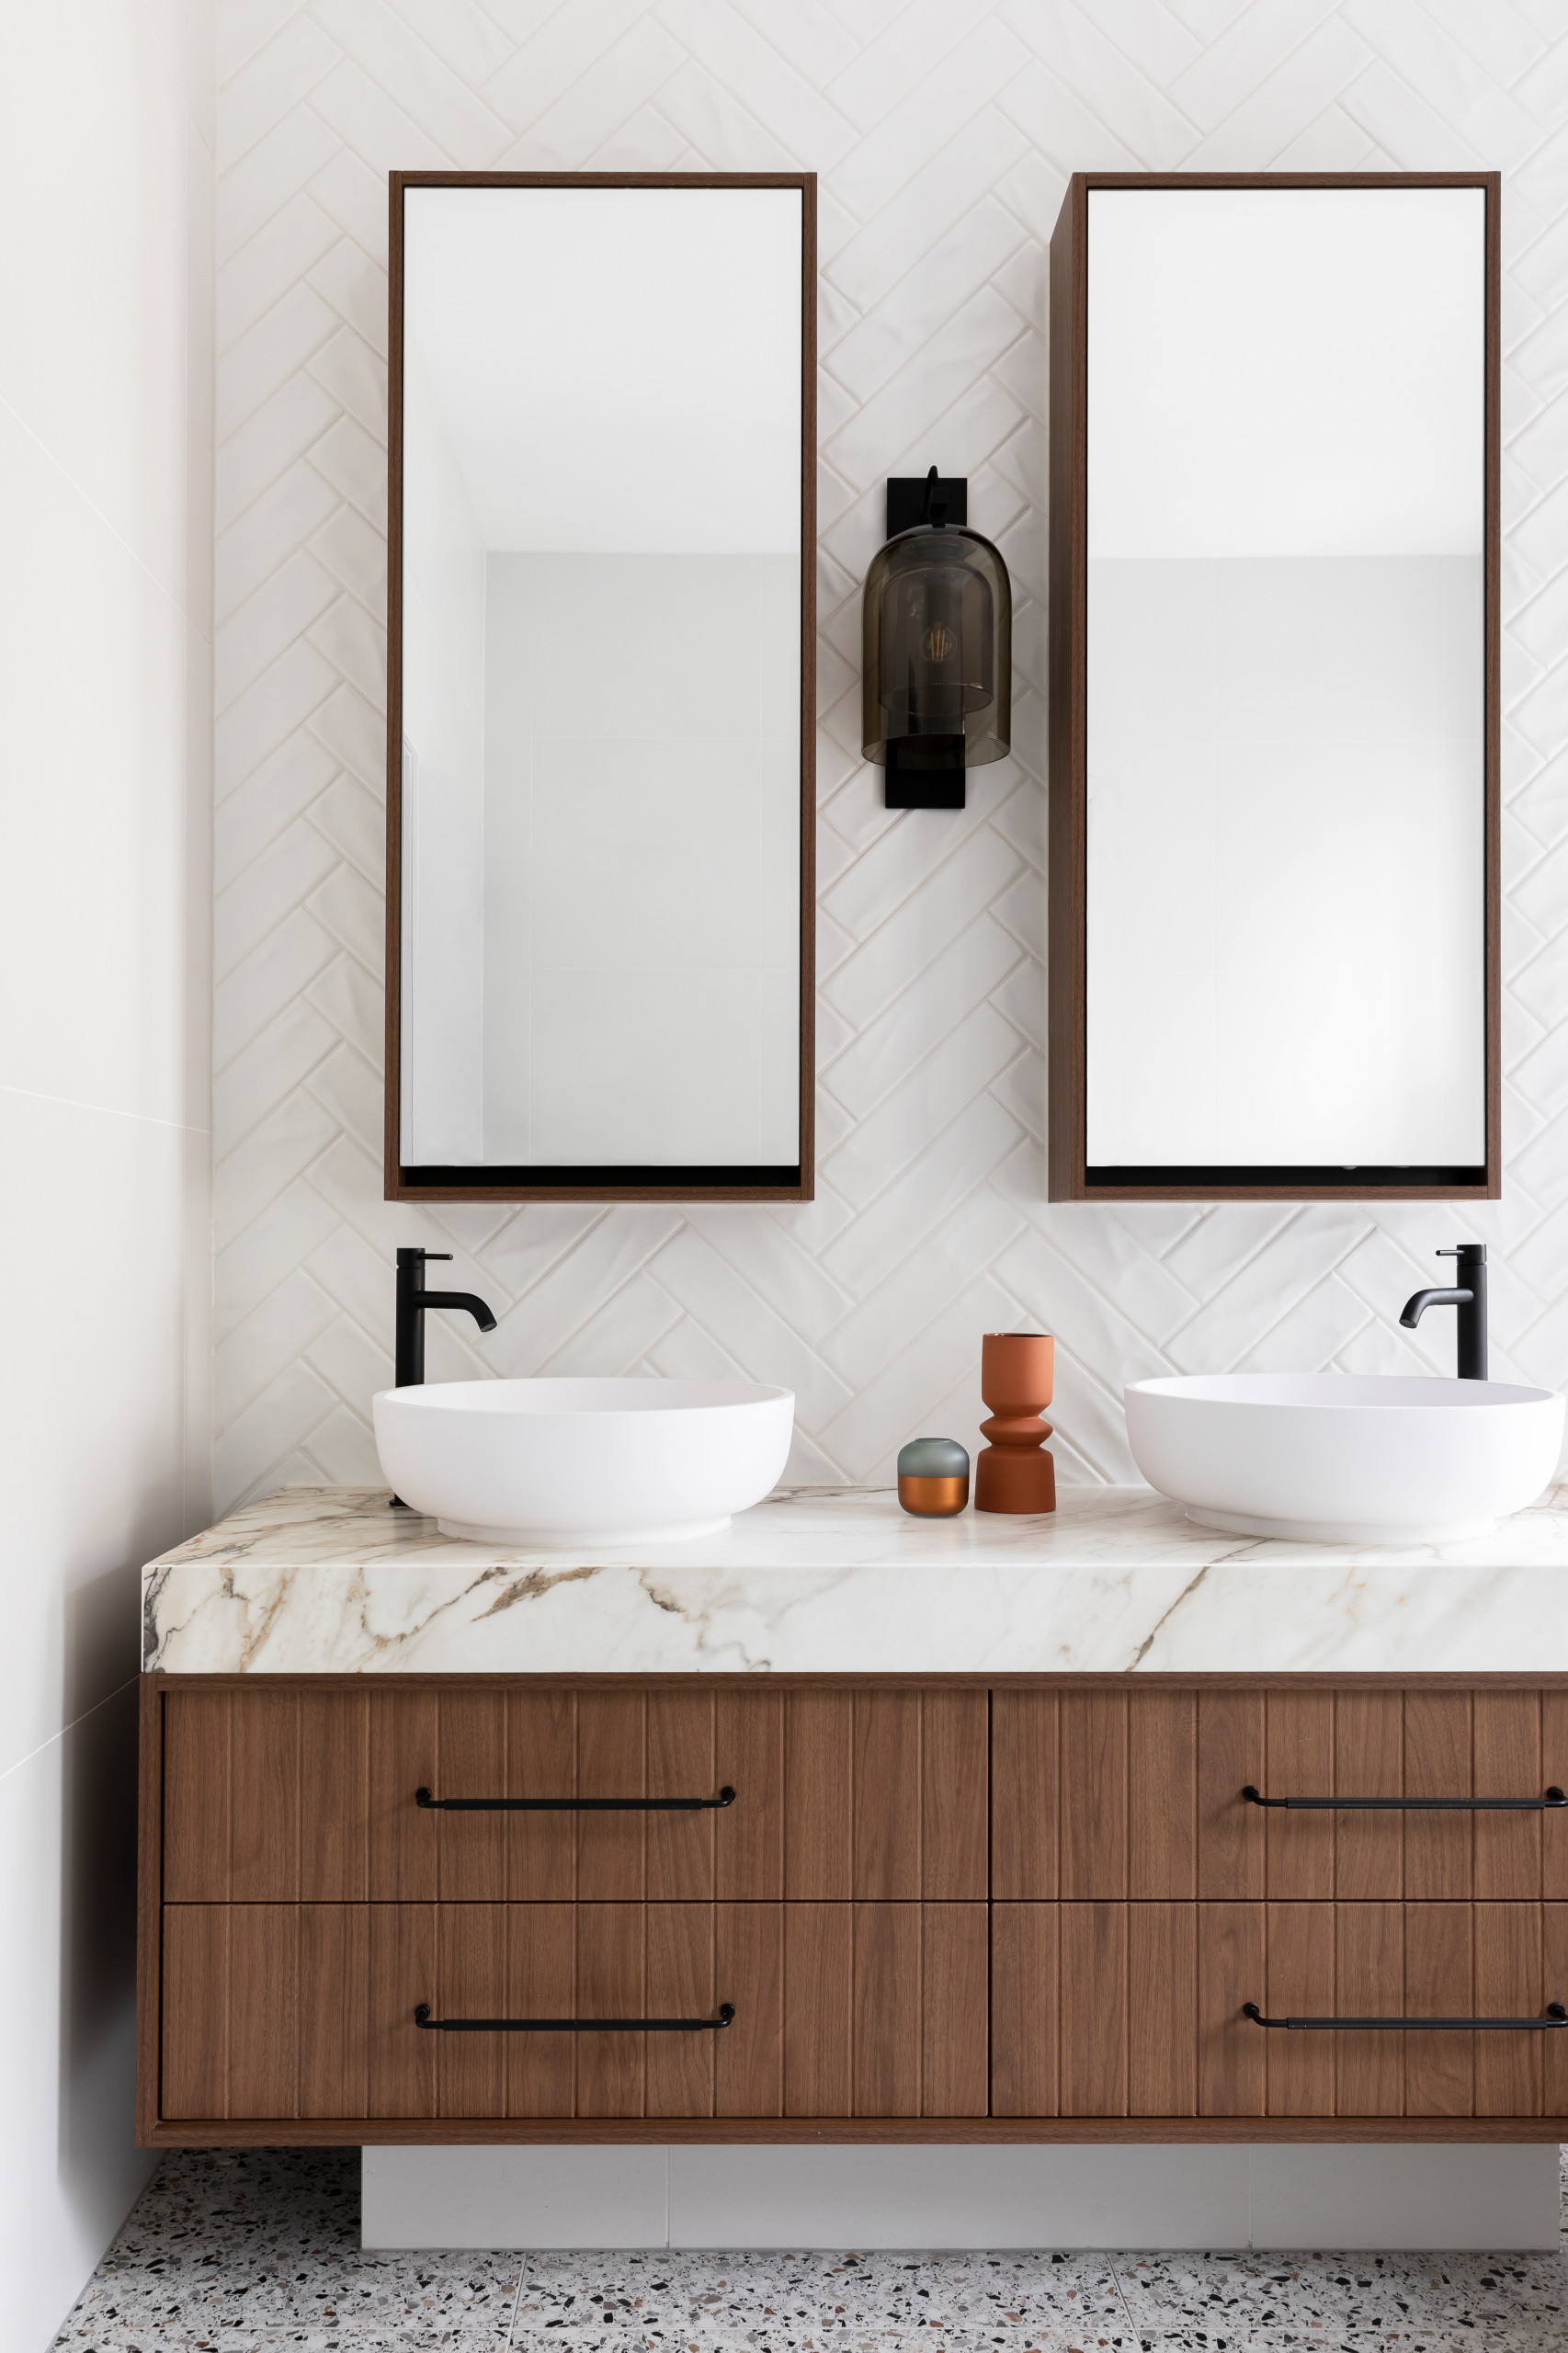
ID# 150908 | Houzz.com – Credit | © Indulge Renovations
Wood Flat Panels and a Marble Top for a Contemporary Design
The wood vanity’s warmth wraps the bathroom in a comforting embrace of Scandinavian design. With its remarkable texture and grain, the wood evokes a sense of depth and character. Adding to this sentiment of coziness are the marble countertops, creating a refined atmosphere. The bright white herringbone backsplash further infuses the space with a light, modern feeling, while the contrast between the warm wood and black bathroom vanity hardware offer a striking touch of drama. All in all, an air of sophistication and relaxation greets those who enter.
What should I put between the wall the and vanity?
It is generally recommended to use a caulk or sealant to fill the gap between the wall and the bathroom vanity. Caulk is a flexible adhesive sealant that is often used in bathroom installations to seal gaps and prevent water damage. Applying a thin bead of caulk along the gap between the wall and the vanity will help to create a watertight seal and prevent water from seeping behind the vanity and causing damage.
6- Install Vanity Top
If the bathroom vanity you are installing does not come with an attached countertop, you will need to secure the vanity top to the cabinet using a thin bead of caulk. Caulk is a flexible adhesive sealant that is often used in bathroom installations to seal gaps and prevent water damage.
To apply the caulk, you will need to follow these steps:
Clean the surfaces: Ensure surfaces for caulking are spick and span and dry for optimal adhesion and securing for a strong, waterproof seal.
Load the caulk gun: Subdivide the tubing at a 45-degree angle to fit the space between your vanity top and its cabinet. Introduce the caulk into the gun and break the seal.
Apply the caulk: Working the caulk gun – squeeze it gently and steadily – shift it along the gap, creating a thin, uninterrupted bead of caulk. Smoothen the caulk: Use a caulk finishing accessory or finger/glove dipped in water to shove the caulk in and get it evened out. Eliminate any surplus caulk with a damp cloth.
Let the caulk dry: Take note of the time the manufacturer recommends for caulk’s drying process since this varies depending on the type of caulk. When the caulk is completely cured, you can reinstall the vanity door. Caulking can be a tricky task, but with a little patience, you can bring your project together and make it look beautiful.
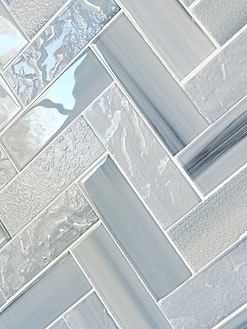
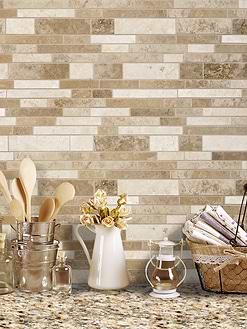
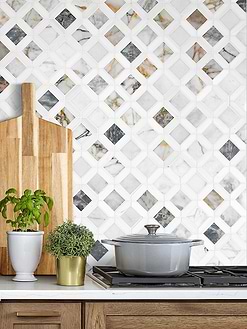
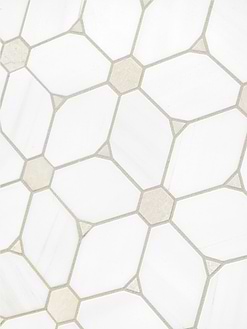
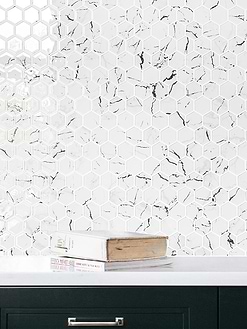
Marble Mosaic Tiles


ID# 150909 | Houzz.com – Credit | © Ivy + Piper Pty Ltd
White Bathroom Vanity with White Countertops and a Fresh Blue Wall
The crisp whiteness of the vanity with white shaker cabinets is refreshing and calming, while the metallic hardware adds a hint of glamour and sophistication. There’s a lovely, clean feel to the space provided by the white countertops and tile backsplash. The chic chrome wall faucets lend a modern, yet subtle, edge to the room. With its pale blue walls and soft tones radiating from the light wood herringbone floors, the overall atmosphere is one of tranquility and relaxation. For warmth and textural contrast, wood framed mirrors have been carefully integrated, adding a cozy human touch. This bathroom seems created to be a beautiful, tranquil and practical space to begin and end each day, sure to bring a sense of comfort and joy.
7- Reconnect the Plumbing
To reconnect the plumbing after installing a countertop to a bathroom vanity, you will need to follow these steps:
Gather your materials and equipment: Make sure you have everything you need to complete the installation, including the new countertop, a drill and drill bits, screws or mounting brackets, a plumbing supply kit, a wrench or pliers, and a towel or rag.
Install the faucet: Installing a faucet can be an intimidating task, but with the proper instructions from the manufacturer and the correct mounting hardware, it doesn’t have to be!
Connect the water supply lines: Attach the water supply lines to the shut-off valves and the faucet. Make sure the connections are secure and there are no leaks.
Install the sink: Place the sink on the countertop and make sure it is level by using screws and a drill. Seal any gaps with a caulk gun and attach the drain according to the manufacturer’s instructions.
Connect the drain: Follow the manufacturer’s instructions to connect the drain to the sink and the plumbing pipes. Make sure the connection is secure and there are no leaks.
Test the plumbing: Finally, turn the water supply back on and test your handiwork to make sure everything is working properly! With patience and attention to detail, you’ll be able to install a beautiful new faucet with satisfaction and relief.
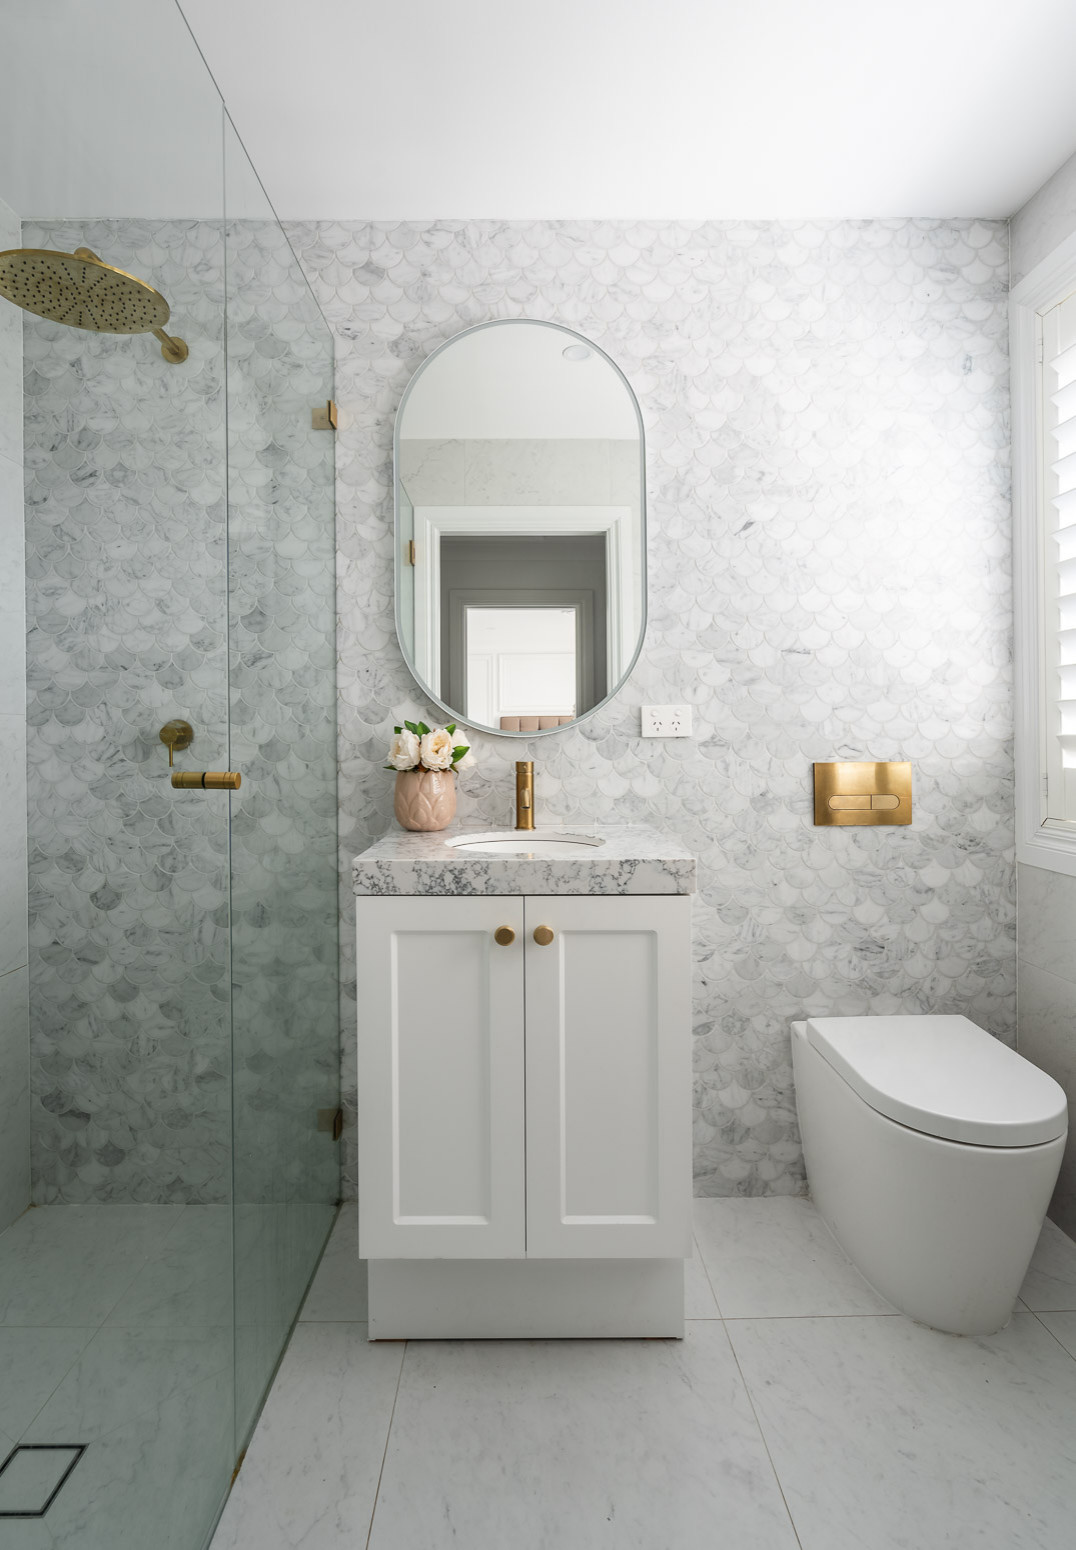
ID# 150910 | Houzz.com – Credit | © Coastal Hamptons Design Studio
Marble Fish Scale Wall Tiles for a Beach-Style Bathroom
Due to their distinctive designs, the marble fish scale tiles grab attention. The vanity’s white marble countertop exactly matches the backsplash wall. Because of their simplicity, the white shaker cabinets provide a timeless aesthetic impression. The brass embellishments enhance the bathroom’s opulent appearance. Geometrically, the gray frame mirror complements the marble fish scale backsplash tile.
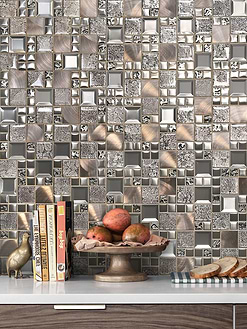
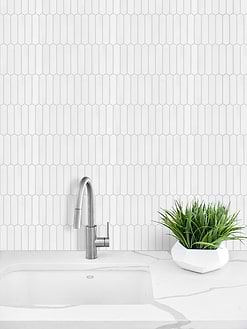
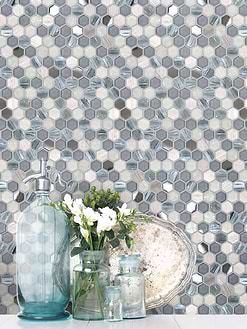
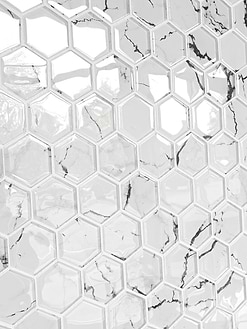
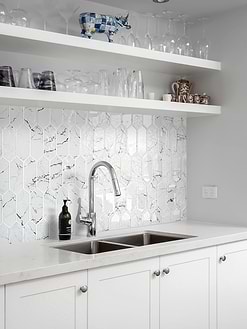
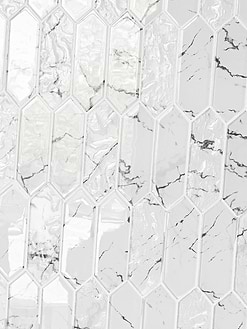
Hexagon Mosaic Tiles
Should you caulk around the bottom of a vanity?
Caulking around the bottom of the bathroom vanity to create a watertight seal and prevent water from seeping behind the vanity and causing damage. Applying a thin bead of caulk along the gap between the floor and the bottom of the vanity will help to create a watertight seal and protect your bathroom from moisture damage.