
09+ How to Retile Bathroom
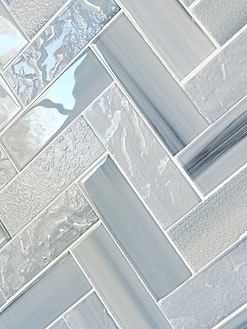
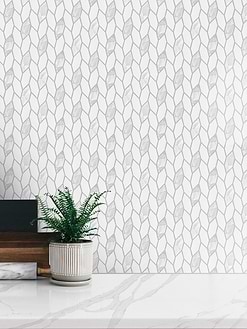
ID# 183004 – Product BA6320 – White Gray & Brown Marble Chevron Mosaic Tile
Marble Chevron Mosaic Bathroom Wall Tiles with Wood Vanity
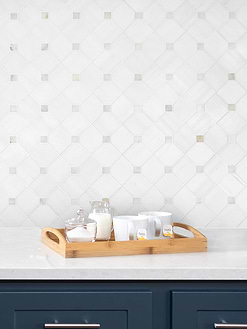
If you want to create an accent wall behind the vanity, the luxurious marble stone might be a great choice! Our marble chevron mosaic tiles offer a modern and sleek backdrop, creating a visual feast. To complement the white and brown colors of the marble tiles, the wood-floating vanity creates a harmonious look. The white countertop, vessel sink, gold framed mirror and beige floor tiles make a beautiful final touch. Overall, drawing on a soft neutral palette, this contemporary bathroom offers a soothing ambiance to wash the day off.
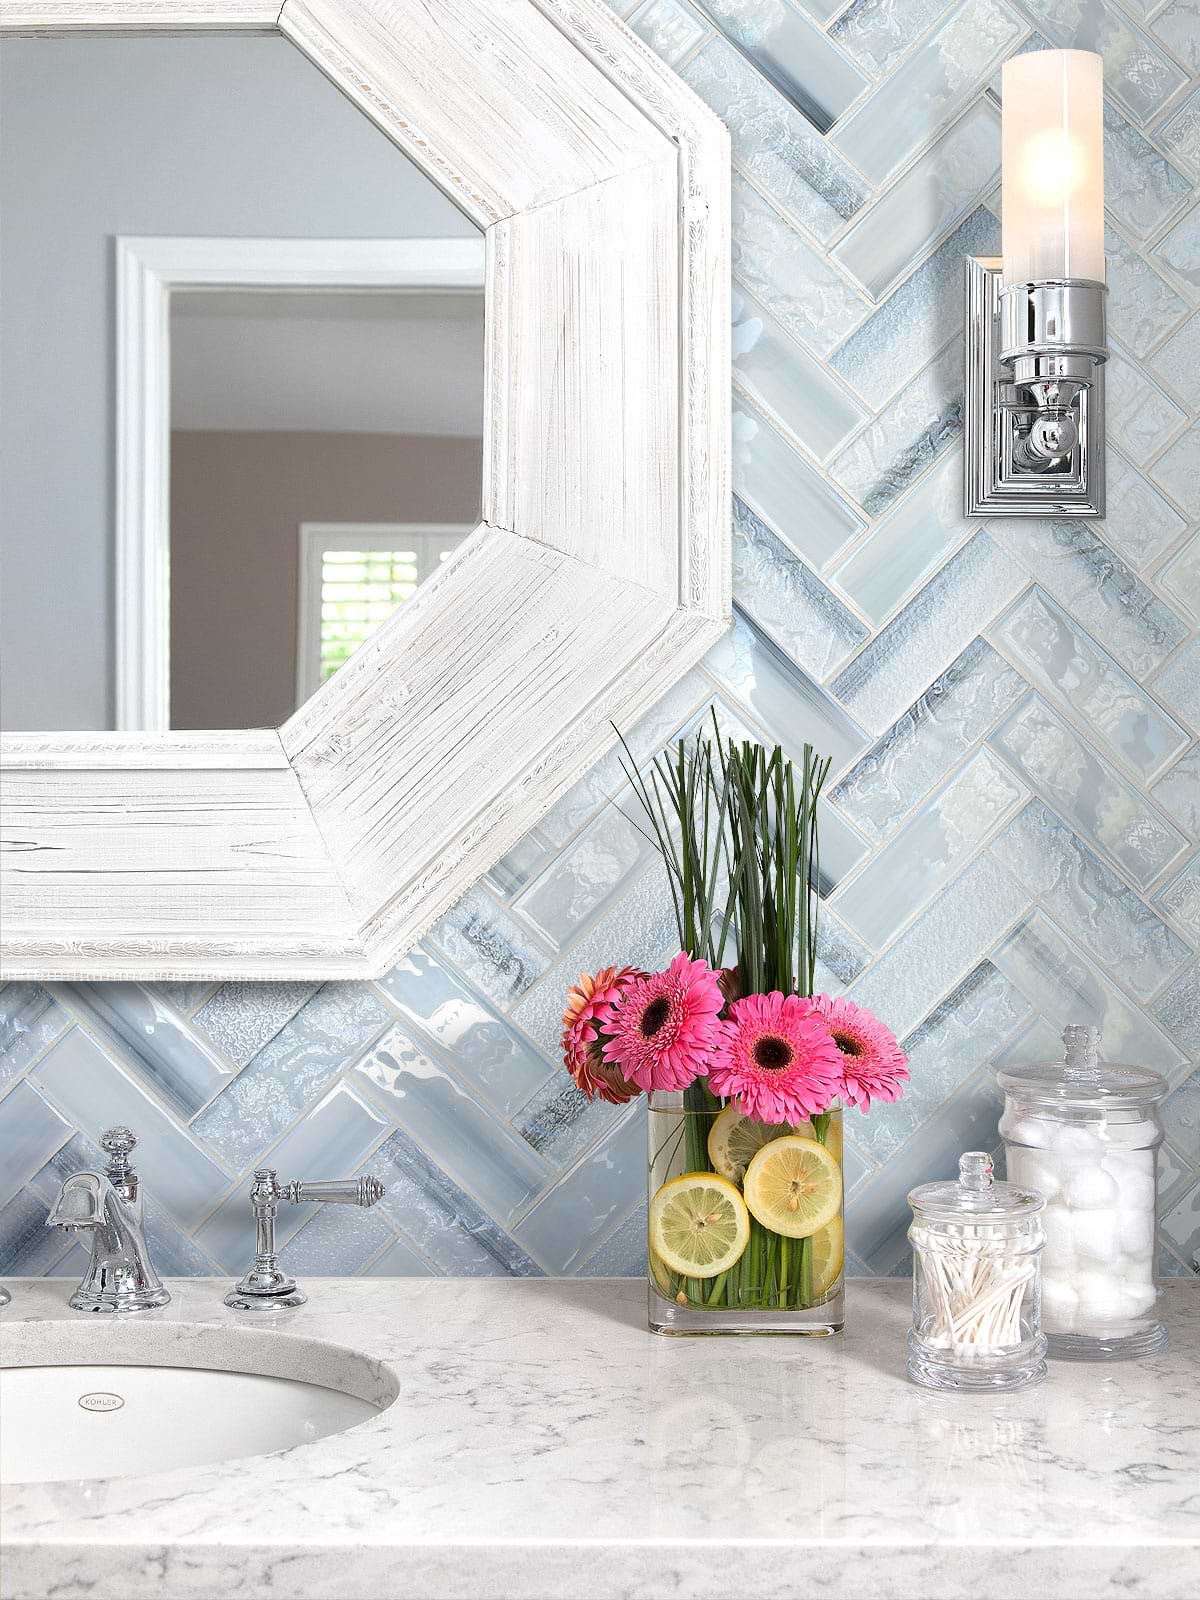
ID# 183006 – Product BA5507 – Blue Glass Herringbone Mosaic Backsplash Tile
Blue Herringbone Bathroom Backsplash with Marble Countertops
Blue is a gorgeous color that exudes a tranquil feel and if you want to bring a coastal feel to your bathroom, our blue glass herringbone backsplash tiles will help you to achieve your goal! As you can see in this beach bathroom design, the blue backsplash tiles with their beautiful color transitions act as a piece of art, creating an eye-catching backdrop. The hexagonal bathroom mirror creates a focal point on the tiles while the marble countertops add a touch of opulence.
How to Retile Bathroom
Did you get bored with the look of your bathroom and do you want to give it a fresh look? Then look no further! Retiling the bathroom is the most effective way to make the space look new and fresh. In this article, we will show you how to retile a bathroom step by step, and with this guide, you can make this job fairly easy!
Bathrooms are one of the most used rooms in the home which are the places of renewal and refreshment and offer a personal spa session. That’s why, it is important to create a fresh feel in the bathroom, and dated looks can’t help to create this feel. Retiling your bathroom will not only remove the old tiles but will also add a totally new look. You might think that retiling is an intimidating job. But do not worry! With these steps below, you can do this job like a pro!
Also, if you need some inspiration for tiles, check out our stunning tile designs!

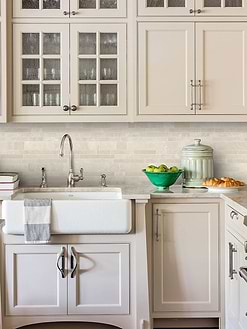
ID# 183001 – Product BA1045 – Modern Black Slate Subway Backsplash Tile
White Bathroom Vanity with Black Subway Tile Backsplash
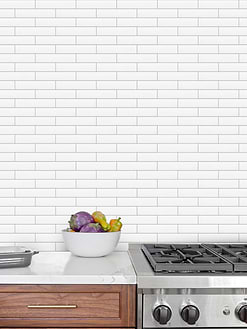
White subway tiles are a classic choice for kitchen and bathroom backsplashes but if you want to make a modern spin on this classic look, you can opt for black subway tiles when retiling your bathroom! In this contemporary bathroom, for example, our black slate subway tile backsplash offers a sleek and edgy backdrop. The white grout color emphasizes the impact of the tiles while the black countertops create a continuous look. Below, the white vanity draws a classic yet timeless profile. The black vanity hardware and faucets complement the modern look of the backsplash and countertops. For a final touch, the white framed bathroom mirrors and sconces create a cohesive look for the black and white color scheme.
Best Seller Mosaic Tiles
How much does it cost to retile the bathroom?
The total cost of retiling a bathroom will depend on the size of your project and the material of your tiles! The average cost of a bathroom tile installation is around $7 to $25 per square foot for labor and materials. Ceramic and porcelain tiles are more affordable tile options that can cost around $2 to $10 per square foot. On the other hand, natural stone tiles such as marble, granite or travertine, can cost much more. On average, you may expect to pay $800 – $3,800 for bathroom floors and $800 – $1,700 for bathroom walls. If you have an additional bench, niche or shelf, there will be some additional cost!
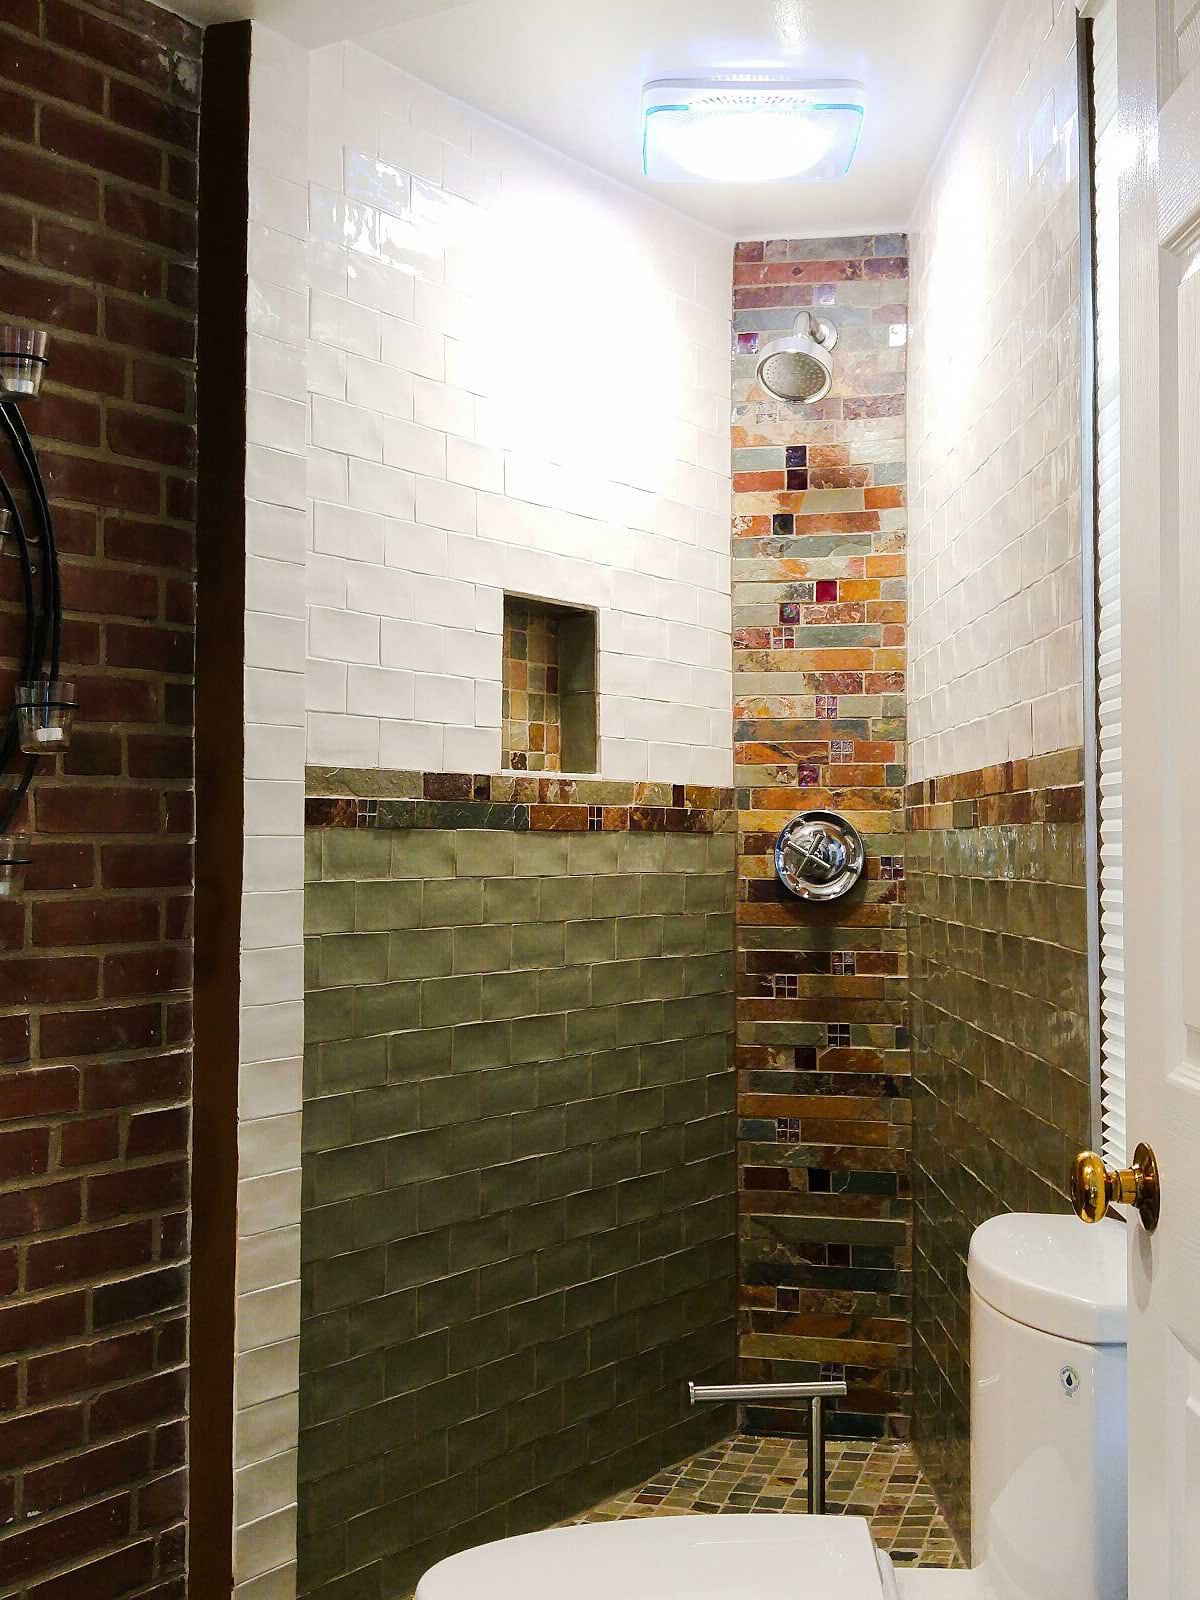
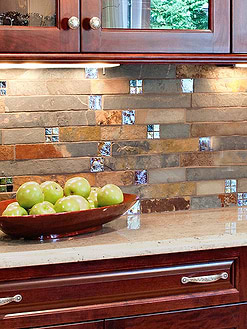
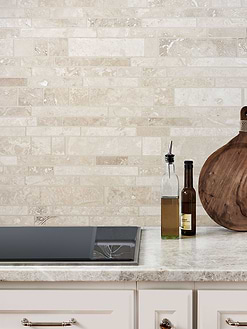
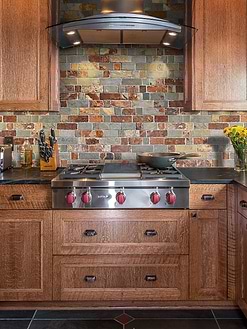
ID# 183002 – Product BA1026 – Rustic California Gold Slate & Burgundy Glass Mosaic Tile
Walk-in Shower Design with Slate Tiled Accent Wall
Wall tiles are the essential elements for walk-in shower designs. That’s why choosing the right one requires attention to detail. Since bathroom tiles come in a wide range of material options, why not use different types together? In this walk-in shower, for example, the side walls are surrounded by green and white subway tiles. Using white tiles for the upper parts provides a bright look while the green tiles on the lower walls add depth to the space. Between them, our slate and glass mosaic tiles create an accent wall, enhancing visual interest. The same tiles are also used for the tiled shower niche to create a continuous look!
Is it cheaper to regrout or retile a bathroom?
Regrout is a less expensive process than retiling the bathroom. If the condition of your tiles is good, you can give a totally fresh look to your bathroom with regrouting. However, if there are some loose or damaged tiles, it is better to replace them before regrouting. It is also a time saver method than retiling. On the other hand, if there is mold or mildew on the tiles, retiling might be a better option to create hygienic surfaces!
Tools You Will Need
Before starting to retile your bathroom, first, you need to supply these tools and materials.
- Protective Gloves and Glasses
- Measuring Tape
- Hammer
- Utility Knife, Putty Knife
- Backer Board or Drywall
- Circular Saw
- New Tiles
- Grout Grout Float
- Grout Sealer
- Adhesive
- Tile Spacers
- Notched Trowel
- Cutting Tool ( According to Material )
- Caulk and Caulk Gun
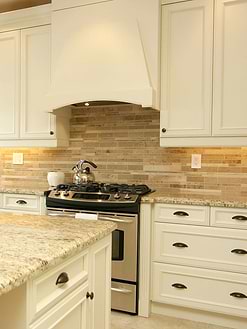
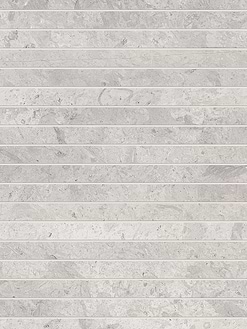
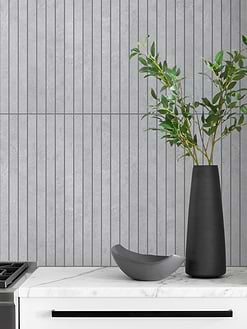
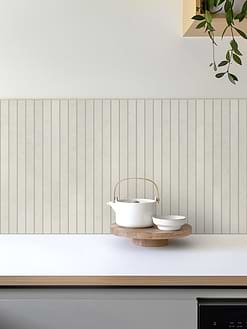
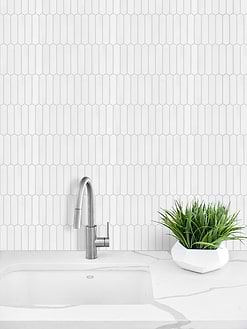
ID# 183003 – Product BA4501 – Modern Long Biege Porcelain Shower Wall Tile
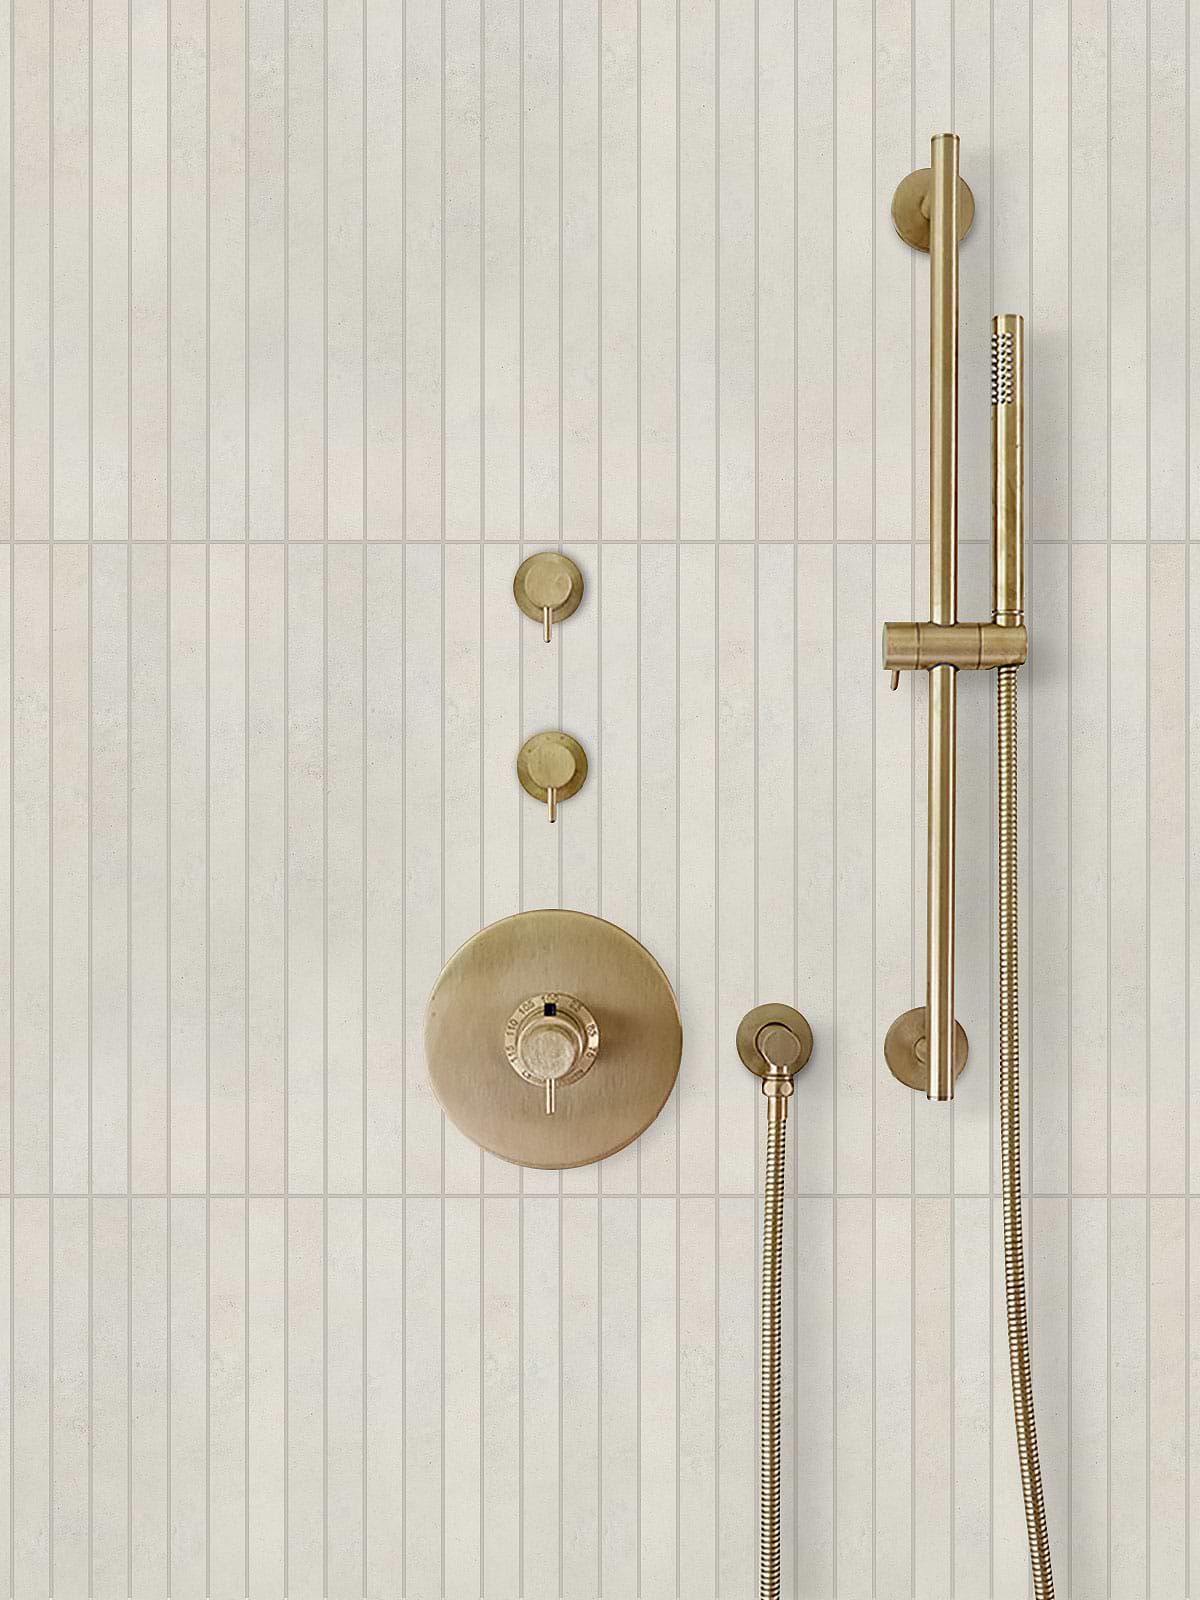
Modern Porcelain Tiled Shower Walls with Brass Fixtures
If you decide to retile your bathroom, the options are literally endless when it comes to materials, colors, forms, and textures. Our beige porcelain tiles offer a sleek and modern appeal with their long and slim shape. With this beautiful tile design, you can give your bathroom a totally fresh look. Thanks to their soft beige color, these tiles offer warm and welcoming atmospheres. And as you can see in this example, brass shower fixtures are a perfect pair!
How long does it take to retile a bathroom?
Retiling a bathroom is a multi-step process that typically takes 1-3 days. This time depends on the space and the size of the project.
Modern Mosaic Tiles

How hard is it to retile a bathroom shower?
It might seem it is an intimidating job, but it is easier than you think. The guide above will help you to make this process easy step by step.
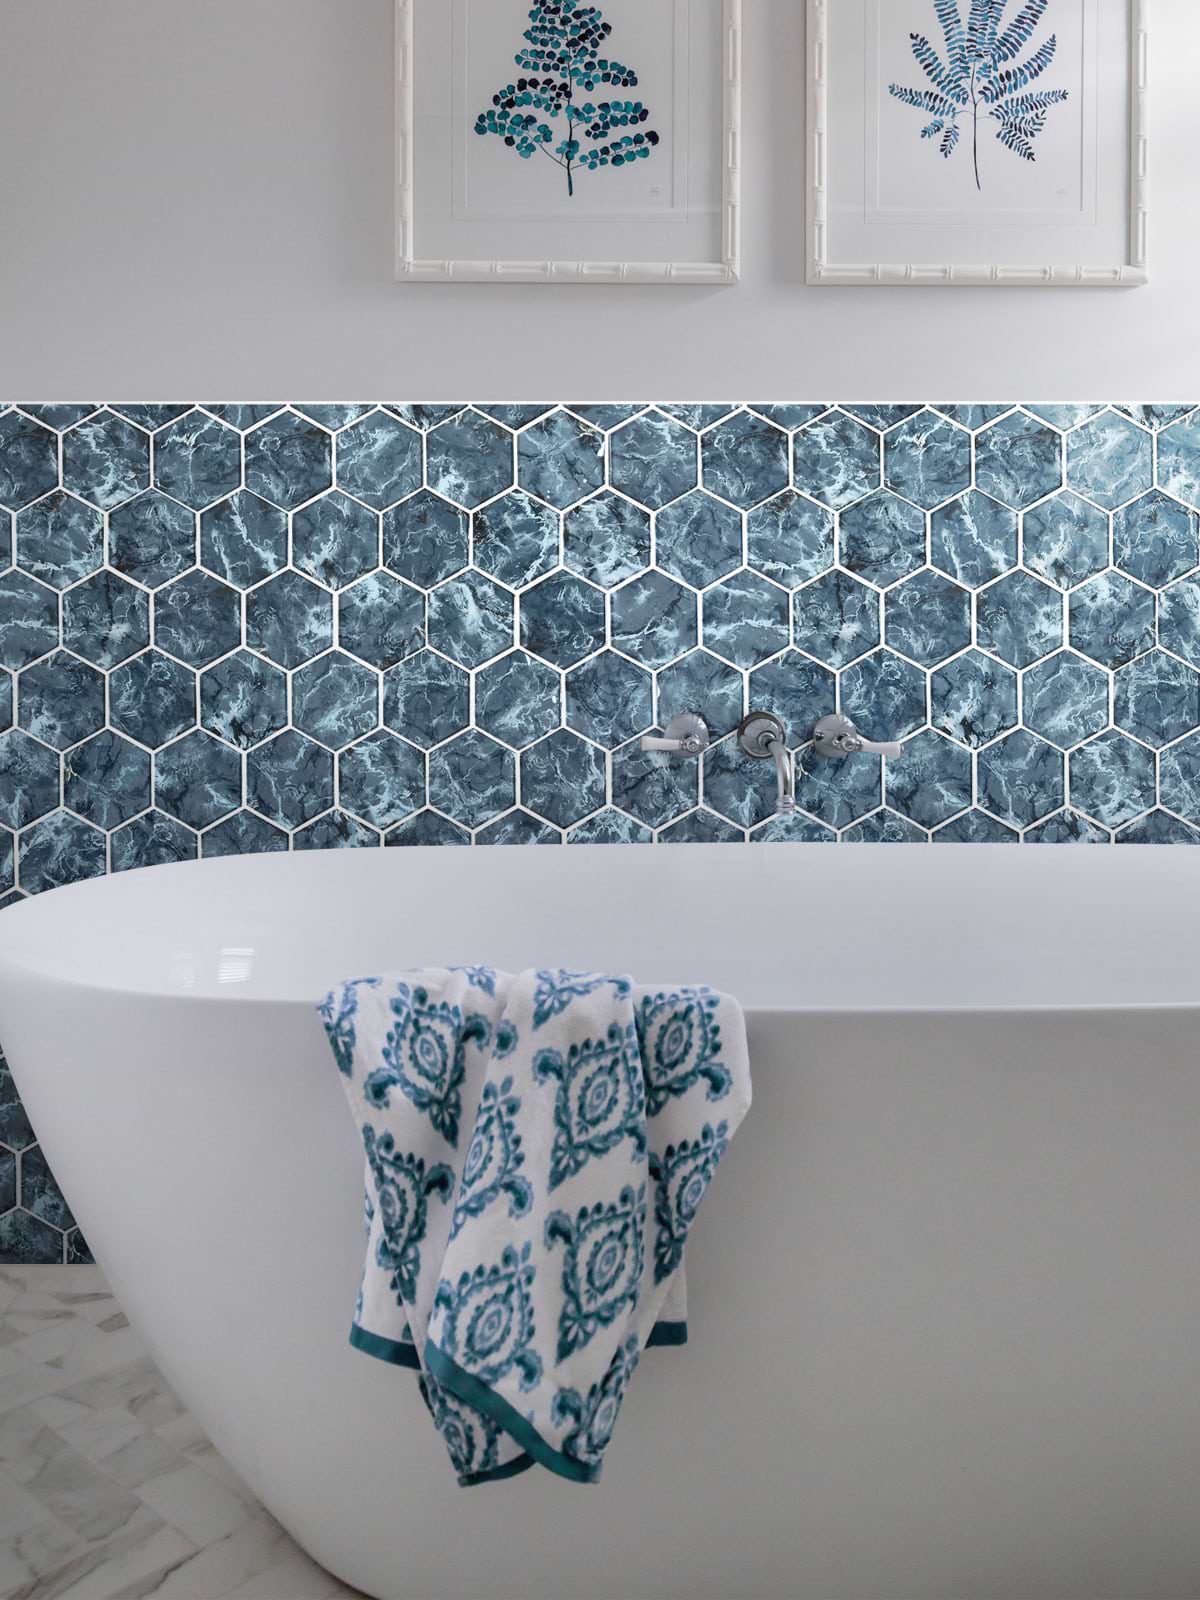
ID# 183005 – Product BA5501 – Marble Look Blue Glass Hexagon Bathroom Wall Tile
Marble Look Blue Hexagon Wall Tiles with White Bathtub
Since the freestanding bathtubs are generally used as the focal point of the bathrooms, the wall behind the tub became more and more important. And if you want to make a statement, you will love our marble-looking blue glass hexagon tile. Adorned by white marble-like veins, these blue hexagon mosaics act as a mural, evoking a tranquil feel. You can complement these blue tiles by using some blue decoration objects or textiles like towels.
Do I need to re-plaster after removing tile?
Removing the existing tiles might damage the plaster. If this damage is repairable, you don’t need to replace the plaster. You need to fix the plaster to give a perfect surface for installation.
Retile Your Bathroom Step by Step
01- Calculate How Many Tiles You Need
First things first, before the retiling, you need to measure the area and define how many tiles you need. Once determine the area that you will retile, measure the width and height of the area and multiply to find the square footage. We are recommended to add %10 to your final result because there might be some damaged tiles or you might need to cut some tiles.
02- Prepare The Area
If you are retiling bathroom walls, cover the vanity cabinet, bathtub, and toilet with plastic sheeting and secure the sheet with painter’s tape. Also, it is better to lay cardboard under the plastic sheet to avoid damage from falling tiles.
03- Remove Old Tiles
Removing the old tiles is the most tedious part of this process. During this step, you need to be patient to avoid damage to the surface underneath the tiles. Yes, it is a time-consuming step but being patient will help you to ensure that you don’t accidentally damage the drywall or backer board. To remove the old tiles, use a putty knife to chisel the edges of the tiles and hammer the putty knife to loosen the tiles. Also, if you are retiling shower walls, you need to remove the showerhead and shower handles. Once you have removed the old tiles, you will see the adhesive and you need also remove it. To remove the mortar, you can use a utility knife.
04- Clean the Surface
Before the installation of new tiles, you must create a uniform surface to achieve a proper installation. So, make sure all surfaces are smooth and flat. After removing the mortar, you can sand the area with sandpaper or an electric sander.
05- Prepare Underlayment
Because bathrooms are wet areas, you need a special base layer such as a backer board or drywall. These dry surfaces will protect the tiles against moisture and will extend the life of your tiles.
If you are retiling bathroom walls, if there is already drywall, and if it is not damaged, you don’t need to replace the drywall behind the tiles. You can fix the holes with a drywall joint compound. You can do this step more than once to create a smooth and uniform surface but you need to allow each layer of drywall joint compound to completely dry. To learn more information check our How to remove tiles blog.
For the bathroom floors, you can use a cement board for an underlayment layer. A cement board also provides a uniform surface for the installation. You can use a circular saw to cut the cement board according to the shape of your bathroom floor. Then use a drill to attach the backer board to the floor and secure it with screws. You can also use a backer board for your shower walls.
06- Define the Layout of the New Tiles
Once your surfaces are ready, now it is time to determine the layout of the tiles. Determining the layout before the installation will help you to achieve a perfect look. Also, you can find the tile pieces which are needed to be cut. If you need to cut the tiles, you need to use a proper cutting tool for your material. Check this ‘How-to-cut tiles?’ article to learn which tool is the best for your tiles.
07- Install New Tiles
After you have planned out your tile layout, it is time for installation. Prepare your adhesive according to the manufacturer’s instructions. For the bathroom walls, start covering half of the walls. Apply the adhesive with a notched trowel and lay the tiles on the adhesive. Then place the tile spacers between the tiles to secure them. Do these steps until cover the whole wall. The installation process is the same for the bathroom floor. Once tiles are installed, wait at least 24 hours to set them in place.
08- Apply Grout
The installation is almost done! After the adhesive is fully dried, remove the tile spacers and prepare the grout. Spread the grout between the tiles with a grout float by using a 45-degree angle. After filling all the grout lines, wait 10 minutes and wipe down the tile surfaces with a wet sponge to remove haze. Once you have done the grouting, wait 24 hours. For floors, it is better to wait 72 hours.
09- Caulk
For a final step, caulk the vertical or horizontal lines along walls or floor for example between the tiles and bathtub or shower or around bathroom fixtures. Now you can enjoy your brand-new bathroom!
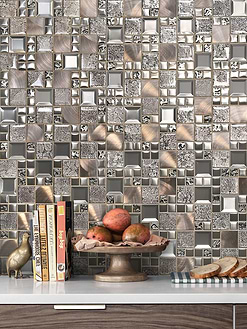
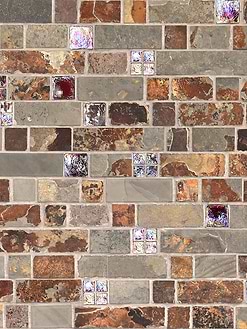
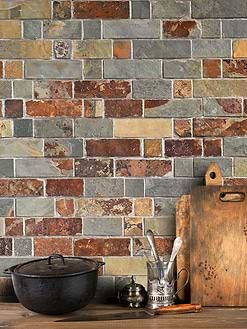
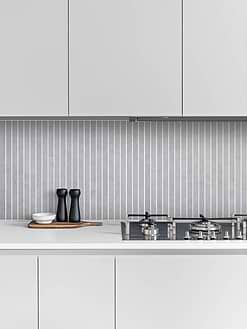
ID# 183007 – Product BA1065 – Rusty Brown & Gray Slate Chevron Mosaic Tile
Modern Rustic Bathroom with Chevron Backsplash
Thanks to the eye-catching appeal, our slate chevron mosaic backsplash tile offers a one-of-a-kind appeal. These colors a bit rusty and gray look entirely different from the smooth wooden vanity and countertops which are made to follow the modern lines. These colors a bit rusty and gray look entirely different from the smooth wooden vanity and countertops which are made to follow the modern lines. For the upper parts, the shining mirrored cabinets become the stars, add a new dimension to the rustic setting, and establish the space.
Tips About How to Retile a Bathroom
Retiling a bathroom is an easier job than you think. However, some critical points make it even easier!
- For the first step, be sure of your safety. You should wear some protective clothes such as glasses, sleeves, and gloves because especially when removing the old tiles broken tile pieces can chip off.
- Removing the existing mortar is one of the most important steps. If you want to do a successful job, you need to be patient when removing it. Also, this way you will avoid to damage the underneath of the mortar and this effort saves you thousands of dollars for replacing drywall.
- Once the old mortar is removed, you need to wash the wall with water to remove dust and prepare a clean surface for the new mortar.
- When installing the new tiles, measure the height of the tile and draw a caulk line above each tile. This way you will know the area where new mortar must be applied.
- You can use your finger to fill the grout into areas where the grout float won’t fit.
If you want to replace the drywall or cement backer board behind the tiles, you don’t have to spend time removing the tiles. You can cut out sections of the wall.
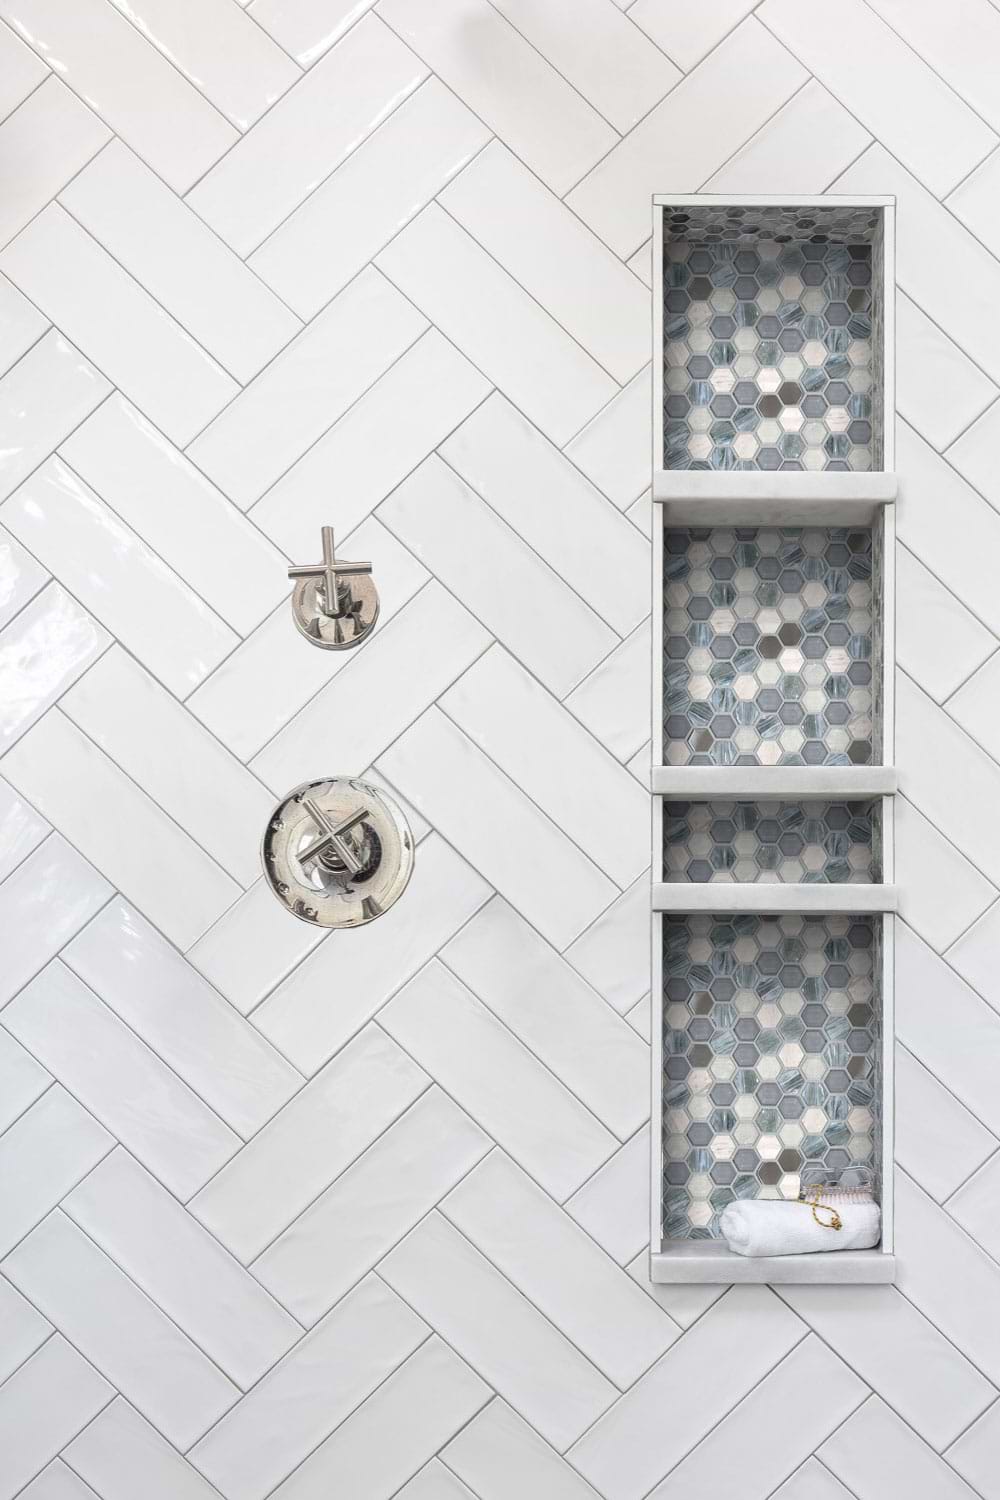
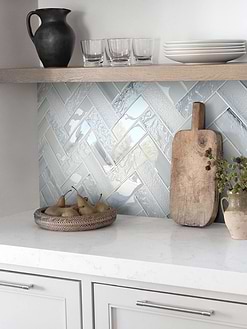
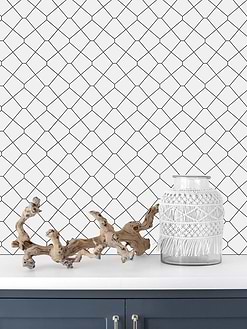
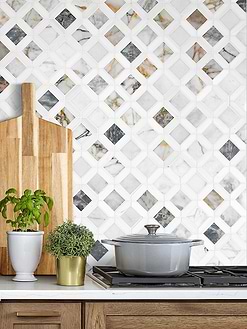
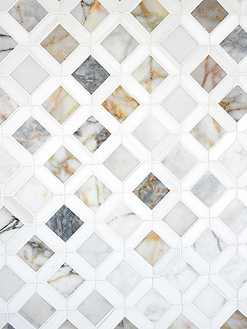
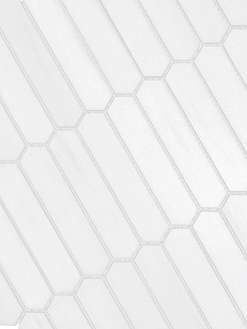
ID# 183008 – Product BA62026 – Blue & Gray Hexagon Glass and Marble Mix Mosaic Tile
How to Retile Bathroom Shower Niche?
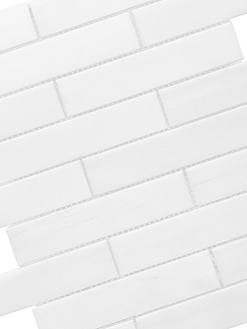
Besides their functional aspects, shower tiles are also visual elements that can easily enhance the overall look. And sometimes, using two different types of tile design will create more attractive appeals. If you are designing a shower niche, you can use a different type of tile for this area to create a focal point. In this shower, for example, the white herringbone tiles surround the wall space, providing a bright and spacious atmosphere. The marble and glass hexagon mosaic tiles are used for the niche. With their beautiful blue and gray color transitions, these tiles enhance the overall look.
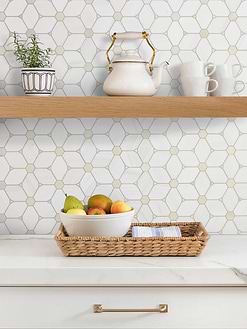
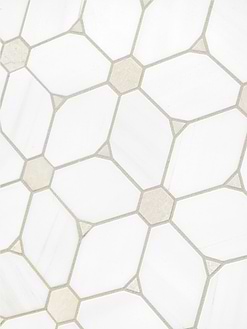
White Mosaic Tiles
Can I retile my bathroom myself?
As we mentioned above, retiling a bathroom is not a hard job. With some useful tips and a well-prepared guide, you can easily retile your bathroom by yourself!
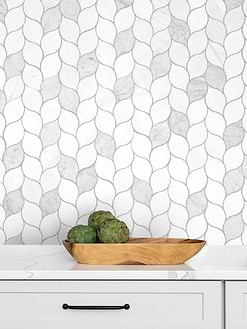
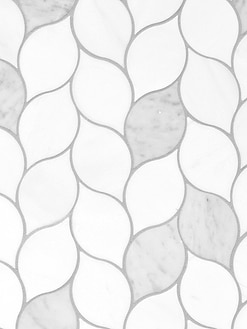
Marble Mosaic Tiles
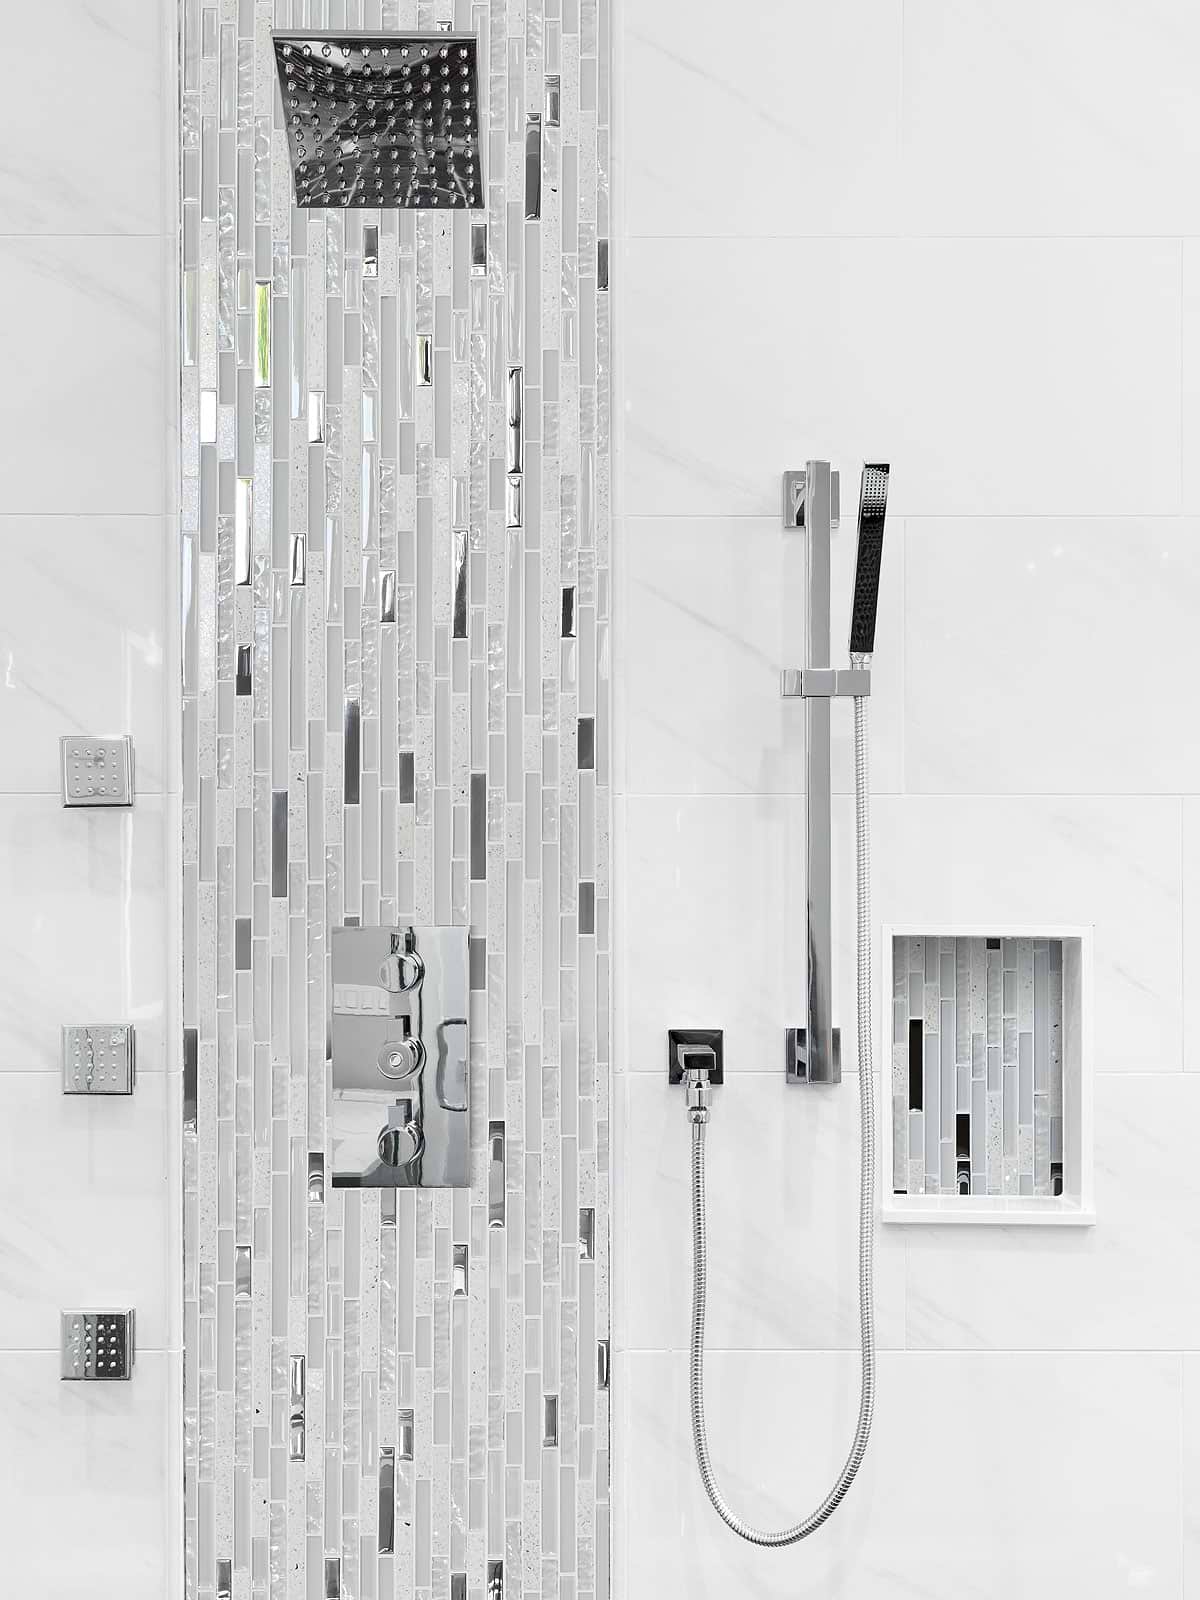
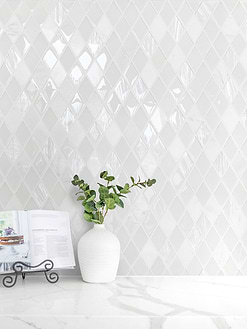
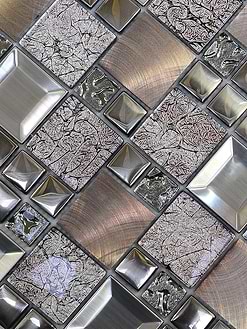
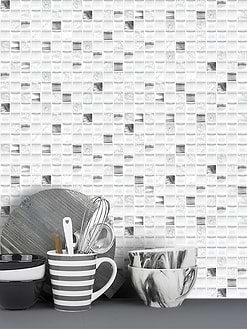
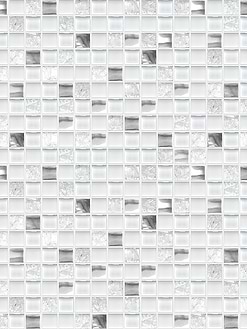
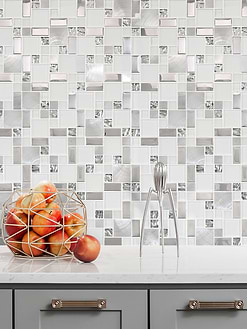
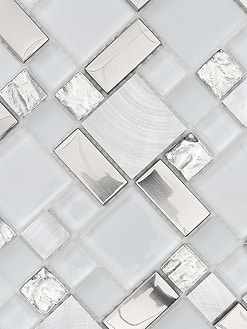
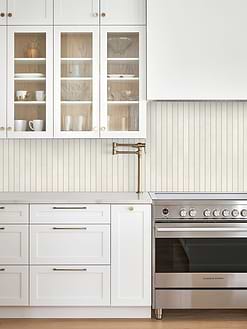
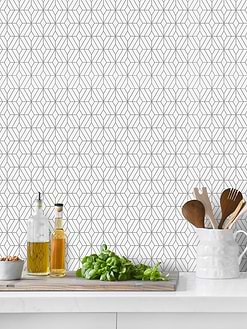
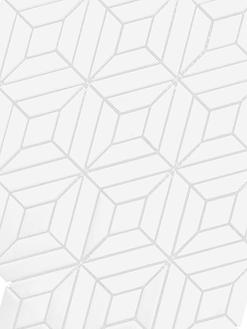
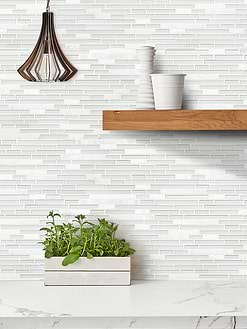
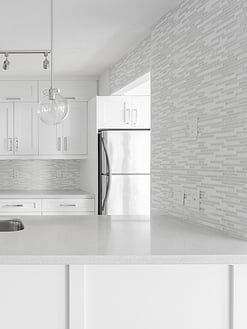
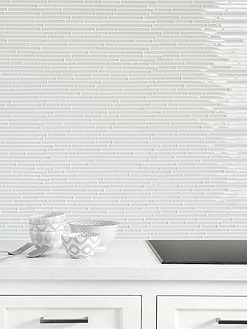
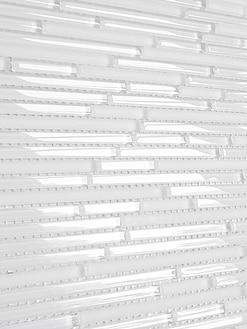
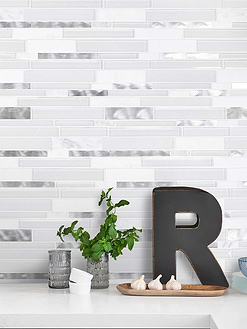
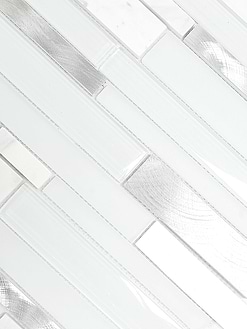
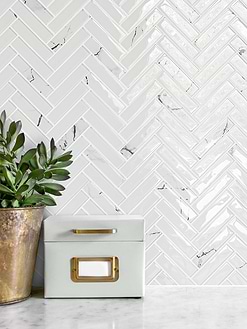
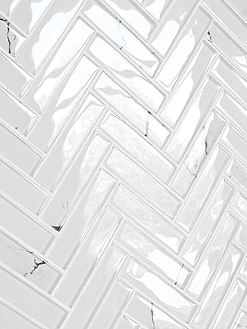
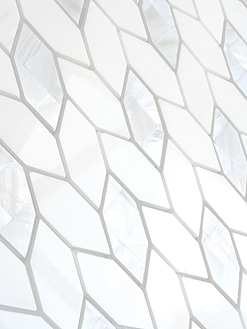
ID# 183009 – Product BA62038 – Modern White Glass & Quartz Mosaic Tile
White Shower Design with Mosaic Tiled Accent Wall
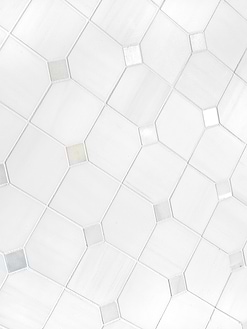
If you decide to retile your bathroom and have a small space, white tiles might be your savior! Thanks to the ability to make the space feel brighter and larger, white tiles will give your bathroom a totally fresh look. And if you want to add a glamorous appeal, our glass and quartz mosaic tiles are the way to go! In this shower design, the large-format white tiles provide a clean and fresh appeal as a foundation. The white and quartz mosaic tiles instantly add a dazzling look between them without overwhelming them.