15+ How to Install Subway Tile Backsplash
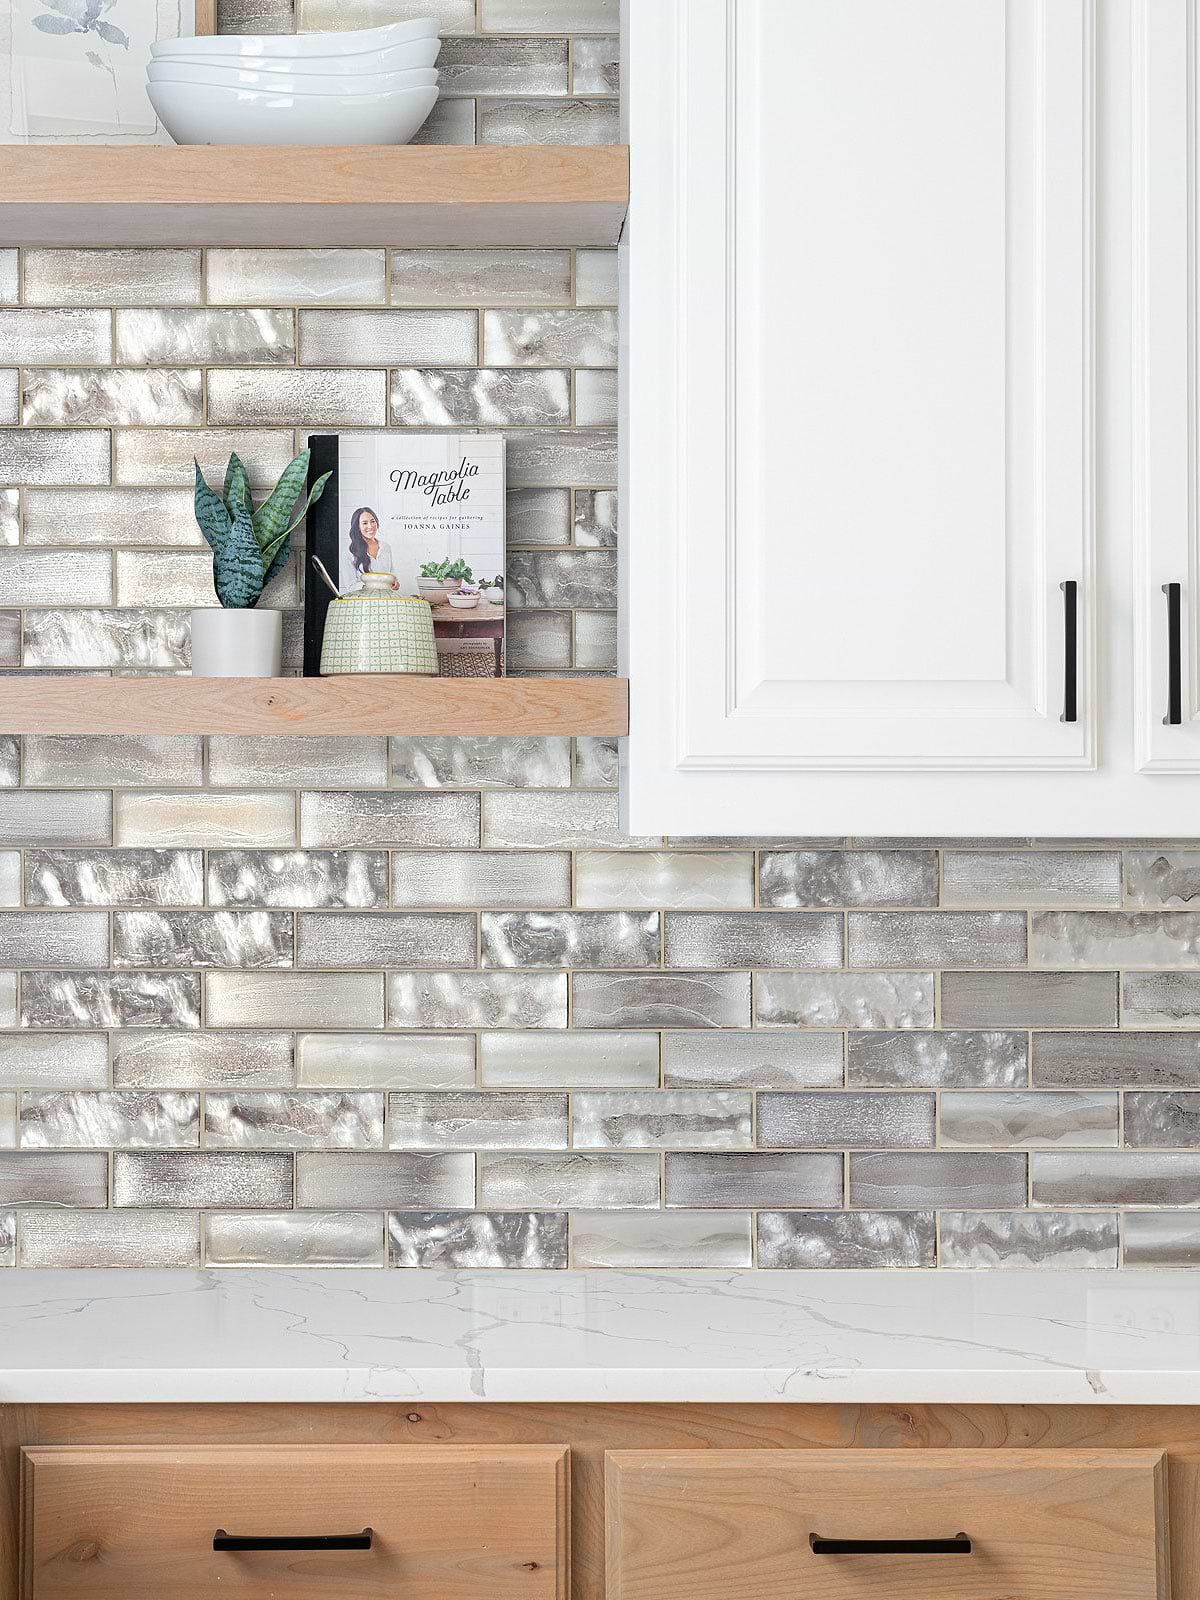
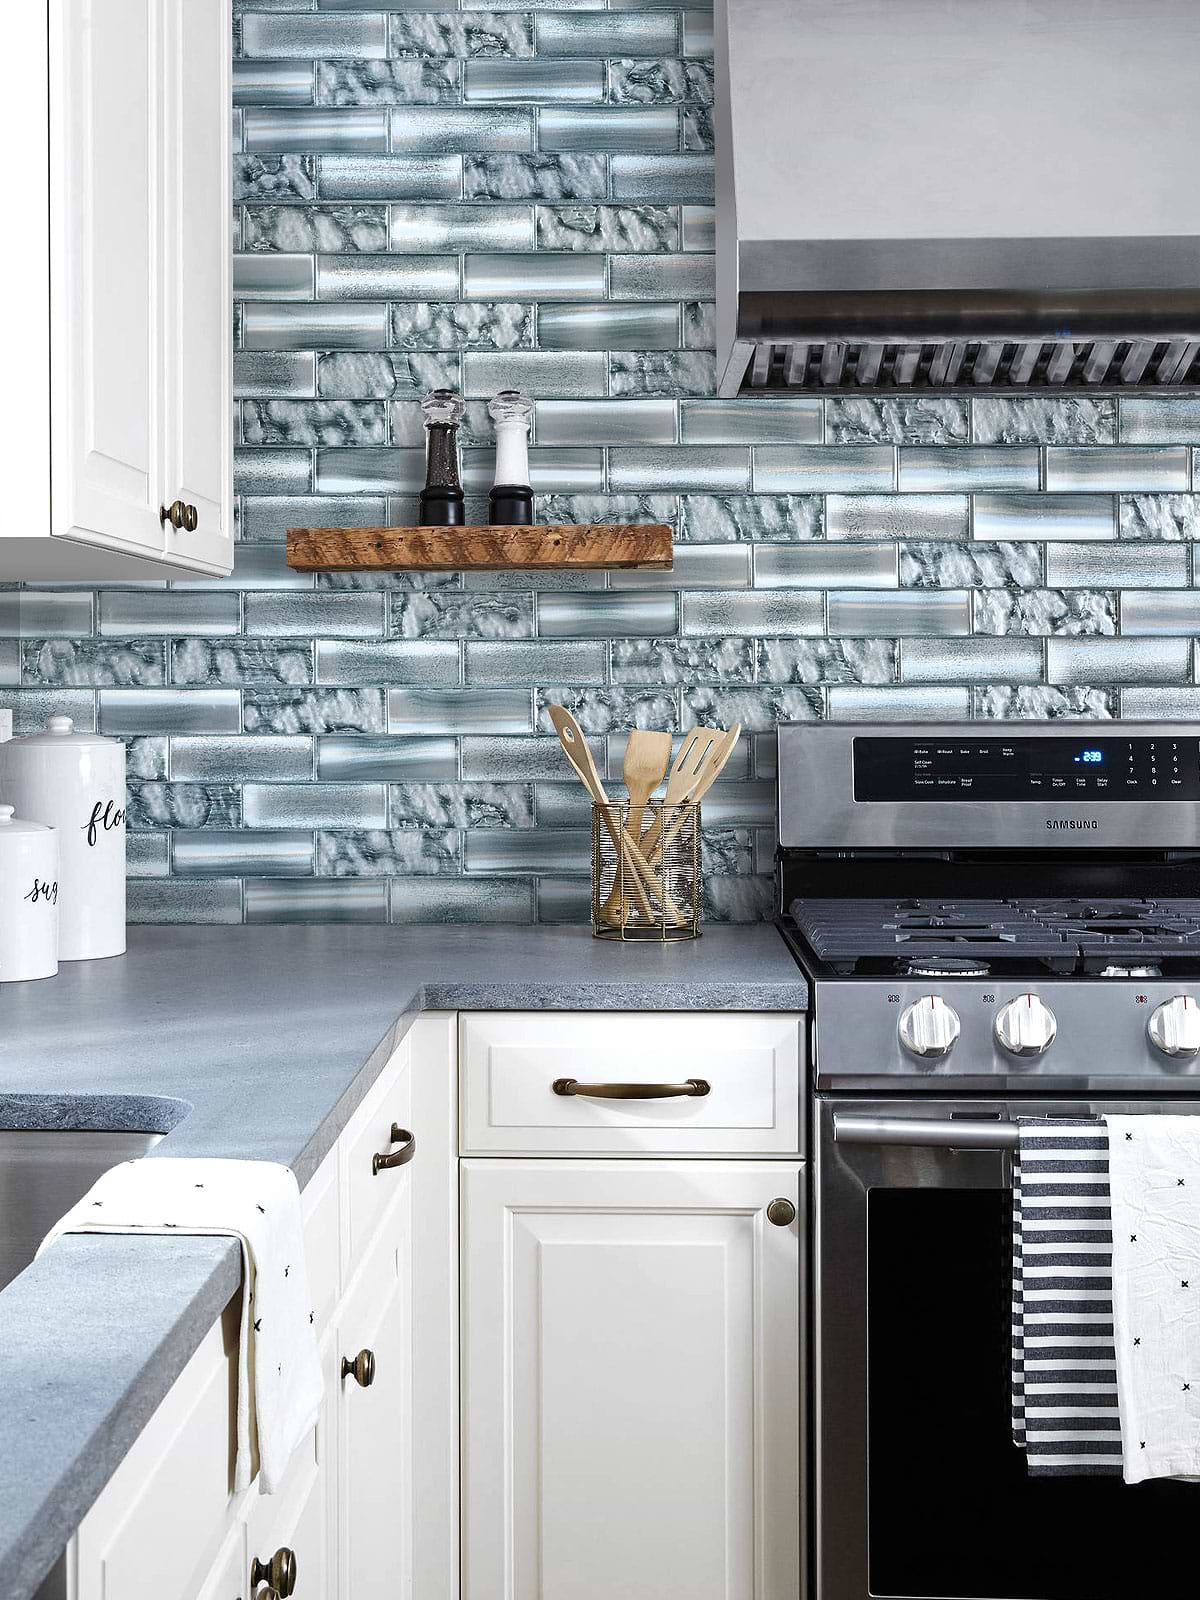
ID# 185007 – Product BA6201 – Space Brown Glass Subway Mosaic Backsplash Tile
White and Wood Cabinets with Space Brown Subway Tiles
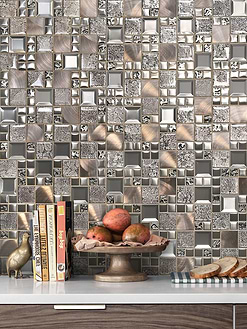
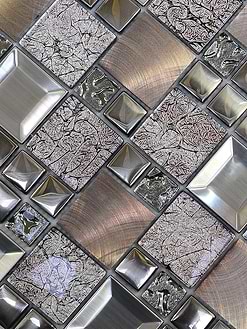
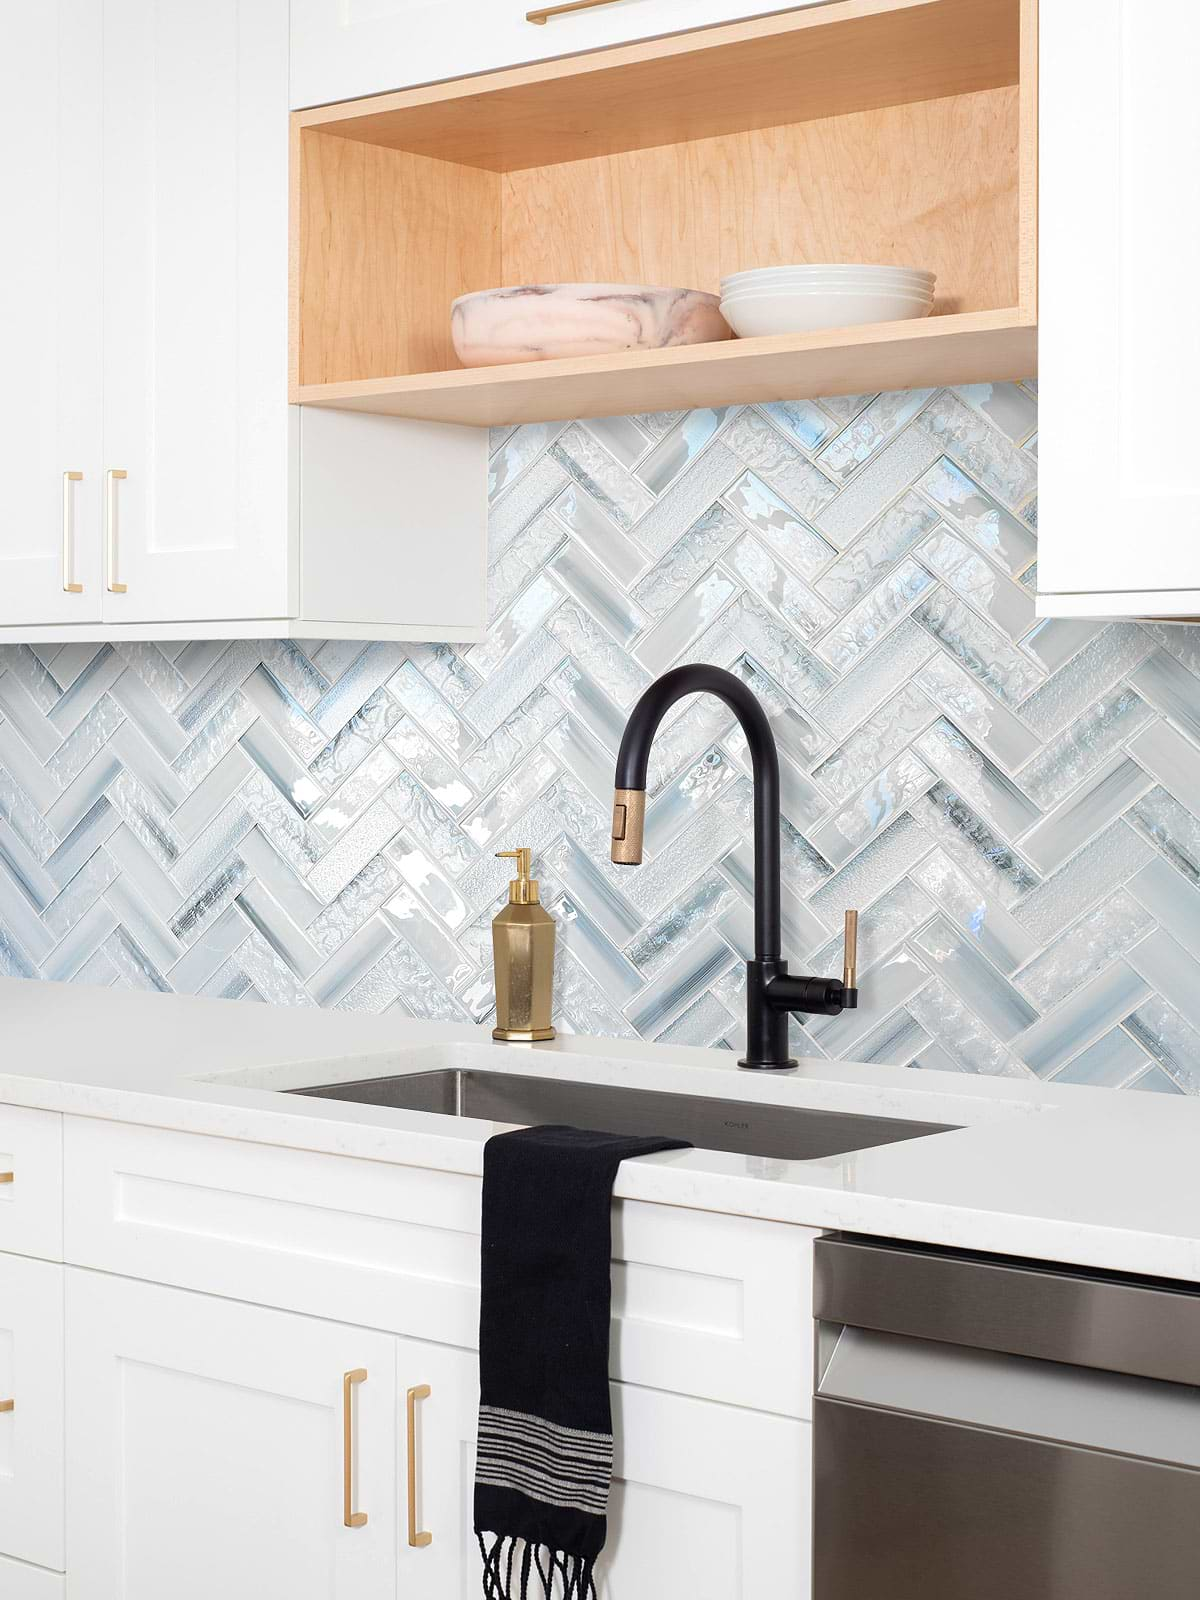
This backsplash design is proof that you can make a strong statement even with a classic subway pattern! The glass subway tiles are adorned with a gorgeous space brown color that gives a metallic effect. Thanks to this effect, subway backsplash tiles shine like a diamond, adding a glamorous look. The white upper cabinets and white Silestone quartz countertops provide a bright and spacious atmosphere for this kitchen. The wood base cabinets and floating shelves complement the brown shades of the tiles and bring a warm sense. The black hardware slightly punctuates the cabinets and adds much-needed contrast.
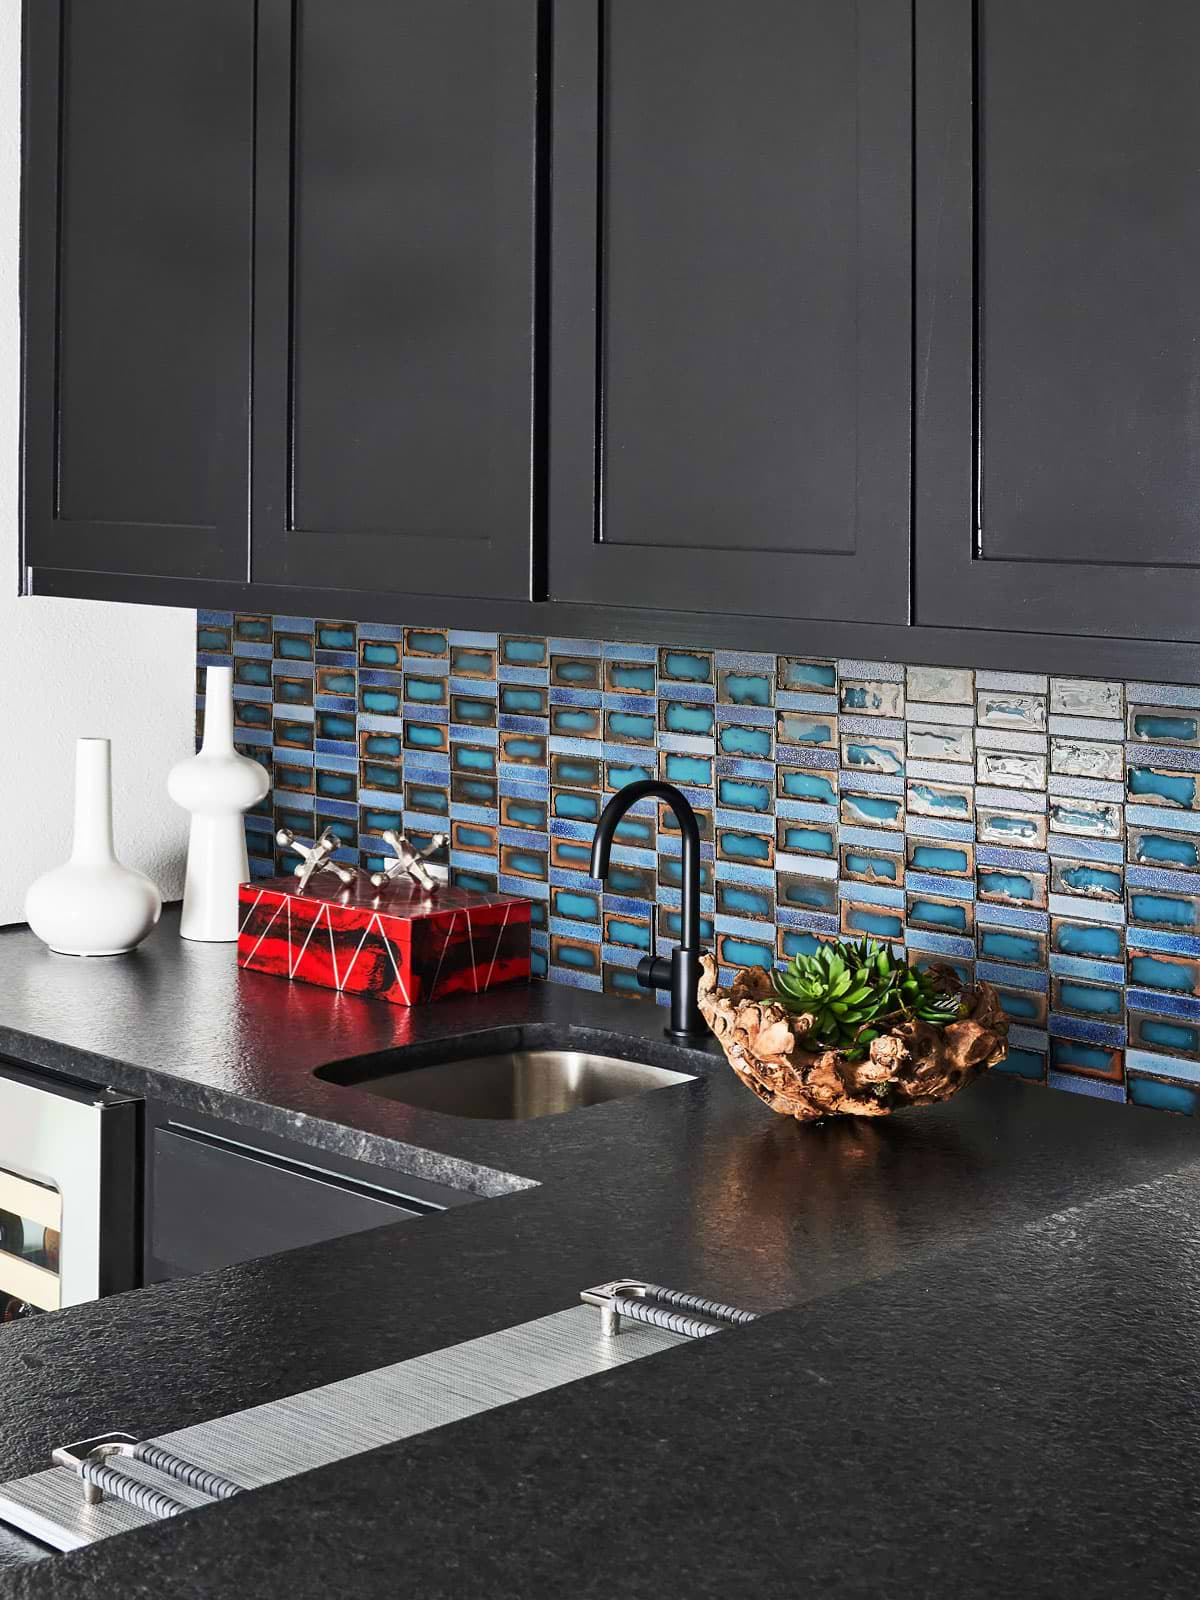
ID# 185009 – Product BA6204 – Blue Rustic Glass & Ceramic Mosaic Backsplash Tile
Black Cabinets with Blue Stacked Subway Tiles
This contemporary kitchen offers a dramatic appeal with its bold color scheme! The black cabinets anchor the space, providing a sophisticated foundation. The handless design of the cabinets enhances the modern aesthetic. The black granite countertops flawlessly blend with the cabinets to create a continuous look. The blue ceramic and glass tile backsplash is another color with contrast to the black surfaces thus improving the visual appeal. These tiles have a glossy effect to them which gives it an airy and light feel.
How to Install Subway Tile Backsplash
Subway tiles are reminiscent of the tiles used in early 20th-century subway stations and they have been the staple for backsplashes for over a century. With their simple rectangular shapes, they offer a subtle elegance that can work with a variety of design styles. Whether you prefer a modern, traditional, farmhouse, rustic, or contemporary, subway tiles can complement all of them. So, installing them as a backsplash can significantly enhance the look of your kitchen or bathroom. And this can be a great DIY project! This step-by-step guide will show you some important tips and tricks about how to install subway tile backsplash!
Useful Tips and Tricks About How to Install Subway Tile Backsplash
Characterized by their rectangular shapes, subway tiles are one of the most popular design elements. From bathroom walls to fireplace surrounds, and of course, backsplashes, they can be used in different areas. Their classic appeal can easily give a subtle elegance to any space. Thanks to their simple rectangular shapes, they are relatively easy to install, maintain, and clean. That’s why, installing a subway tile backsplash is a great project for DIY enthusiasts. And if you are one of them, it might be better to know some important key points! By following the detailed instructions in our how-to-install subway tile backsplash article, you can ensure a professional-looking finish that you can be proud of.
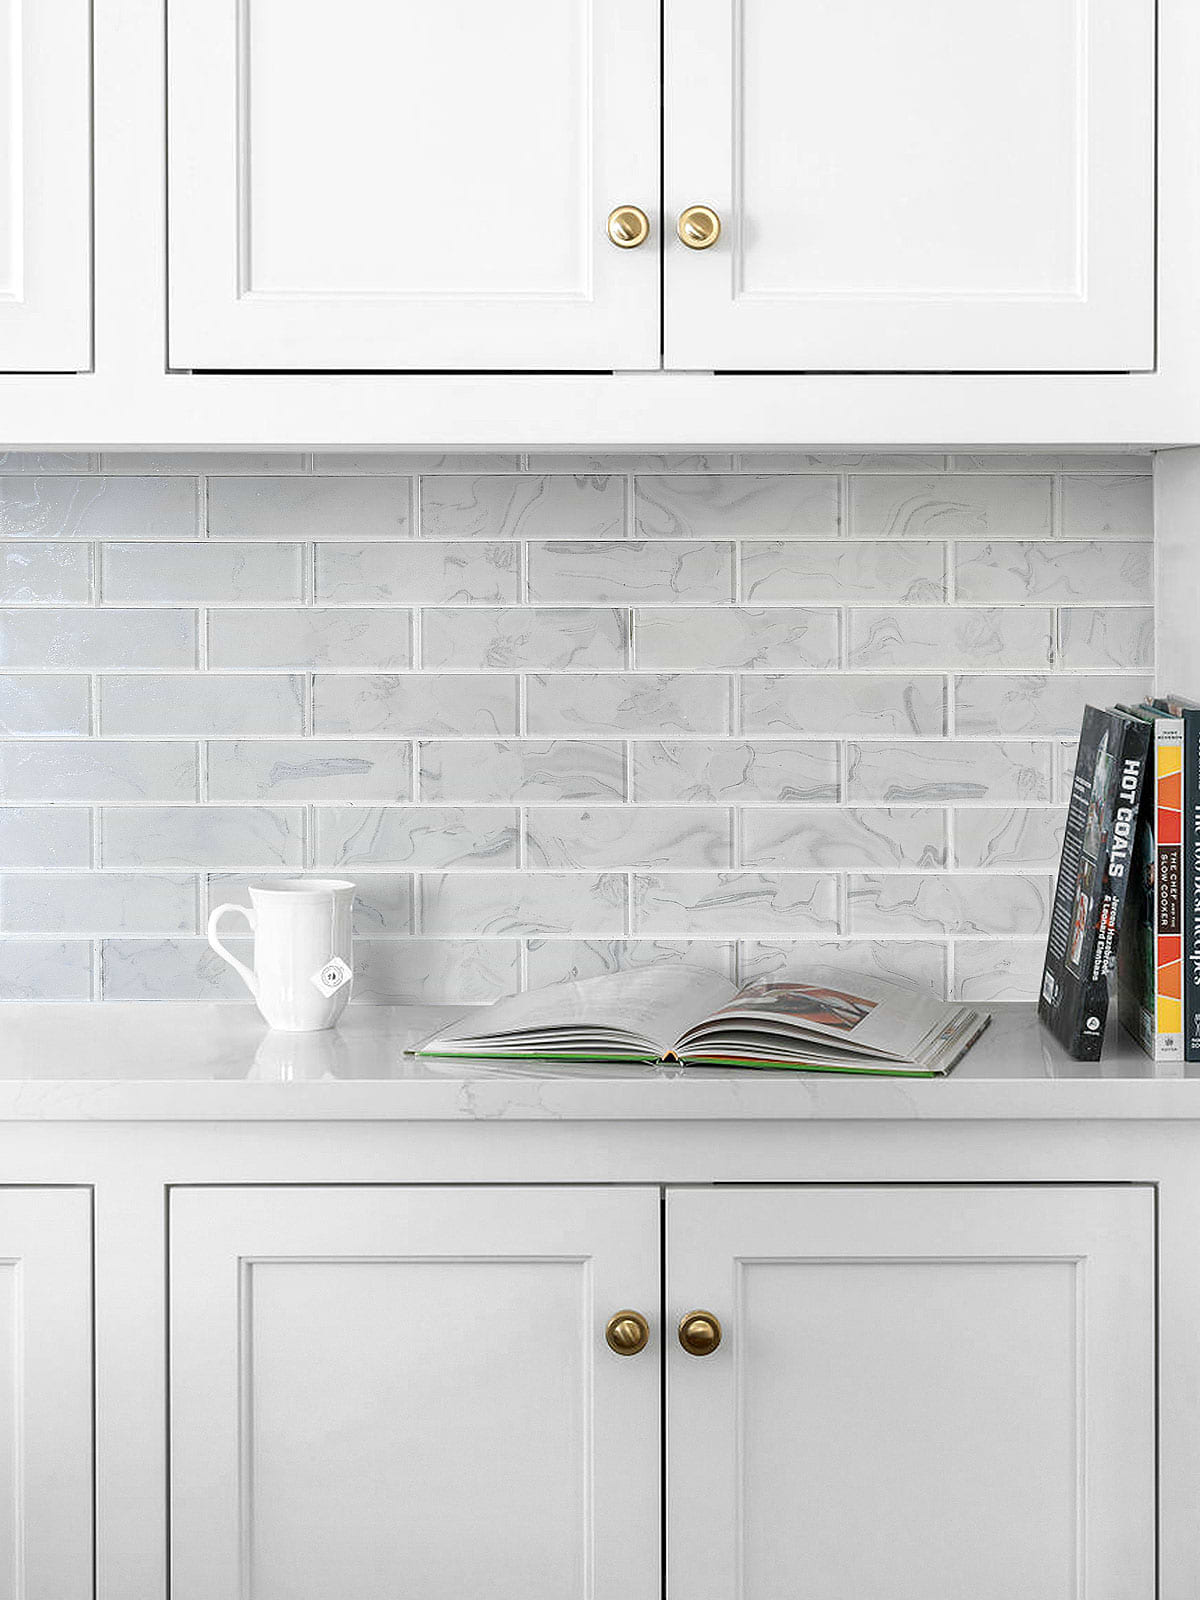
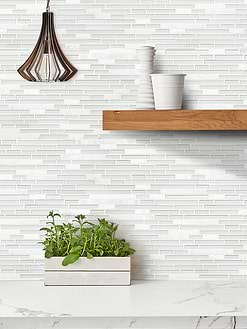
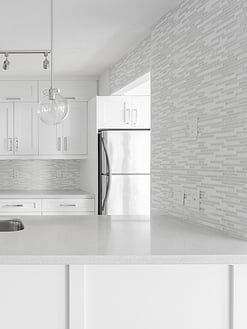
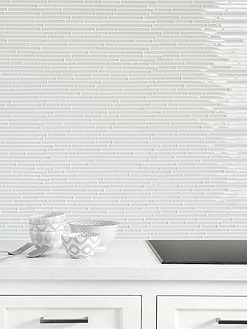
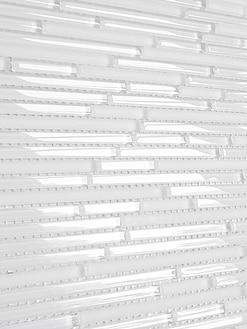
ID# 185001 – Product BA8001 – Sparkled White Glass Subway Backsplash Tile
All-white Kitchen with Glass Subway Tile Backsplash
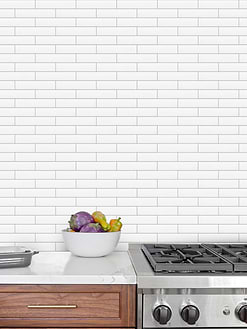
When it comes to subway tiles, white color is the most popular option. A white subway tile backsplash can easily work with any design aesthetic and provide timeless elegance. In this transitional kitchen, the subtle appeal of a white glass subway backsplash is paired with white shaker cabinets and white quartz countertops. This combination provides a timeless and versatile appeal that will never let you down! The addition of the brass cabinet hardware breaks the white dominance and adds much-needed warmth.
Best Seller Mosaic Tiles
ID# 185002 – Product BA8002 – Blue & Brown Glass Subway Mosaic Backsplash Tile
Two-tone Cabinets with Multicolored Glass Tiles
While solid-colored subway tiles are great for many reasons, you can make a bigger impact by using multicolored tiles. In this contemporary kitchen, the glass subway tiles directly draw attention, creating a focal point. The blue and brown color transitions on the tiles act as a mural and enhance visual interest. For the rest, the white and wood cabinets and white countertops perfectly complement the beach vibes of the tiles.
Subway Mosaic Tiles
How hard is it to install subway tile backsplash?
Thanks to the simple rectangular shape of the subway tiles, the installation process is not that hard. You just need to follow the steps as shown in this article and installation will be a breeze! While the running bond or offset pattern is the most popular laying option for subway tiles, there are also different alternatives like herringbone, chevron, basketweave, or stacked. Since stacked subway tiles need to lay in a linear pattern, this makes the installation process easier. However, the other options have more intricate patterns so they require a little bit more attention to detail!
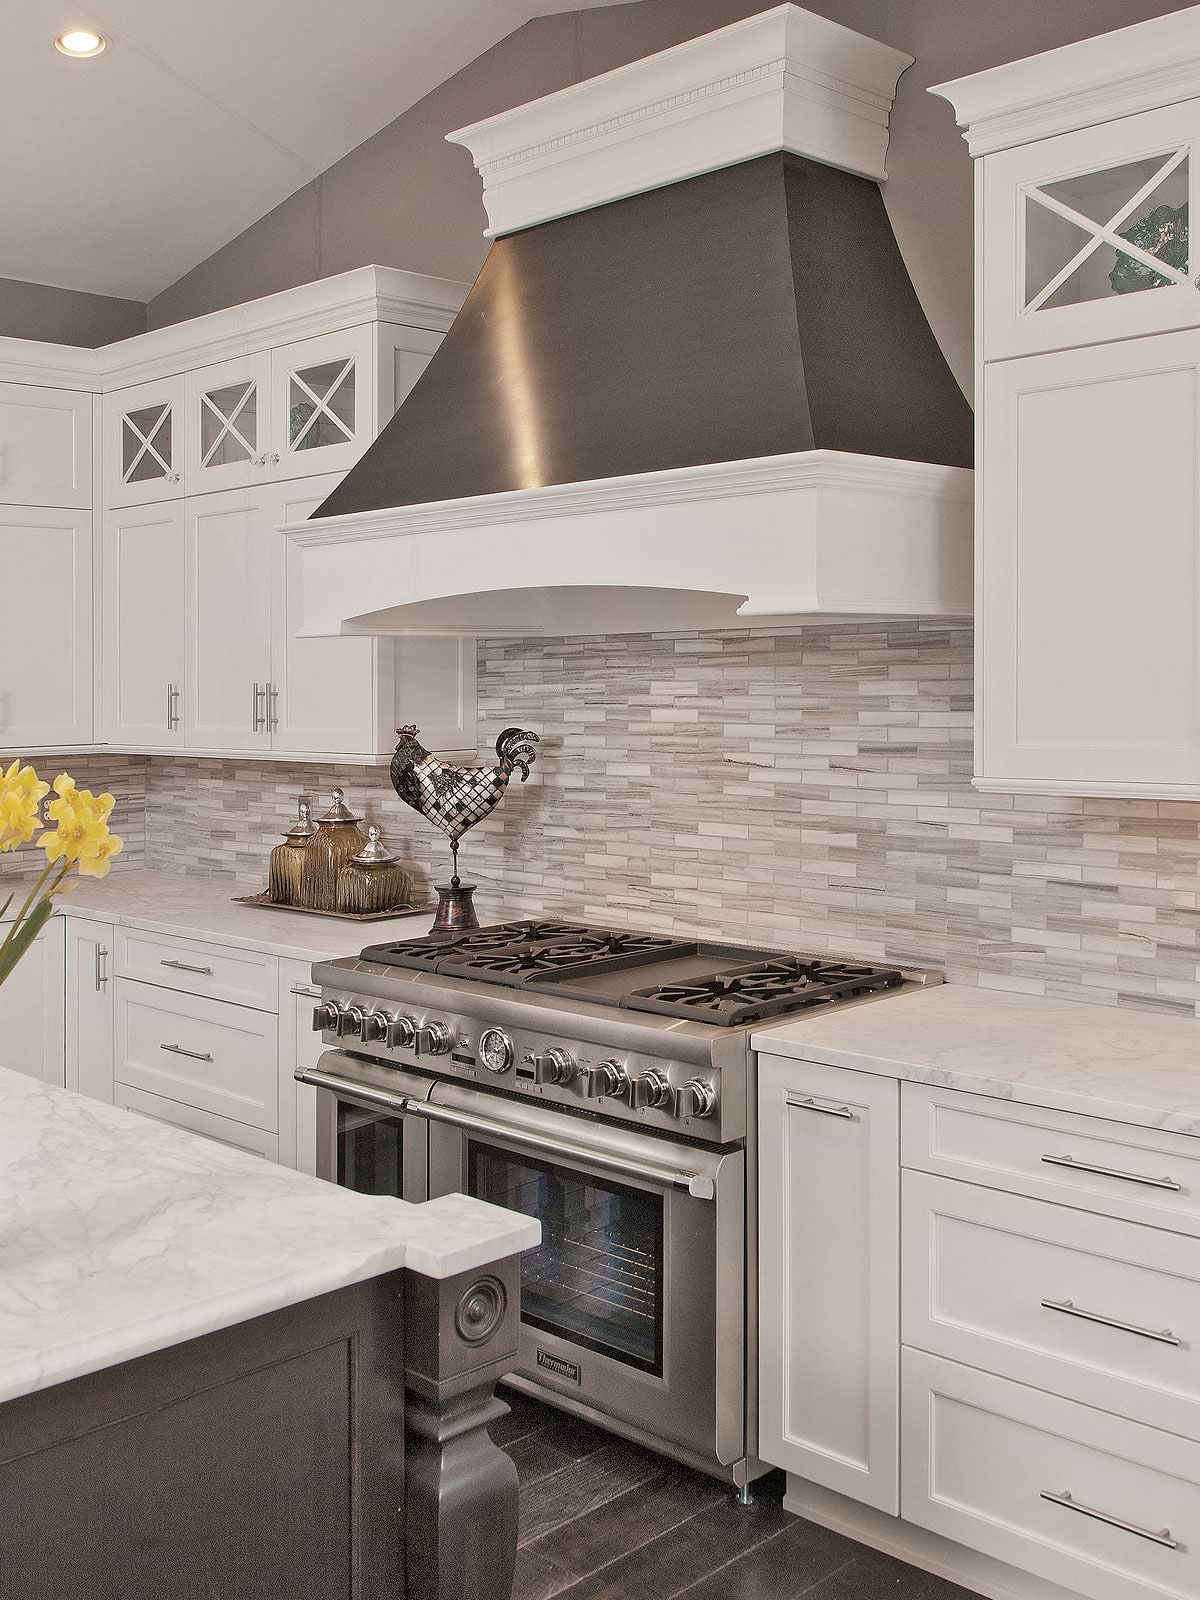
ID# 185003 – Product BA1034 – Modern Marble Subway Backsplash Tile
Traditional Kitchen with Marble Backsplash
When the timeless look of the classic subway pattern meets the luxurious elegance of the marble, the result is just beautiful! Marble subway tiles are great elements to create a visually appealing backdrop for kitchens. In this traditional kitchen, the marble subway tile backsplash creates a nice textural look between the white cabinets and countertops. The fresh appeal of the white surfaces allows the backsplash tiles to stand out even more. The oversized range hood and stainless steel stove enhance the value of the design.
Materials That You Need
- Tile adhesive (thinset mortar)
- Tile spacers
- Notched trowel
- Grout
- Grout float
- Tile cutter or wet saw
- Level
- Tape measure
- Pencil
- Rubber gloves
- Sponge
- Bucket
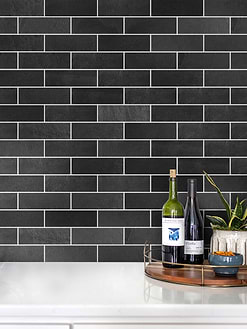
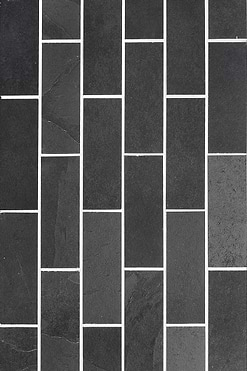
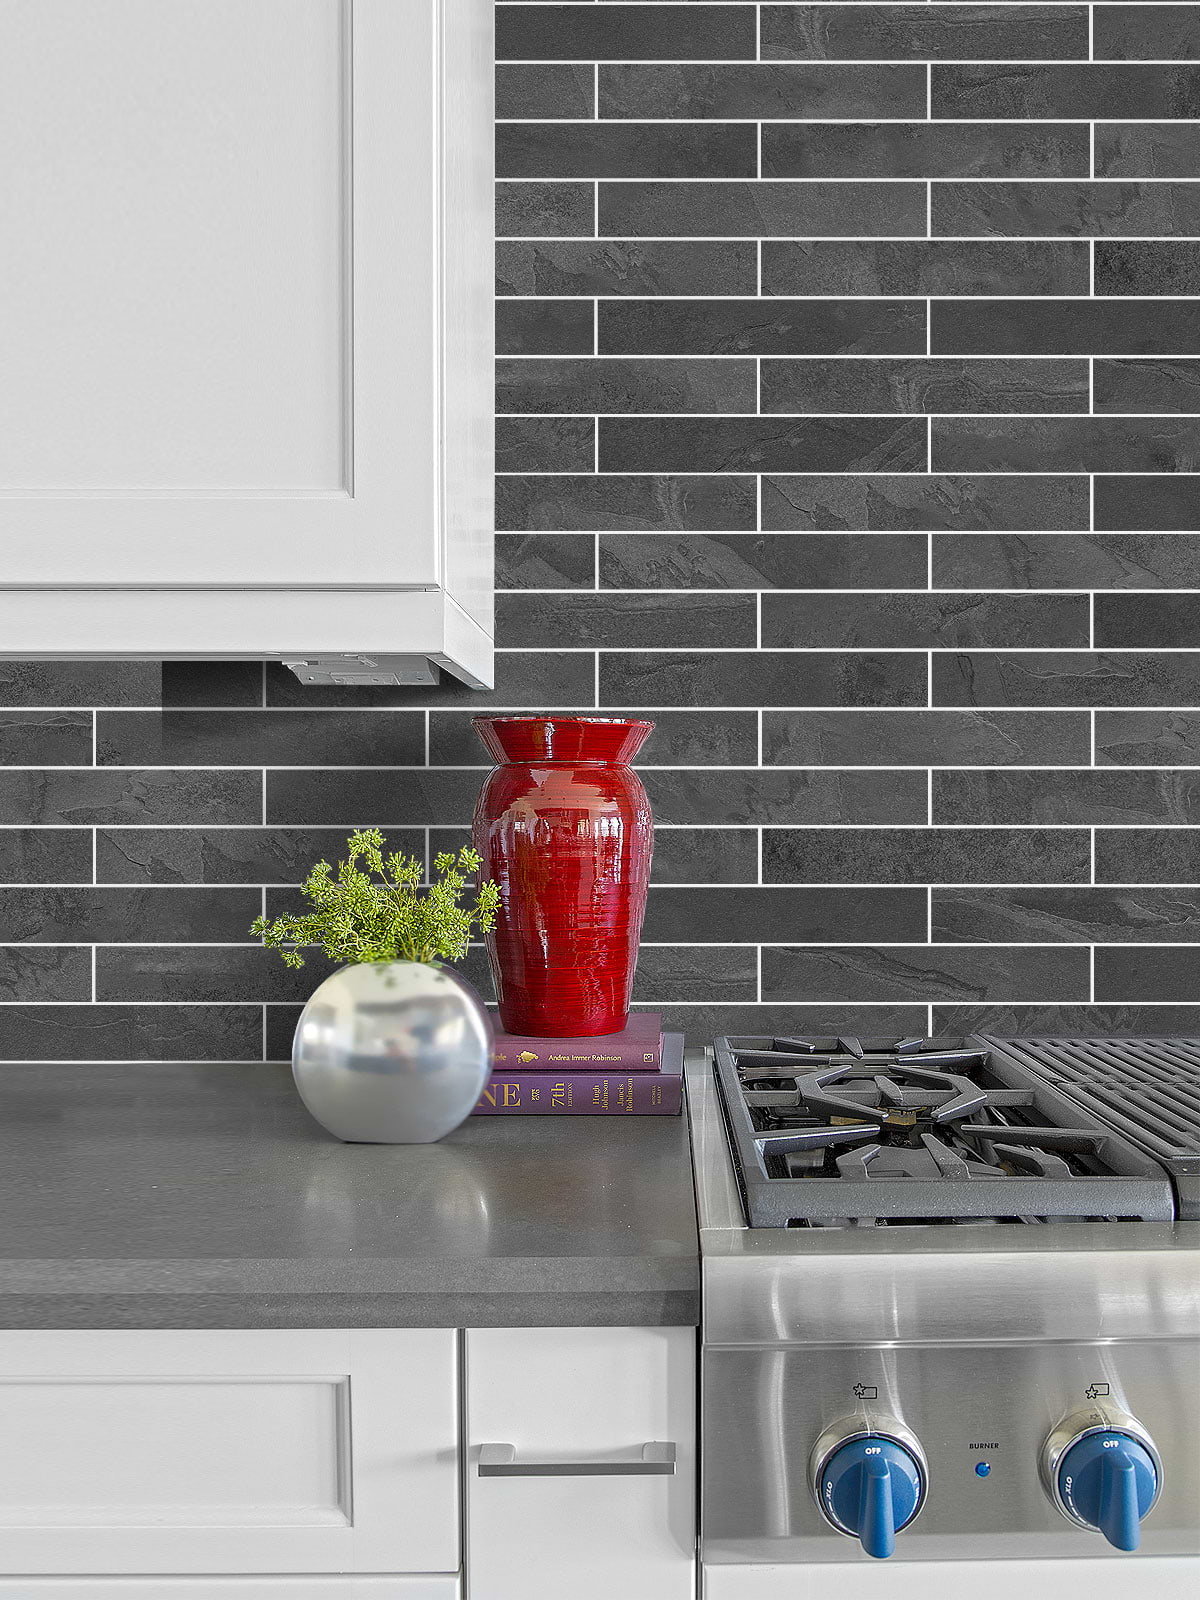
ID# 185004 – Product BA1045 – Modern Black Slate Subway Backsplash Tile
Black Slate Subway Tile Backsplash with White Grout
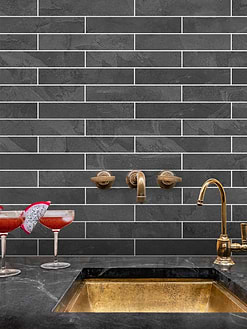
While white is the most popular color for subway tiles, you can also give a chance to black ones. Black subway tiles are great to create a classic appeal with a modern twist. As you can see in this contemporary kitchen, the black slate subway tile backsplash provides an eye-catching backdrop. The white grout color perfectly emphasizes the running bond pattern, enhancing the impact of the tiles. For the rest, white cabinets and gray countertops draw a sleek profile that complements the backsplash tiles.
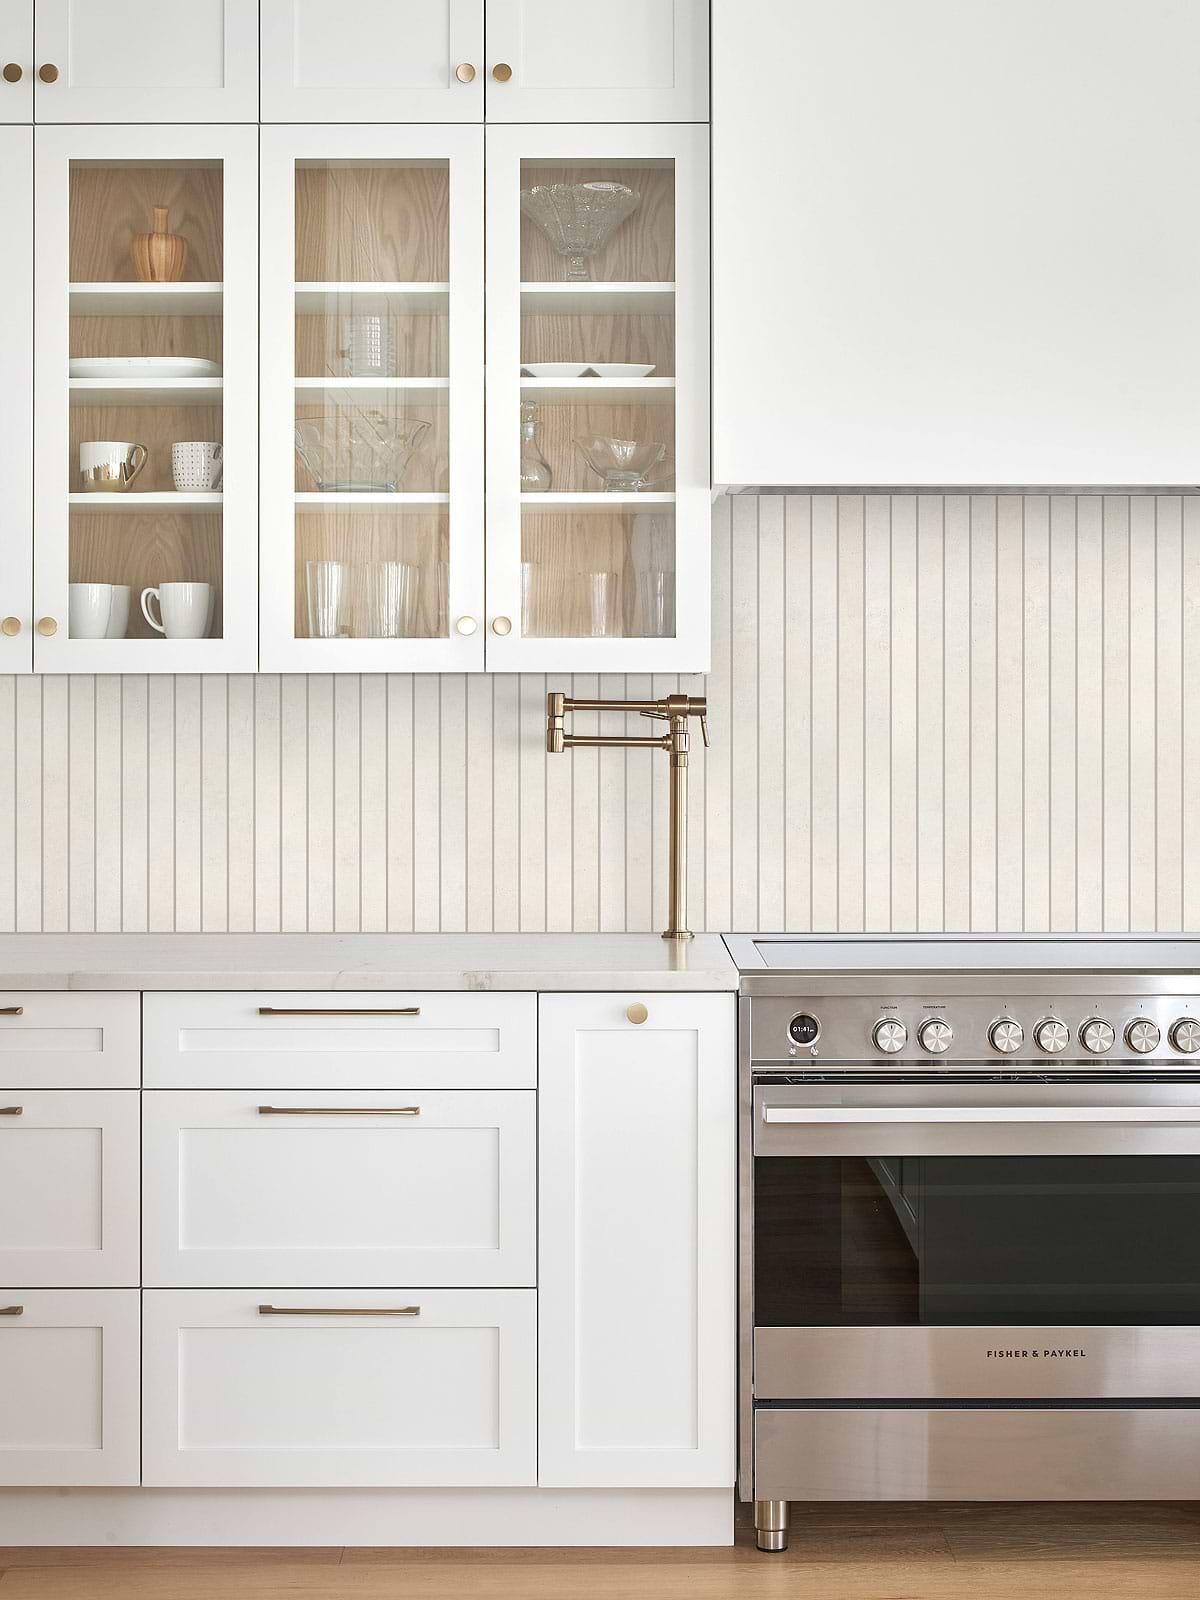
ID# 185005 – Product BA4501 – Modern Long Beige Porcelain Backsplash Tile
How to Install Long Subway Tile Backsplash?
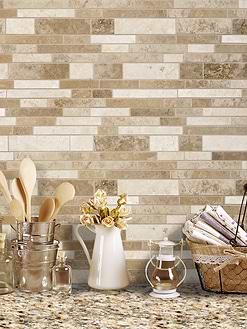
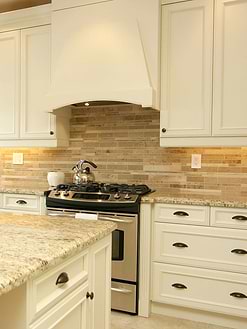
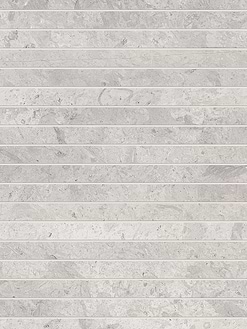
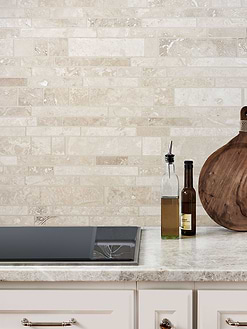
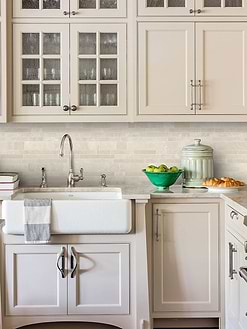
Even though the most popular way of the design is to use 3×6-inch tiles to achieve the subway effect appearance, longer ones offer a more modern design. Also, the long and slim shape of these tiles provides an easier installation process! In this transitional kitchen, everything from the detailing to the decor has been carefully put together so that the combination is well-balanced. The white shaker cabinets provide a bright and spacious atmosphere. The glass fronted wall cabinets add a light and airy feel to the space. The gray countertops are a nice addition to the cabinets that look very stylish. Between them, the contemporary look is boosted by the modern beige porcelain tile backsplash. The placement of the tiles vertically also gives the impression of a high ceiling!
How much does it cost to install subway tile backsplash?
The installation cost of a subway tile backsplash depends on several factors! Since the subway tiles have a simple shape, the installation will be cheaper than tiles with intricate patterns. The type of material is one of the most important of them. According to the material, a subway tile can range from $2 to $15 per square foot. If you don’t have any experience with tile installation and want to hire a professional there will be a labor cost in the range of $5 to $20 per square foot!
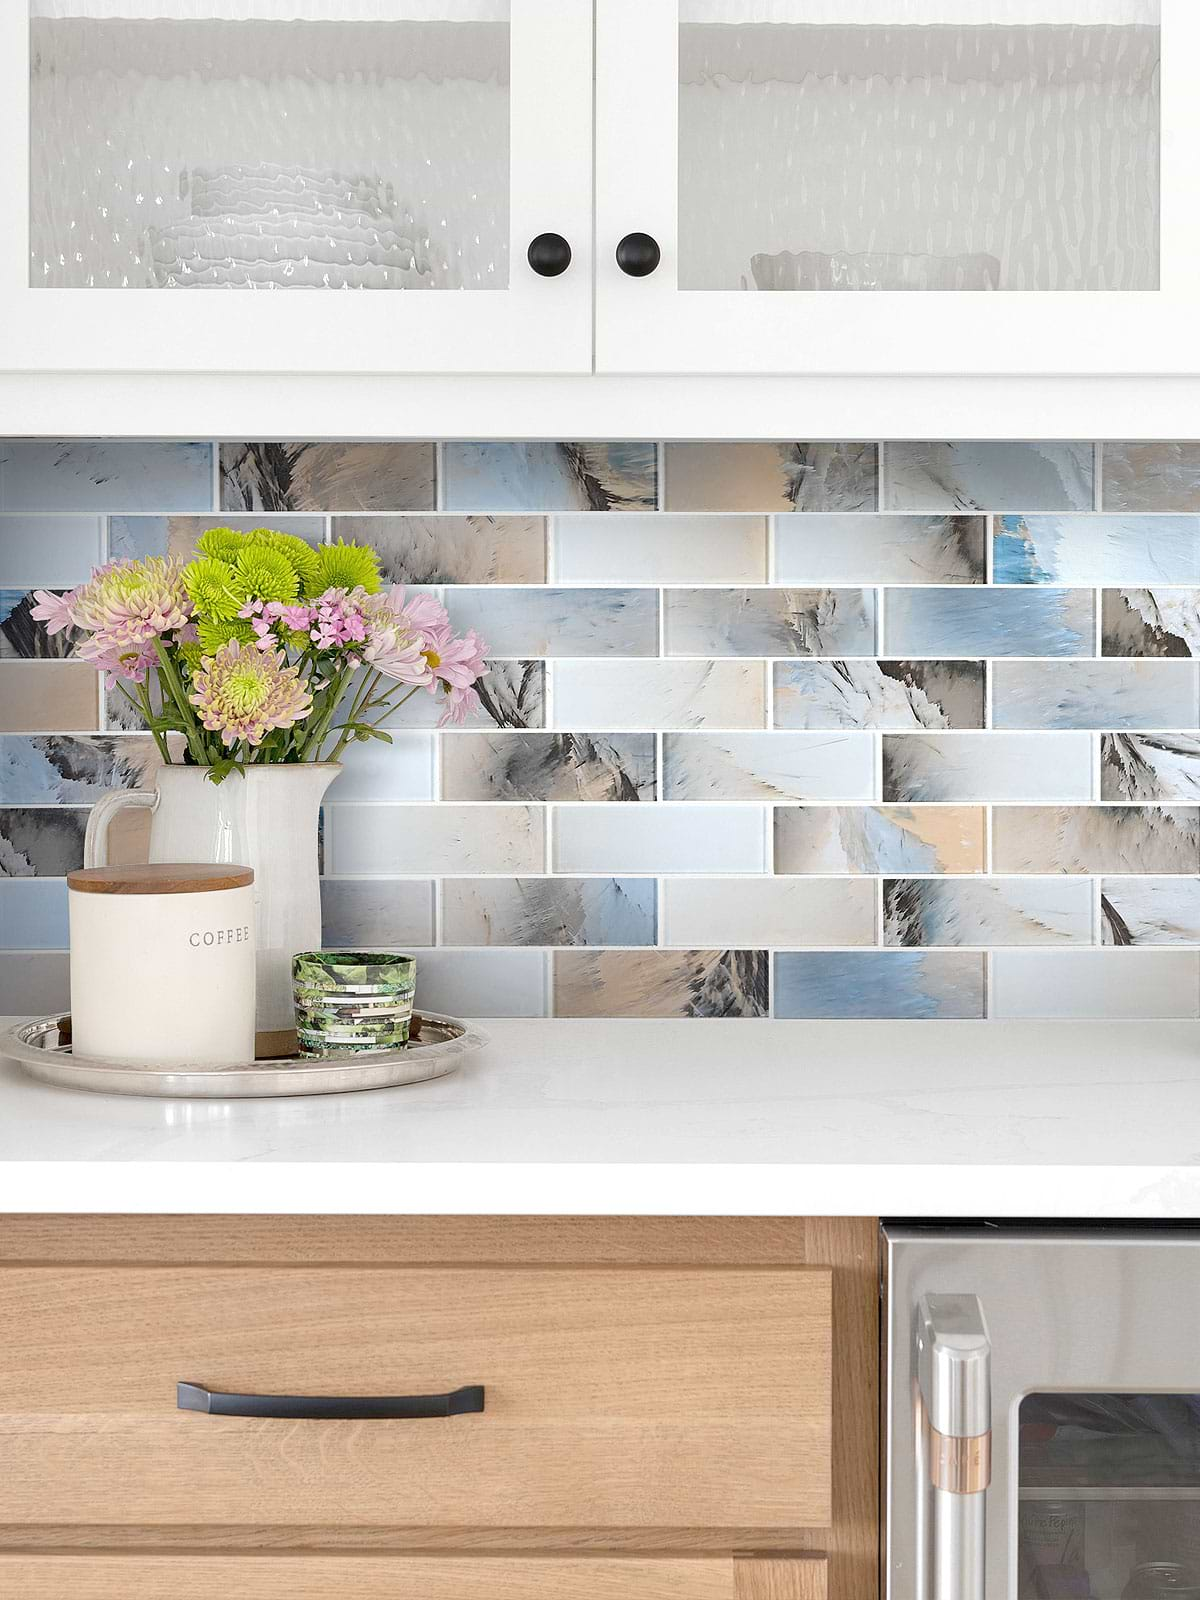
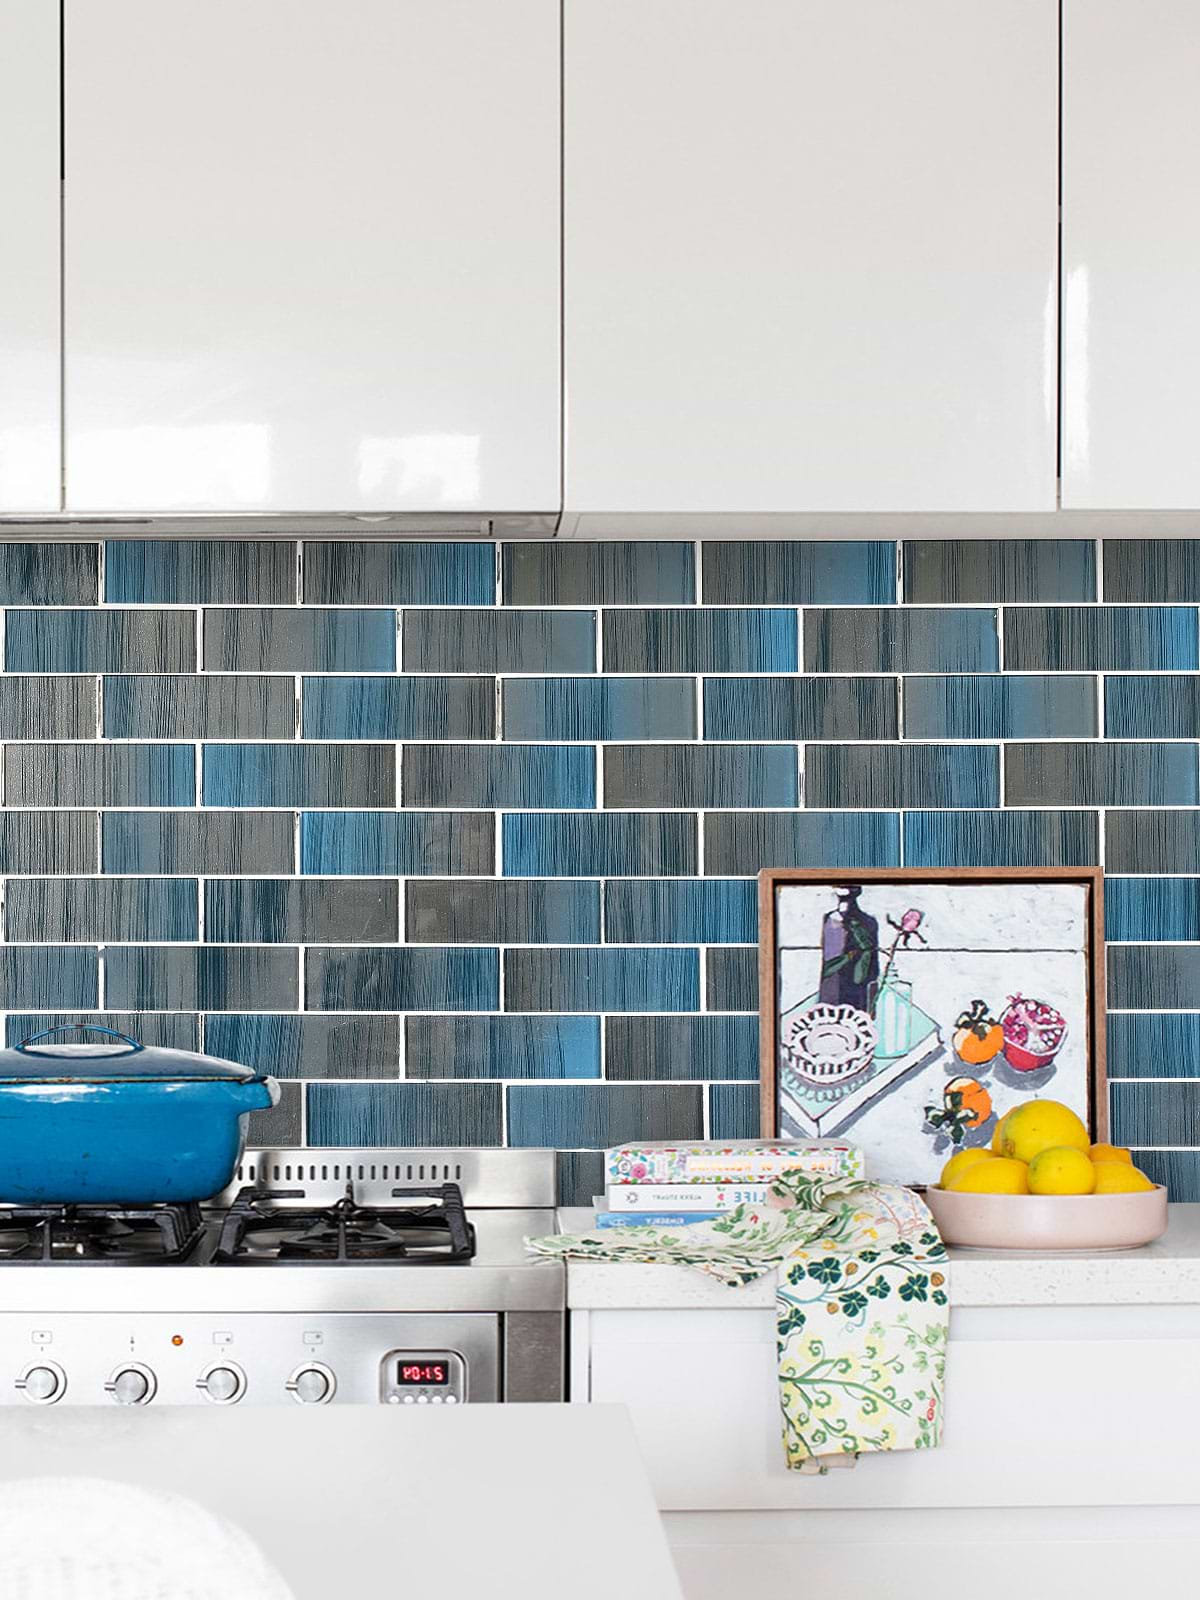
ID# 185006 – Product BA8005 – Blue & Gray Metallic Glass Subway Backsplash Tile
Blue Backsplash with White Cabinets and Countertops
If you decide to go with such a strong backsplash design, it might be better to keep the rest simple to avoid a busy look. In this contemporary kitchen, the glass subway backsplash tiles directly draw attention. The blue and gray color transitions on these tiles give a metallic effect and instantly enhance this otherwise white kitchen. The plain appeal of the white flat-panel cabinets and white quartz countertops allows the backsplash tiles to be the star of the show.
Where Do You Start When Tiling a Subway Backsplash?
Even though installing a backsplash is not a daunting task, it is important to know some crucial points. And where do you start tiling is one of them. There are various approaches used to establish the beginning point. The first approach is to begin at the first bottom line of the wall space. This way it ensures that the lines remain equal and balanced when installing tiles. This method works for classic subway tiles as well as for large tile formats. However, some tile patterns need to be oriented around a focus point like a stove, faucet, sink, or window. Thus, before choosing the origin of the design, you need to refer to several approaches and determine which of them will be optimal for the tile design.
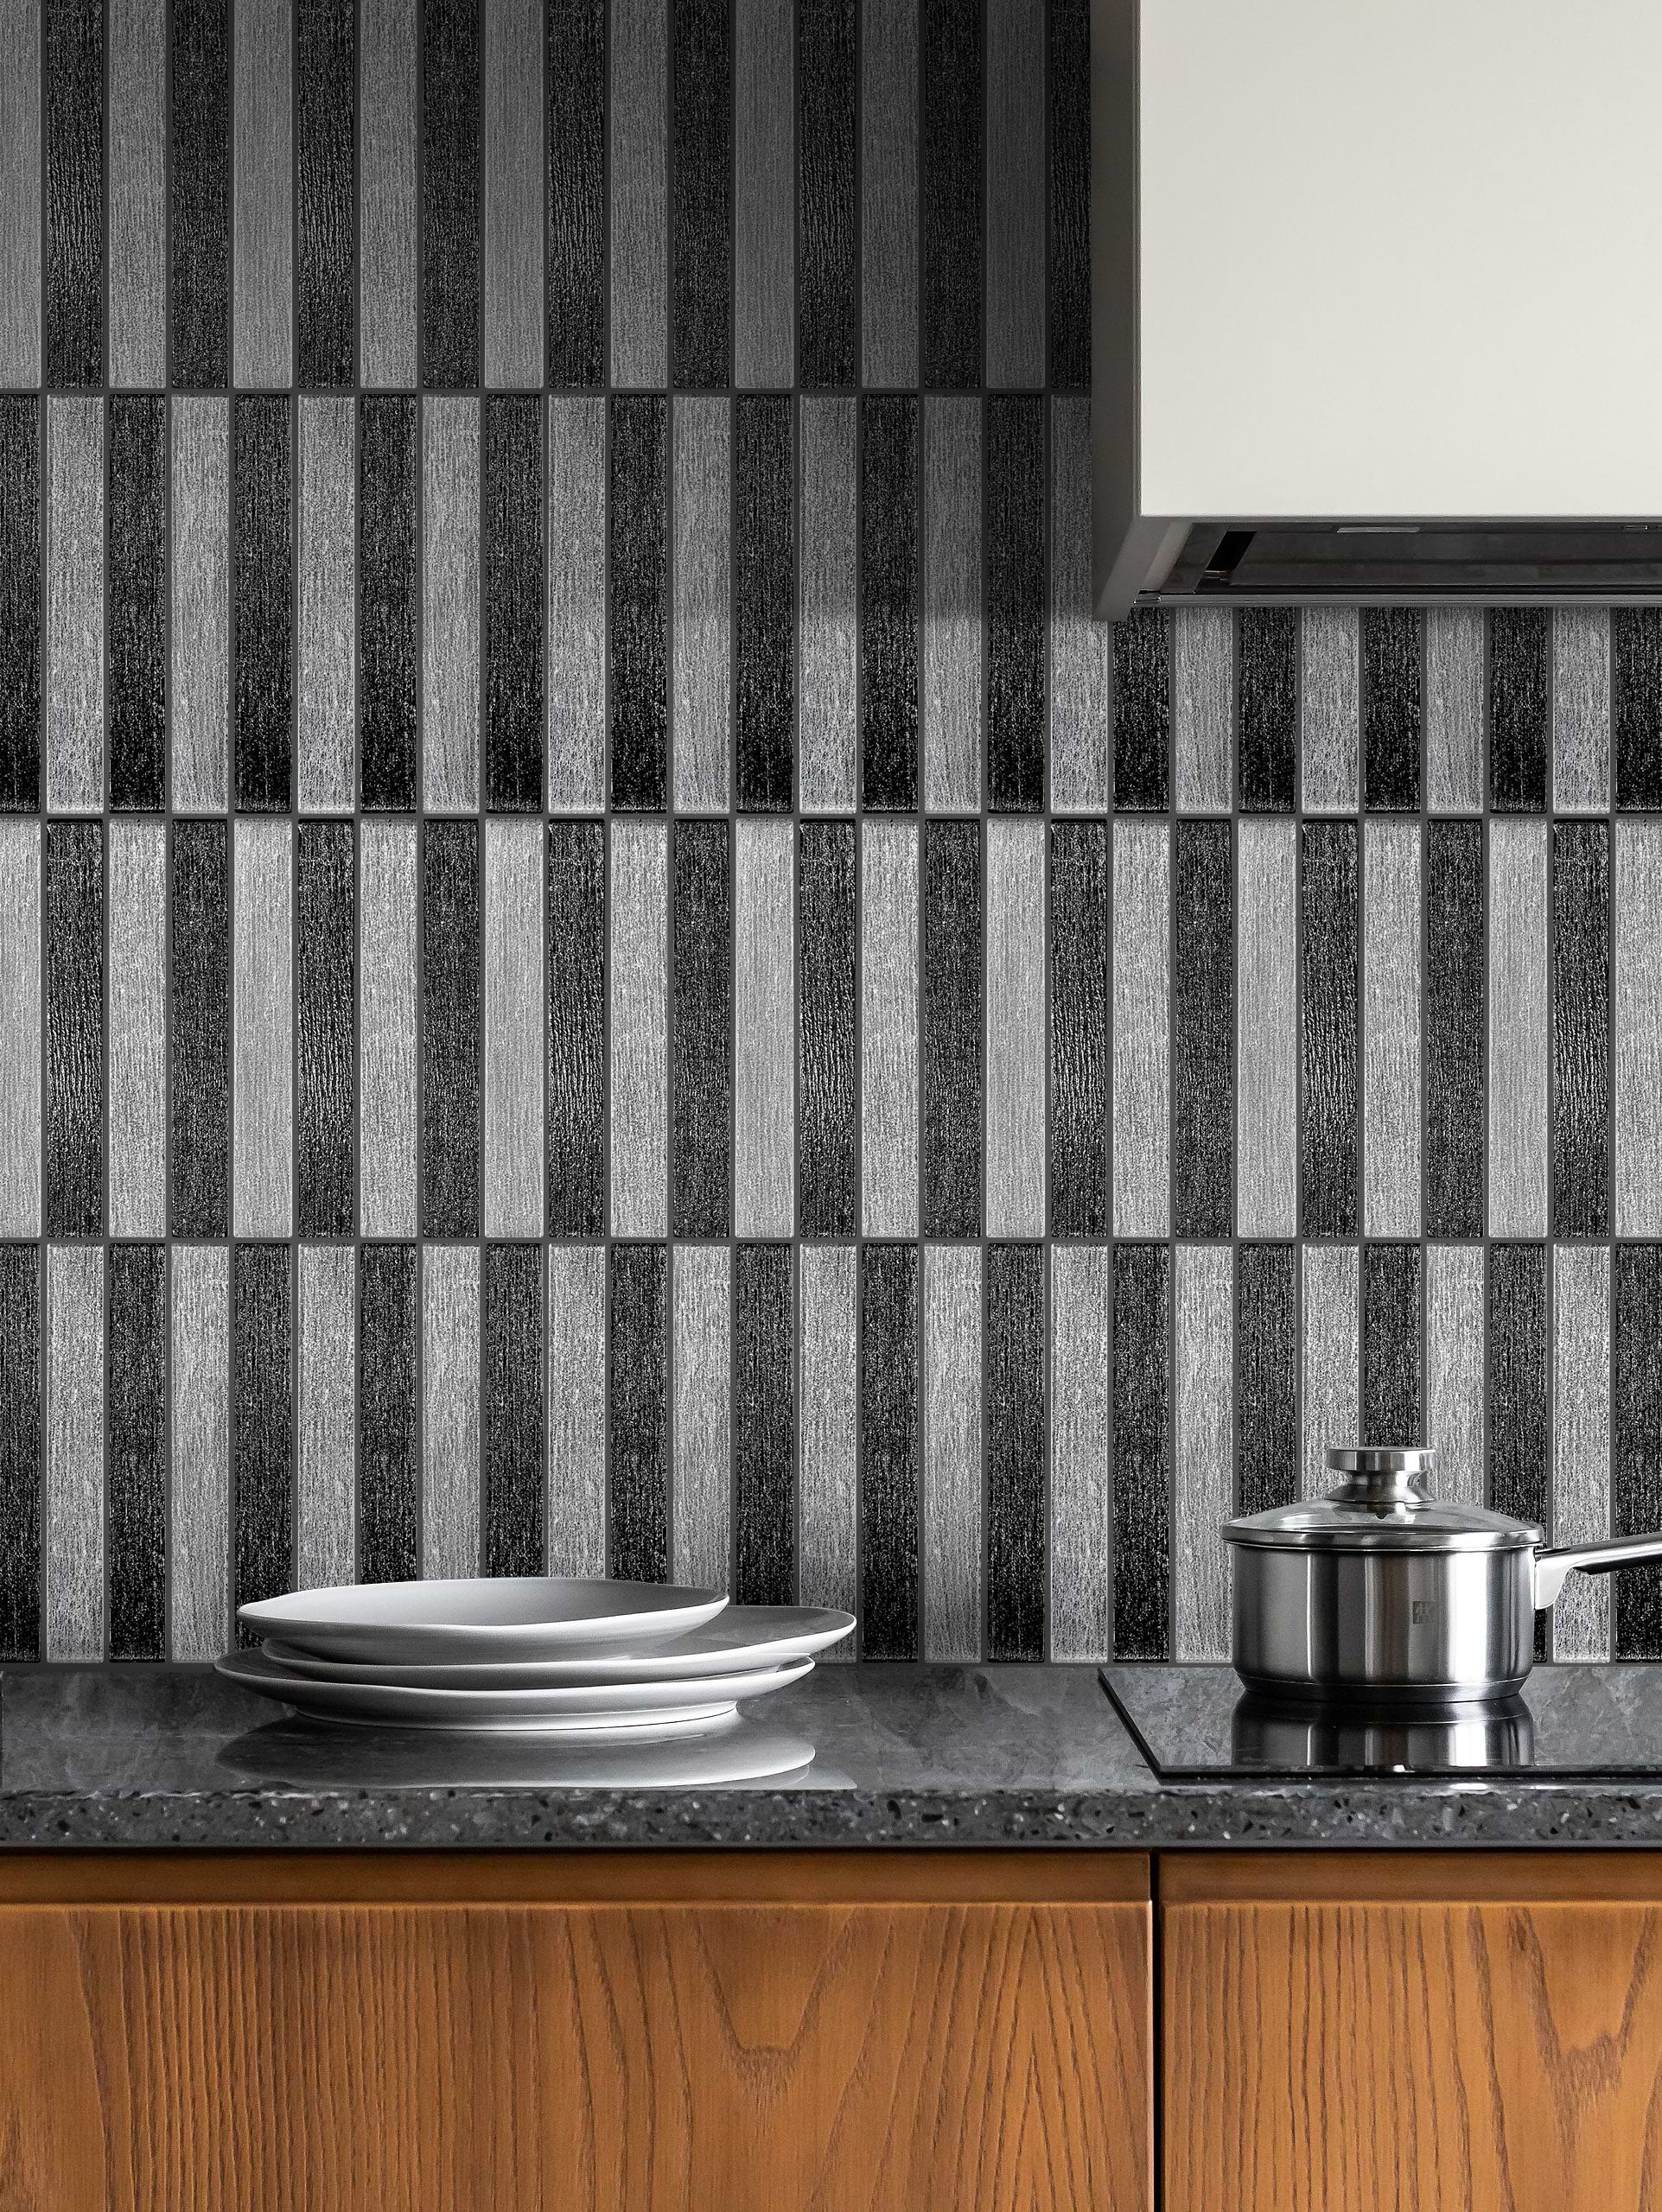
ID# 185008 – Product BA8024 – Modern Gray & Black Textured Glass Backsplash Tile
How to Install Stacked Subway Tile Backsplash?
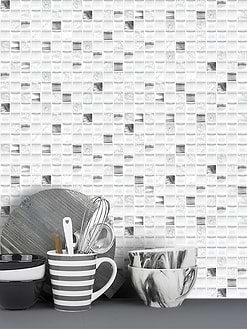
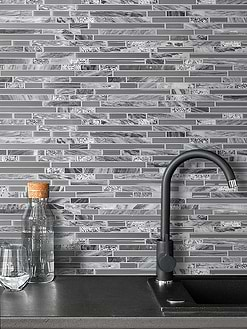
While running bond is a classic pattern for subway tiles, you can create a more modern appeal by stacking these tiles. The glass subway tiles are stacked vertically forming a modern parallel style to the kitchen here. The black and gray colors of the tiles create a chessboard-like appeal. Below, the black granite countertops complement the dramatic appeal of the tiles. The wood cabinets balance the strong appeal of the black and gray surfaces and provide a warm foundation.
Install Subway Tile Backsplash Step by Step
Calculate How Much Tile You Need:
One of the first steps to laying a subway tile backsplash is calculating the total square footage of all walls that will be covered. To figure out the number of tiles you need, you need to know the square footage of the project. If measurement is done properly this will enable you to reduce the cost of installing tiles. To calculate the square footage, multiply the width and the height of the area of the backsplash to be tiled and then divide that measurement by 144 to convert it into square feet.
It is advisable to divide the area of the walls into sections if it has a disproportionate area and multiply the area of each section by the width and height of each section and sum the results. Do not forget to add % 10- % 15 to the final result. This may be because you have to cut some tiles or perhaps some damaged tiles depending on the tile type or the backsplash area.
Prepare the Area:
Before the installation, you must ensure that the surface is prepared. Take the appliances off the counter. Put a cardboard board or cloth and secure it with painter’s tape to avoid damaging the countertop. Then shut down the power supply for the kitchen and unscrew the outlet covers and the switch plates.
Clean the Walls:
In order to ensure a right installation process the walls need to be prepared and made smooth. First, you need to get rid of any tiles that are on the wall and the adhesive that is beneath it and fix the drywall. For further details please refer to our blog – ‘How to Remove Tile Backsplash’. If the wall on which you’re going to install the tiles is bare or the drywall then you need to first fix the holes and smooth them with sandpaper. After, wipe down the wall surfaces with mild soap and water and allow them to dry.
Plan the Layout:
When working with tiles, it is necessary to plan in advance the arrangement of the tiles. This will enable you to achieve the desired look of the wall and ensure that there are no unfortunate mismatches between the corners and tiles. It is also possible to determine where the tiles should be cut.
Cut the Tiles:
This is one of the most important steps for the proper installation. Since each tile material has different characteristics, they require different cutting tools. For example, ceramic or porcelain tiles can be cut with a simple tile cutter. While a glass cutter can be used for glass tiles, for natural stone materials, it is highly recommended to use a wet saw with a diamond blade.
Install the New Tiles:
Mix the thinset with water in a bucket, according to the manufacturer’s instructions. Apply the thinset on the wall with a a notched trowel. Don’t forget to work in small sections. This will prevent the thinset dry before the installation. Spread the thinset with the trowel and do it in a way where you texture it with the notched side to create a proper surface. Lay the tiles on the adhesive then firm them down with the trowel. To ensure the proper installation you also require to put spacers. Repeat the steps until the entire face is covered. You need to wait for a day or two as the adhesive takes some time to dry.
Apply Grout:
When tiles are already in place, it is time to focus on grouting. Mix the grout according to the instructions provided for the product. Use a grout float to apply it in 45° motions. Repeat this process until fill all the grout lines. Wait 10-15 minutes and wipe the tile surfaces with water and a sponge to remove the haze, and allow the grout to dry.
Seal Grout:
Since grout is a porous material, it requires sealing. Once the grout is fully dried, you can apply the grout sealer by using a clean cloth or brush.
Caulk:
For the final step, caulk the area between the countertops and the bottom line of the backsplash tiles to reduce staining. Once it is dried, now you can enjoy your brand-new backsplash tiles!
ID# 185010 – Product BA6202 – Space Blue Glass Subway Mosaic Backsplash Tile
Space Blue Subway Tiles with White Cabinets and Gray Countertops
A backsplash can make or break the overall look, and this one definitely makes it! Adorned with a metallic finish, the space blue subway tile backsplash makes a strong statement in this transitional kitchen. While the brick-like pattern of the tiles provides a classic and timeless appeal, the space blue color makes a modern twist with a dramatic flair. Traditional shaker cabinets and gray granite countertops also make a nice outline for the backsplash tiles to take center stage. To add the final touch there are also the stainless steel kitchen appliances, which harmonize with decorative effect of the tiles.
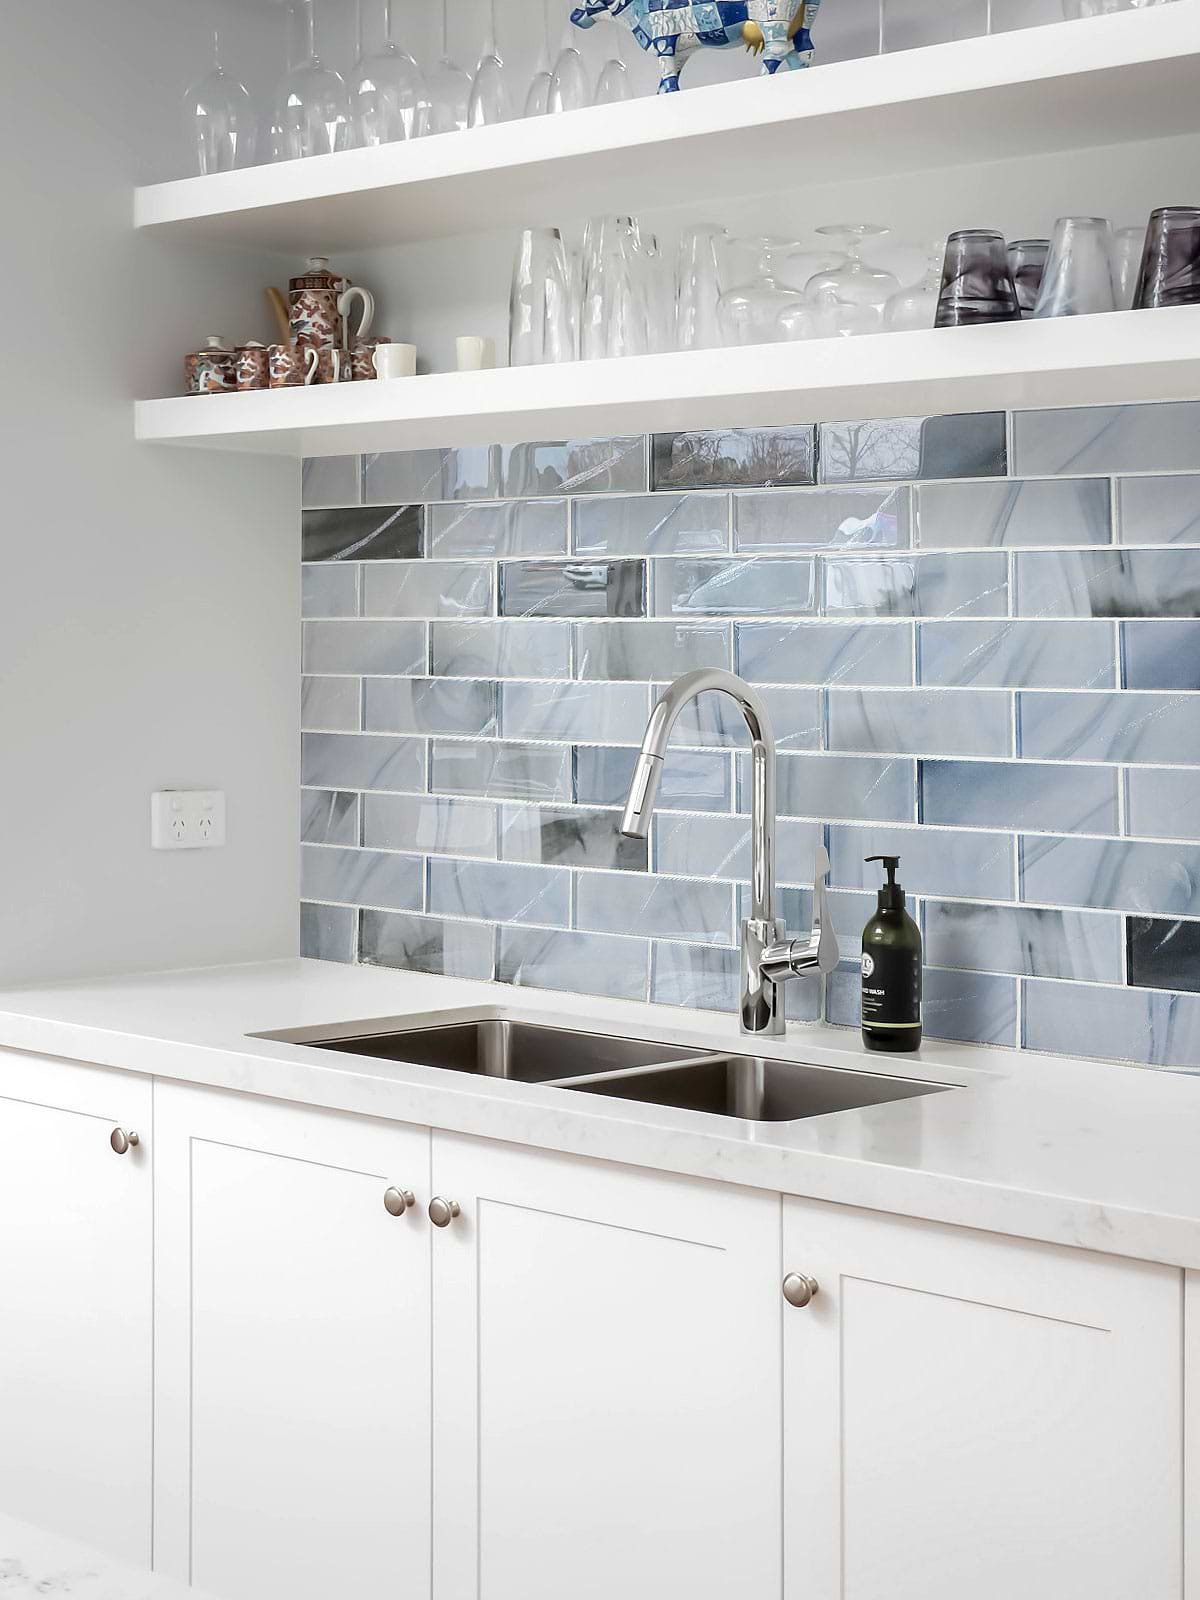
ID# 185011 – Product BA8010 – Blue Glass Subway Mosaic Backsplash Tile
Blue Backsplash with White Cabinets and Countertops
If you want to add a pop of color to your kitchen but don’t want to use vibrant colors, then pastel shades will be a perfect fit. In this beach-style kitchen, the blue backsplash tiles instantly elevate the kitchen without overpowering it. The blue color transitions of these subway tiles evoke the tranquil sense of the ocean. For the rest, the white color surrounds the cabinets, countertops, and floating shelves, creating a bright and spacious atmosphere.
Can you install subway tile backsplash directly on drywall?
The short answer to this question is yes tiles can be installed over the drywall. However, before the installation, you need to prepare the wall surface to achieve an even installation. The drywall must be clean, smooth and free of any defects like holes or cracks. You can patch the imperfections by patching them and applying a primer coat. While tiles can be directly installed over the drywall, the use of the backer board over the drywall for added moisture protection and added strength is highly recommended.
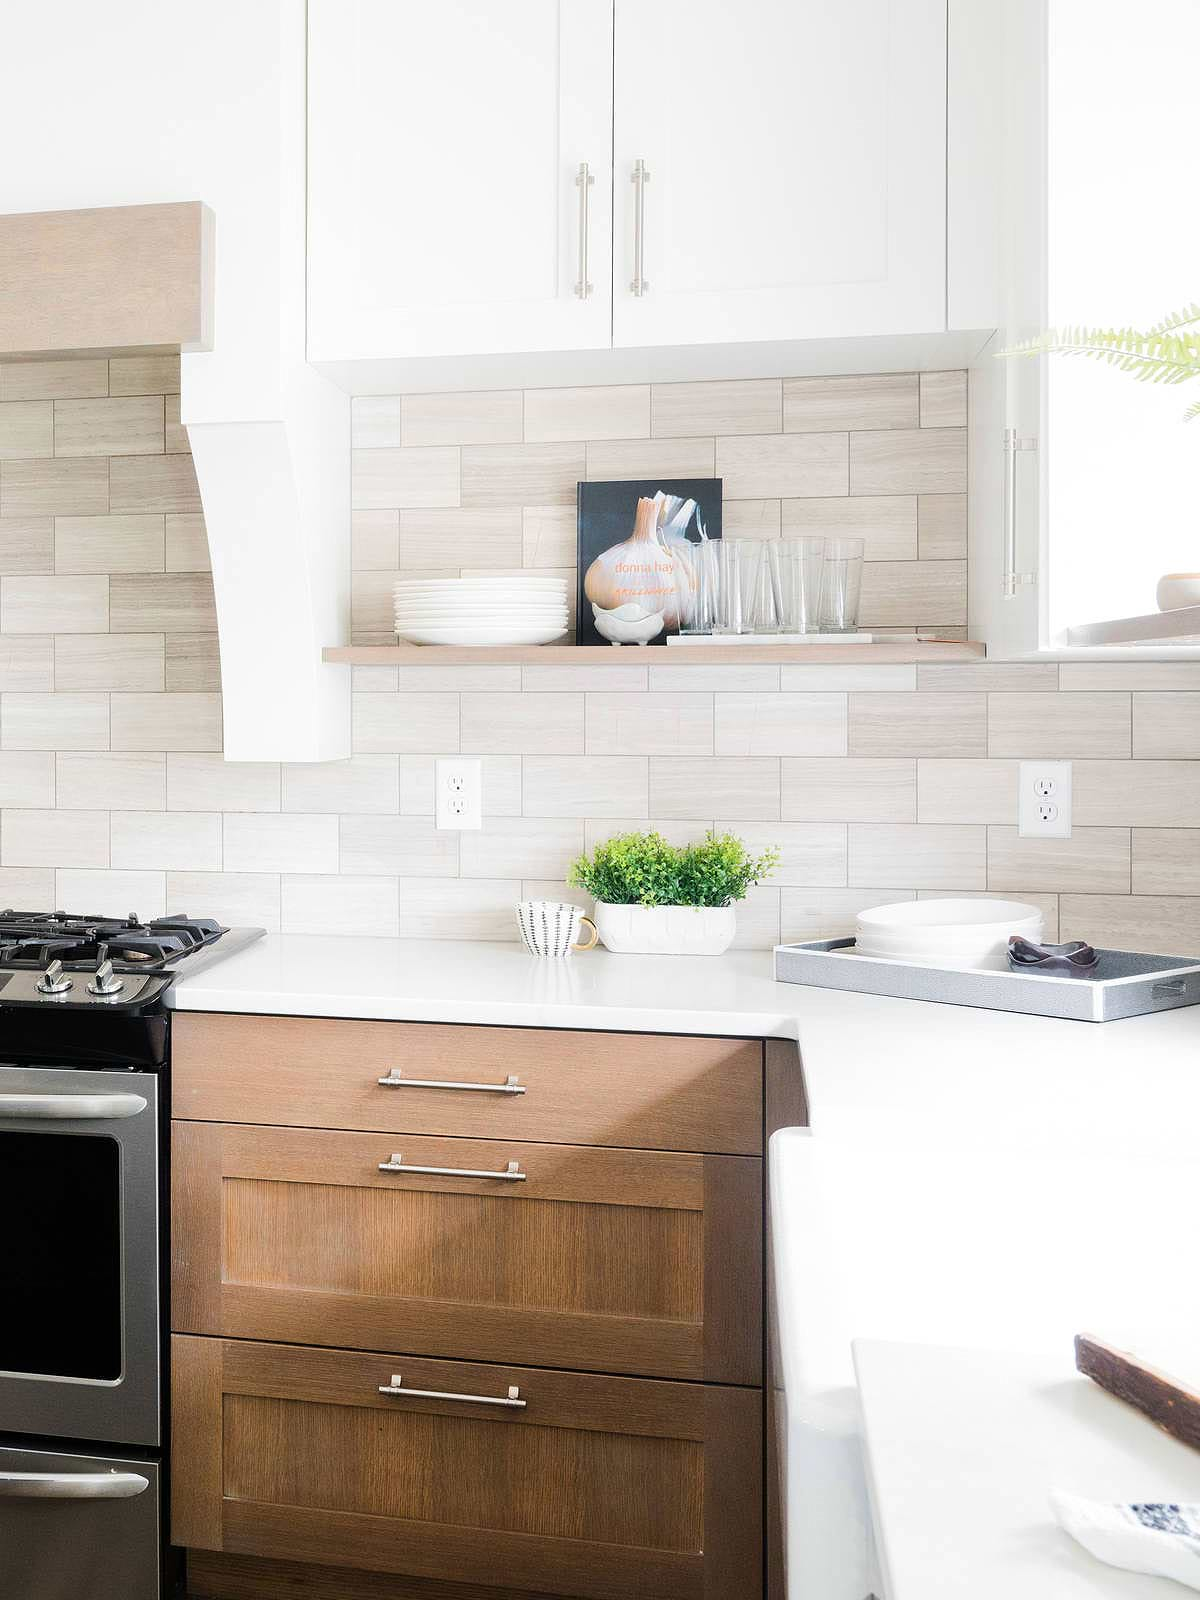
ID# 185012 – Product BA2007 – Modern Warm Gray Marble Subway Backsplash Tile
Two-tone Cabinets with Marble Subway Tiles
Marble is one of the most popular materials for traditional subway tiles! This beautiful combination offers a timeless elegance with a luxurious sense. In this modern farmhouse kitchen, the marble subway tile kitchen backsplash is paired with two tone cabinets, creating a harmonious whole. While the white cabinets and countertops enlighten the atmosphere, the wood cabinets complement the warm sense of the marble stone!
White Mosaic Tiles
ID# 185013 – Product BA5507 – Blue Glass Herringbone Mosaic Backsplash Tile
How to Install Herringbone Subway Tile Backsplash?
While running bond is the most popular pattern option for subway tiles, you can create a more distinctive appeal by laying the tiles in a herringbone pattern! For this pattern, tiles are arranged in a specific way to create interlocking zigzags. Each equal-sized tile is staggered at a 90-degree angle to its neighbors. This technique creates an intricate pattern that resembles a fish bone. The installation process might be a little harder than a classic brick pattern.
Do you grout between countertop and backsplash?
Grout is a type of material that is used to fill the area between the tiles. However, it is not suitable for the area between the countertop and the backsplash. It is a rigid material that can crack over time. That’s why, you need to use a silicone caulk instead of grout. Silicone caulk is a stretchable product that successfully protects against any movements or vibrations, guaranteeing the effectiveness and durability of its watertight seal. Once you have finished the tile installation, you may start to apply the caulk!
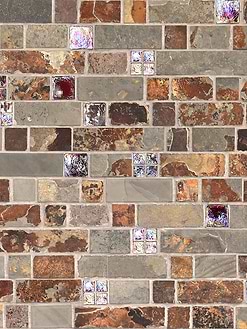
ID# 185014 – Product BA1063 – Rusty Brown & Gray Slate Mosaic Backsplash Tile
Navy Blue Cabinets with Rustic Subway Mosaic Backsplash
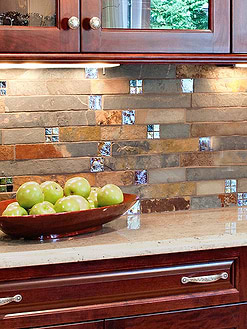
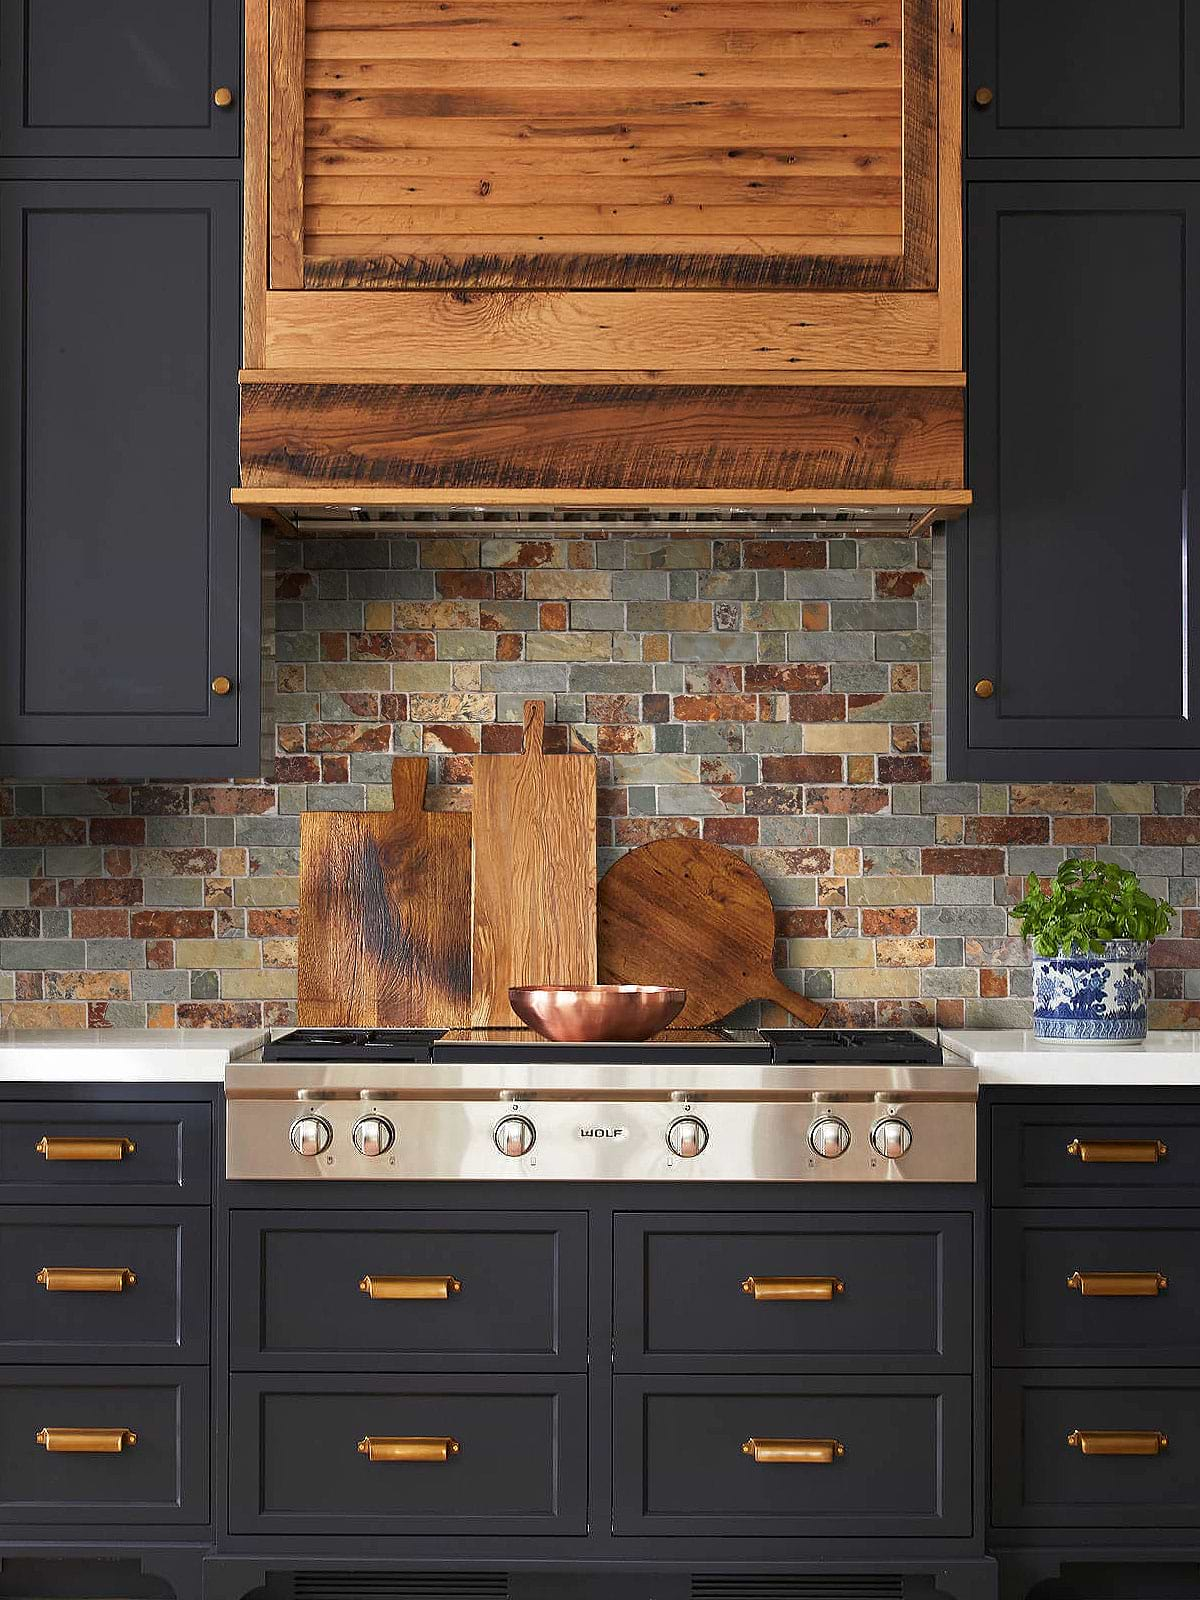
Mosaic tiles are beautiful for many reasons, they are versatile and can create visually appealing backdrops! So, why not create a mosaic pattern that is inspired by the classic subway tiles? In this modern rustic kitchen, the subway mosaic tile backsplash creates an eye-catching focal point. These slate tiles bring a rustic flair with their rusty brown and gray colors and rough texture. Since mosaic tiles come with a backing, the installation process will be much easier! The navy blue cabinets provide a sophisticated foundation for the space while the wood range hood complements the rustic appeal of the tiles. The white quartz countertops combine with the dark shades in a way that gives the room a breath of freshness!
Glass Mosaic Tiles
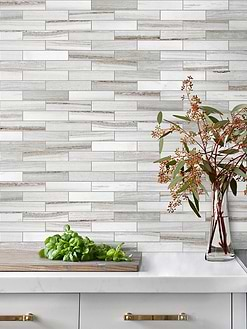
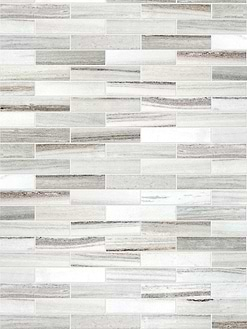
ID# 185015 – Product BA8009 – Modern Gray & Beige Glass Subway Backsplash Tile
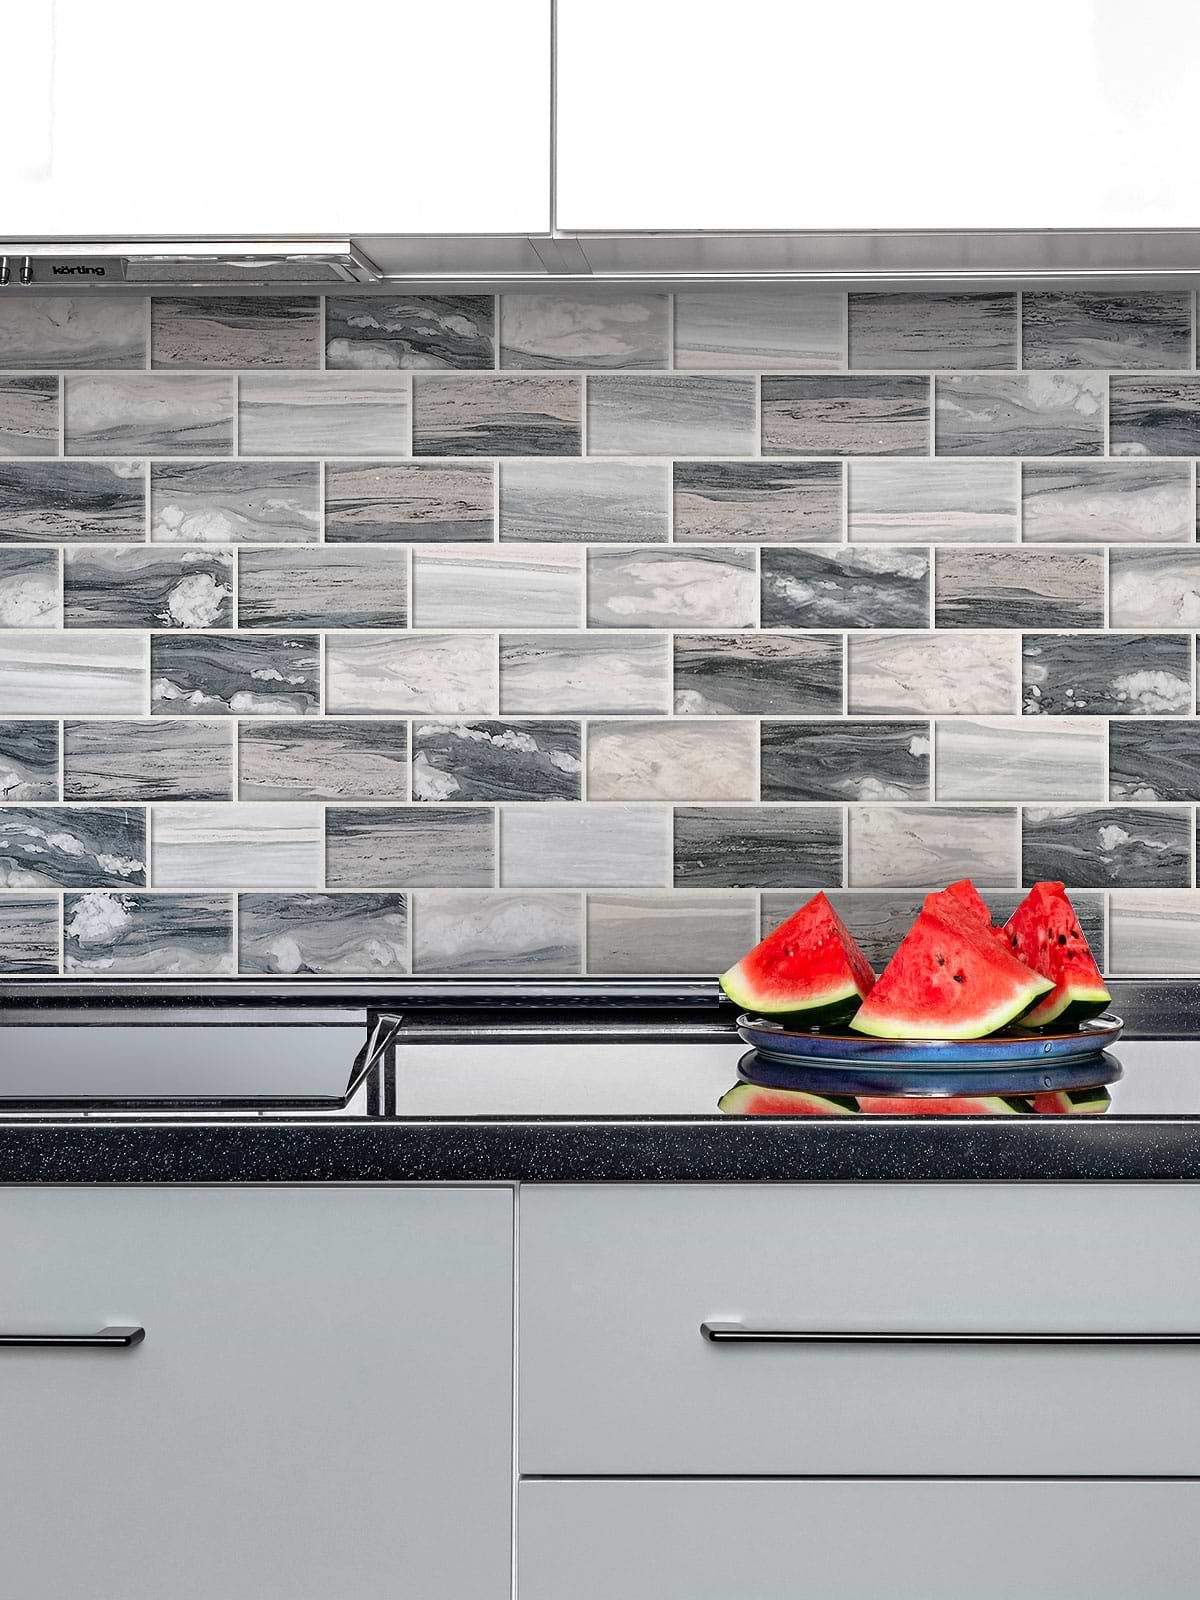
Gray and White Cabinets with Black Countertops
Black, white, and gray… If you are looking for an option that would create the timelessness of the kitchen, this combination is just one of the best. The gray and white finishes on the cabinets in this modern kitchen offer a sleek and elegant base. The glass subway tile backsplash is adorned with gorgeous gray and beige color transitions which add visual interest to the space. It also provides a sense of depth to the space as the texture is embedded in subdued colors.

