11+ Tile Over Tile
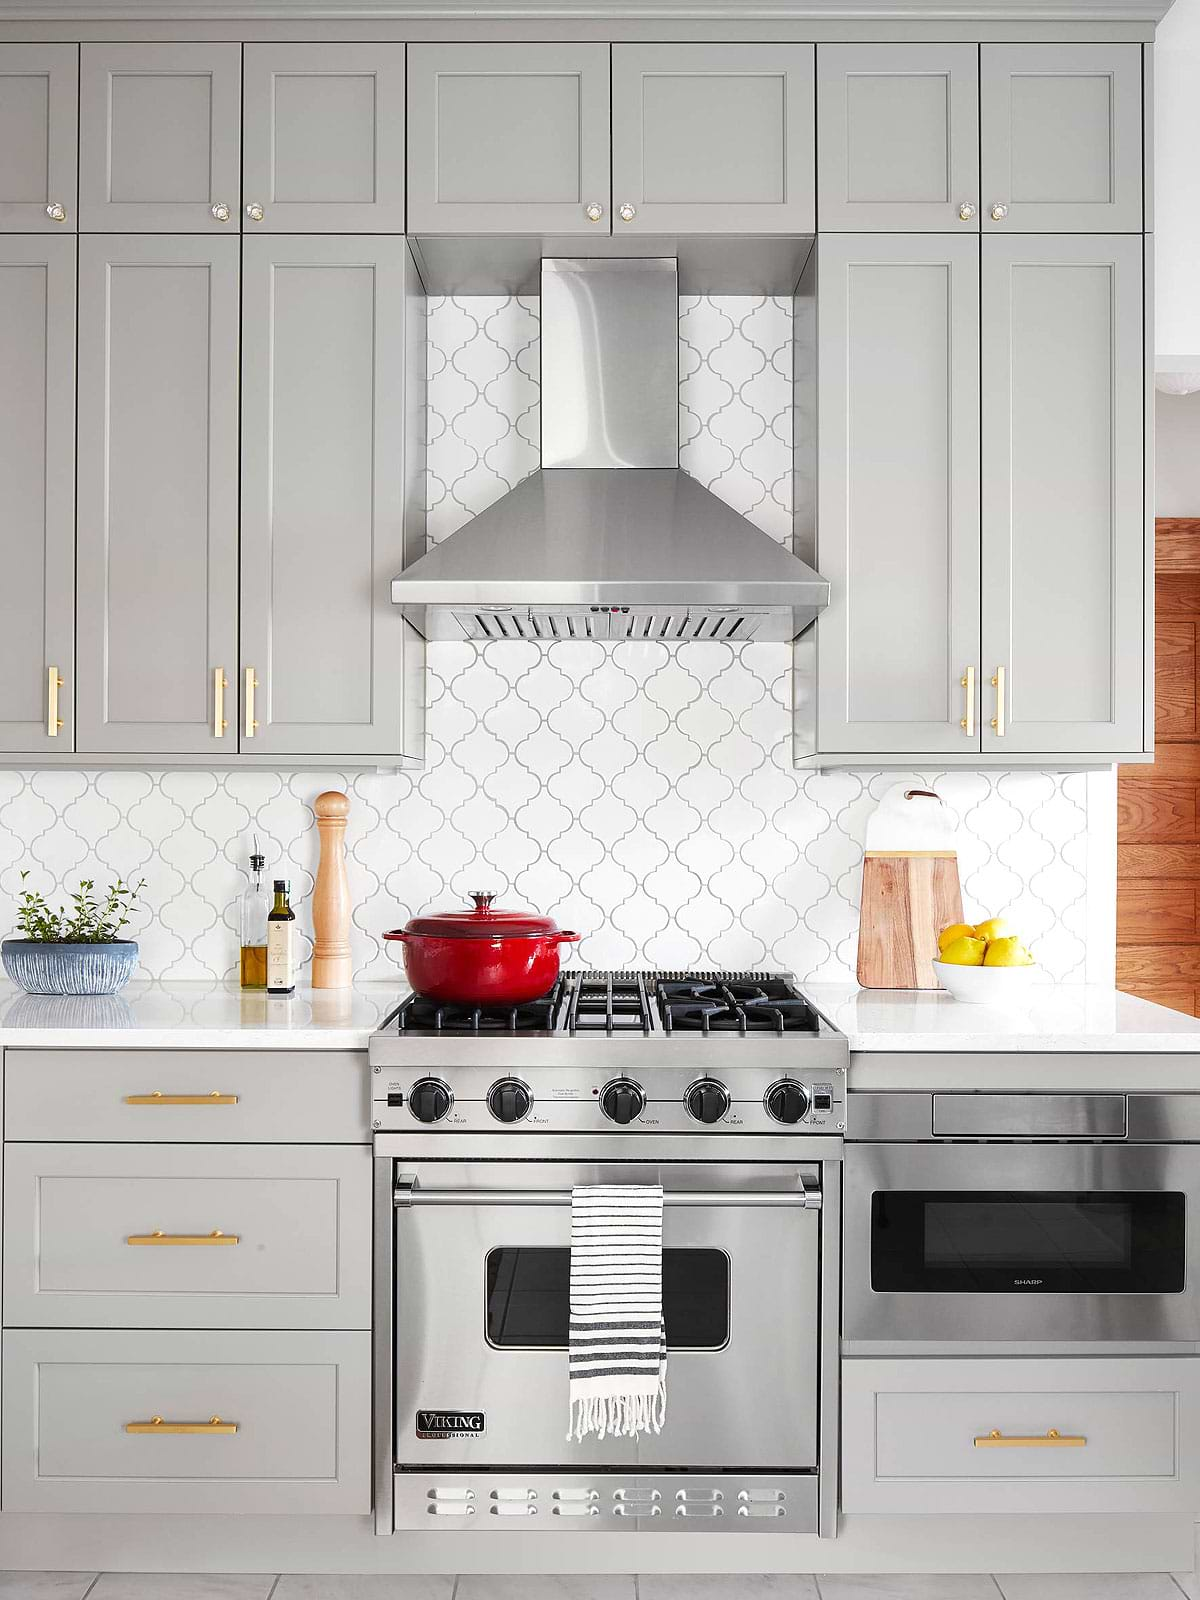
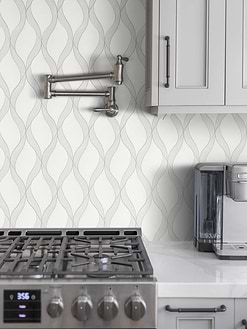
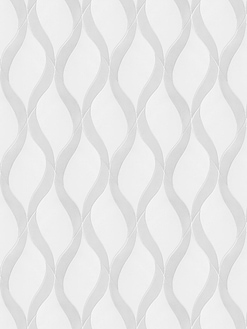
ID# 179906 – Product BA310131 – White Porcelain Arabesque Tile Backsplash
White Arabesque Tile Backsplash with Gray Cabinets
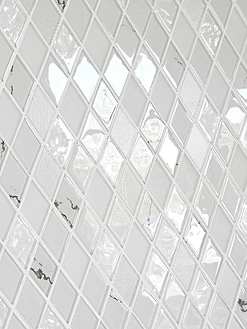
If you are in search of a white backsplash design with a distinctive pattern, our white porcelain arabesque tile backsplash is ready to bring an elegant feel with classic notes! With the smooth lines of the arabesque pattern and the pureness of the white, this mosaic can be used to complement any space and turn the room into a masterpiece. In this transitional kitchen, the elegance of the arabesque backsplash is complemented by the gray shaker cabinets, white quartz countertops and brass cabinet hardware.
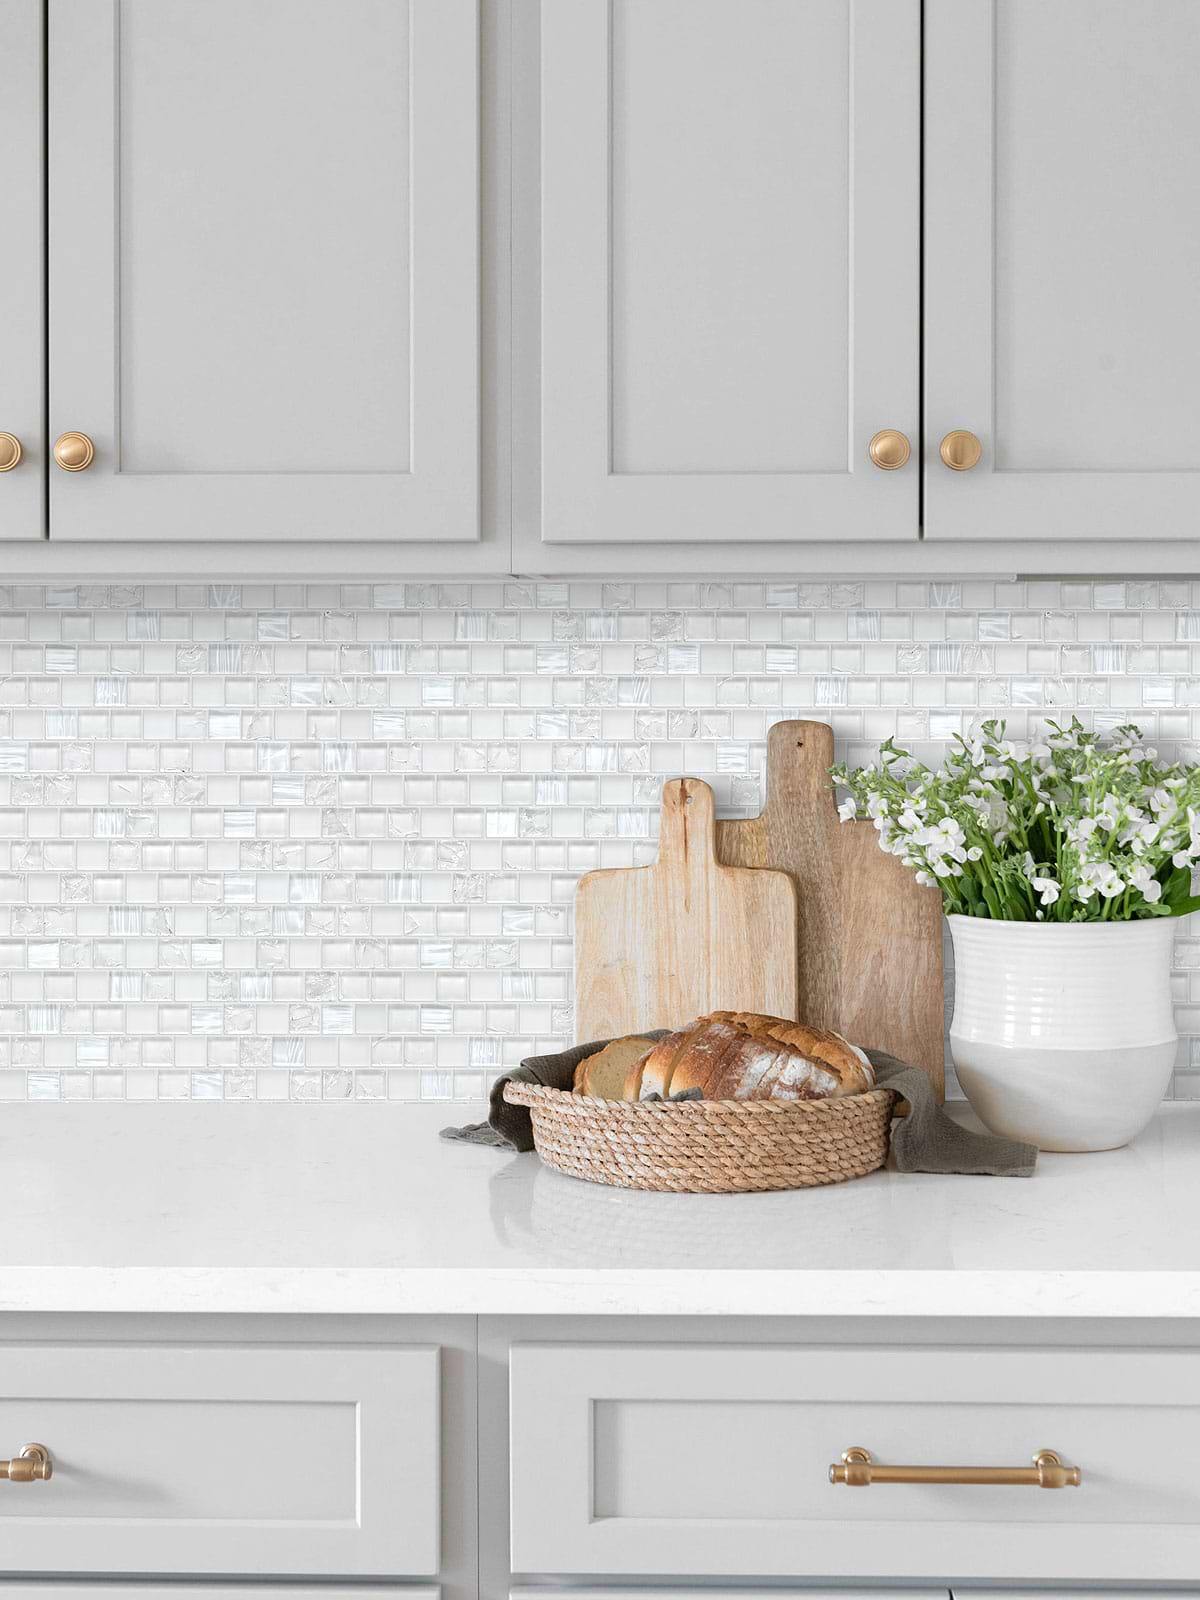
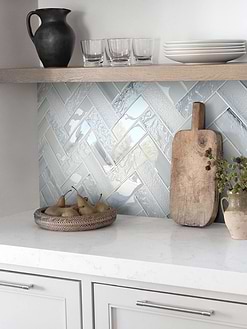
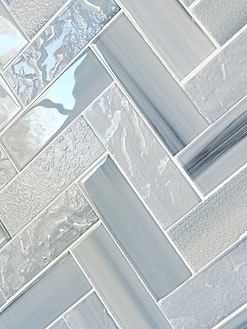
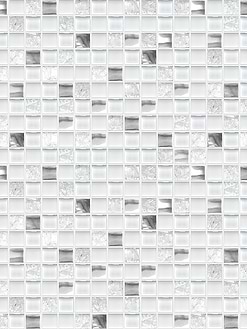
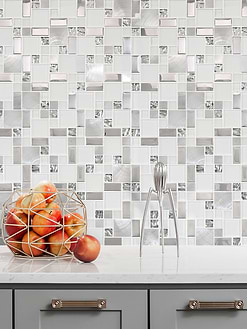
ID# 179911 – Product BA6705 – Glossy White Shell Glass Mosaic Backsplash Tile
White Shell and Crackle Glass Mixed Mosaic Backsplash with Gray Cabinets
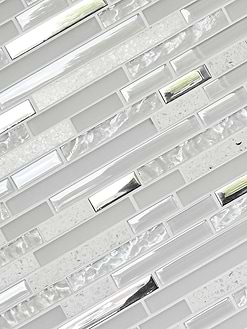
Adorned with a blend of crackle and shell glass pieces, this elegant white mosaic tile backsplash is a perfect choice for those who adore the classic style! With its glossy finish and dazzling appeal, this mosaic is ideal for enhancing the visual appeal of kitchen backsplashes and bathroom walls. Light gray shaker cabinets create a cohesive look with this mosaic while the brass cabinet hardware adds much-needed warmth.
Want to Renovate Your Backsplash? Try Tile Over Tile!
Renovating an existing kitchen or bathroom can be overwhelming, especially the part about removing old tiles which is a messy and heavy job. So, if you want to install a new tile but also want to save time and effort in this DIY project, you can try tile over tile. This method is a great and faster way to give a fresh appeal to the space!
A fresh installation is the most accurate way that ensure the longest life for the tiles. This way you can create both aesthetically and functionally pleasing tile works. However, the hassle, the dirt and the expenses of removing old tiles can take too much time. That’s why installing new tiles over existing ones can give you the visual appeal that you want in a shorter time. But of course, there are some critical points to watch out for. So, what is the best way to tile over tiles? Keep reading if you want to learn more about the pros, cons, and tips and tricks of this process!
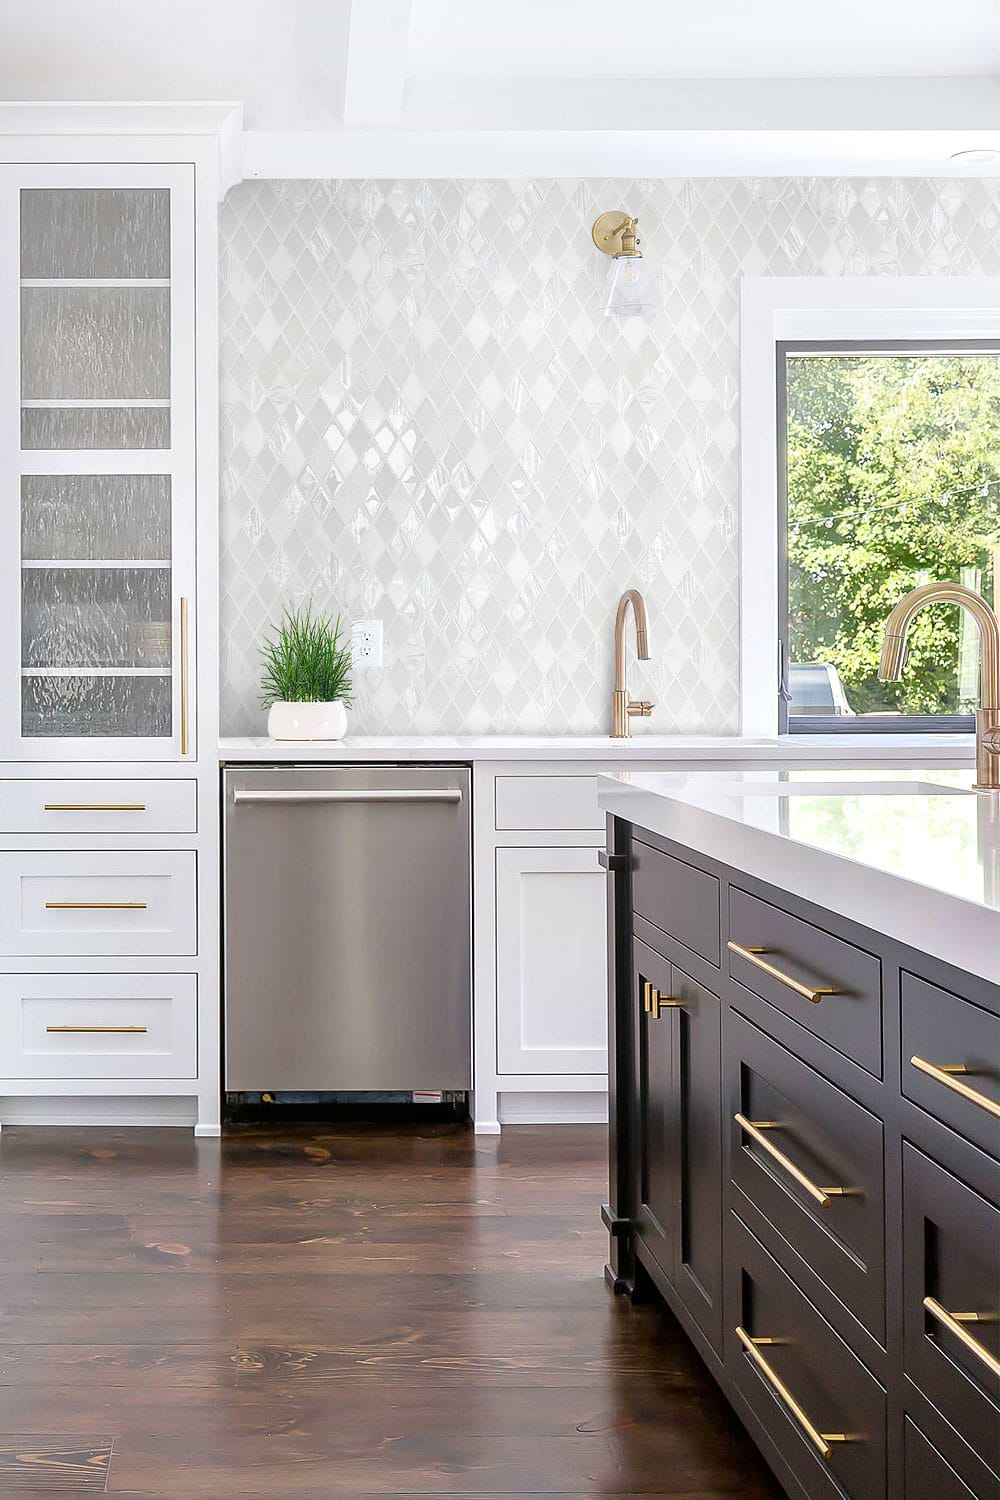
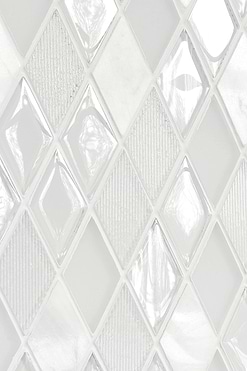
ID# 179901 – Product BA62046 – Glossy White Glass & Marble Diamond Mosaic Tile
White Glass and Marble Diamond Tile Backsplash with Glossy Finish
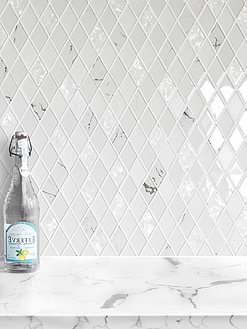
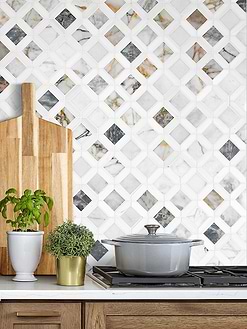
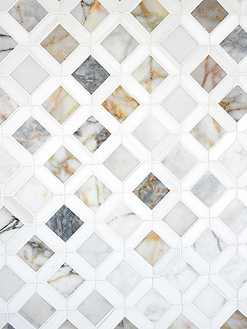
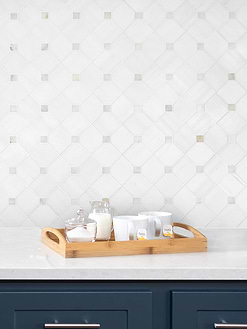
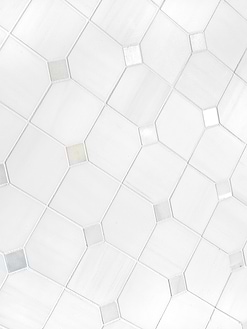
If you’re in need of a white backsplash with an enchanting design, our glass and marble diamond tile backsplash could make the perfect fit for your kitchen! The diamond tiles with a glossy surface create a sparkly appearance that goes a long way in elevating the whole appeal of the room. These fancy tiles mingle quite harmoniously with the white shaker cabinets and white quartz countertops, leading to an eternally elegant style.
Best Seller Mosaic Tiles
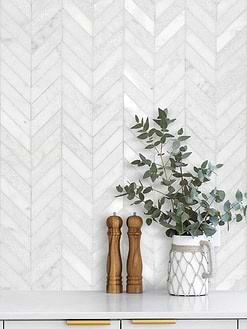
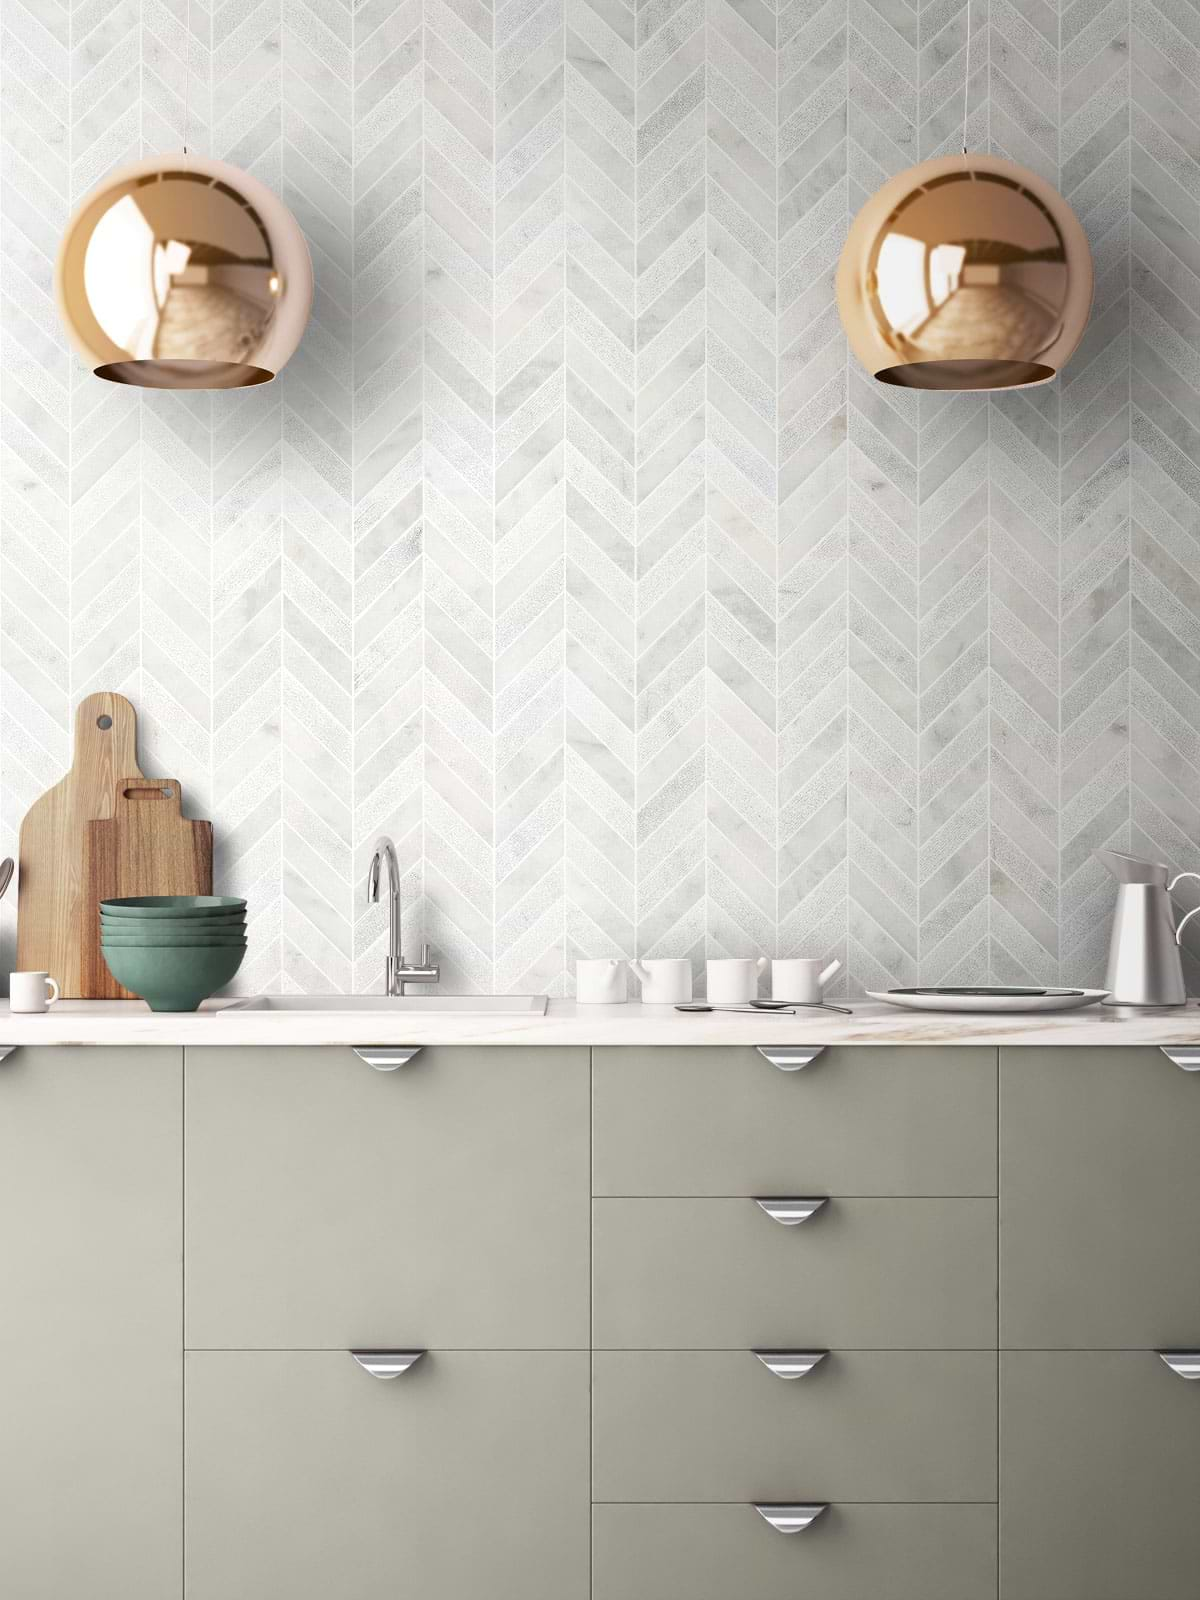
ID# 179902 – Product BA631613 – Modern Gray Marble Chevron Mosaic Tile
Modern Marble Chevron Backsplash with Multiple Texture
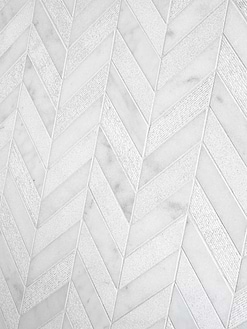
When it comes to kitchen backsplashes, marble is undoubtedly a popular material choice. The sight becomes stunning when you experience the marble’s beautiful feel paired with the eye-catching chevron pattern! Polished, honed, textured, and rough finishes provide richness to this mosaic. This mosaic is given a stunning appearance and becomes a focal point of the piece due to the textured marble’s unique glitter effect. Excellent matching between white quartz countertops and gray flat-front cabinets will complete the modern appearance.
Should you remove old tiles before tiling?
For the best and the most precise outcome, replace old tiles first before placing the new ones. Moreover, for tile installation, the wall or floor must be smooth and if it has uneven surfaces, it is likely to be problematic. On the other hand, if you can’t remove the existing tiles or you don’t want to remove them because of time reasons, you can tile over existing tiles. You have to be certain that the existing tiles have no cracks, gaps or molding. To bring the optimum result, make sure to follow the instructions and finish the process by using hacks and helpful hints!
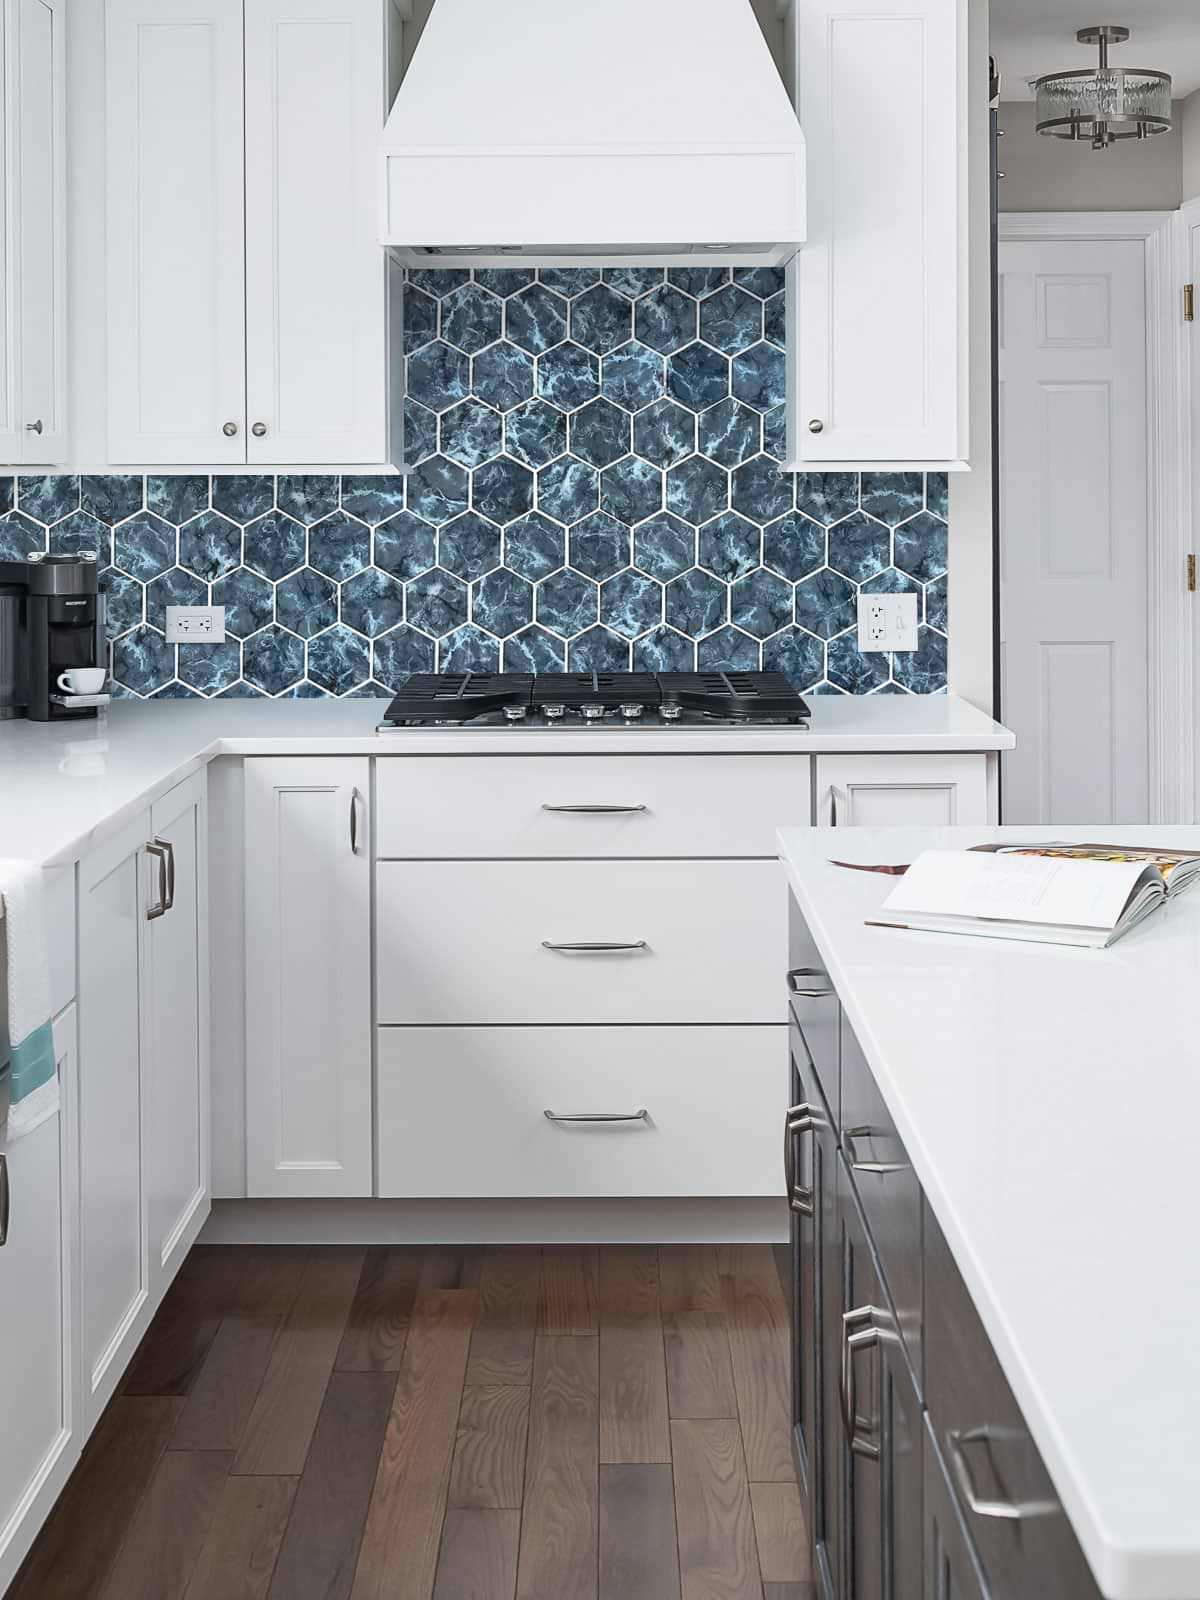
ID# 179903 – Product BA5501 – Marble Look Blue Glass Hexagon Backsplash Tile
Marble-look Blue Glass Hexagon Tile with White Cabinets
If you are looking for a statement-maker backsplash design, look no further! This blue glass hexagon tile backsplash acts as a piece of art and has the ability to enhance the overall look. Even this mosaic has a distinctive appeal thanks to its blue color and hexagonal shape, the marble-like textures punctuate the mosaic even more. White shaker cabinets and white quartz countertops are the perfect fit to emphasize the tiles. And to complement the coastal feel of the tiles, you can add some wooden accents, as in this case, it is a wood floor.
Glass Mosaic Tiles
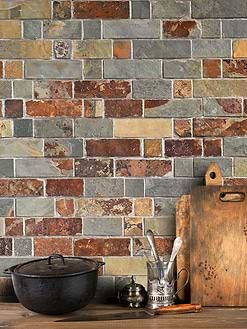
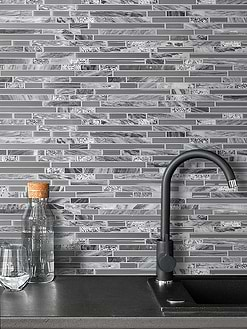
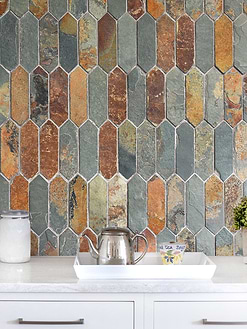
ID# 179904 – Product BA1038 – Modern Gray Long Limestone Backsplash Tile
Modern Gray Limestone Backsplash Tiles for White Kitchens
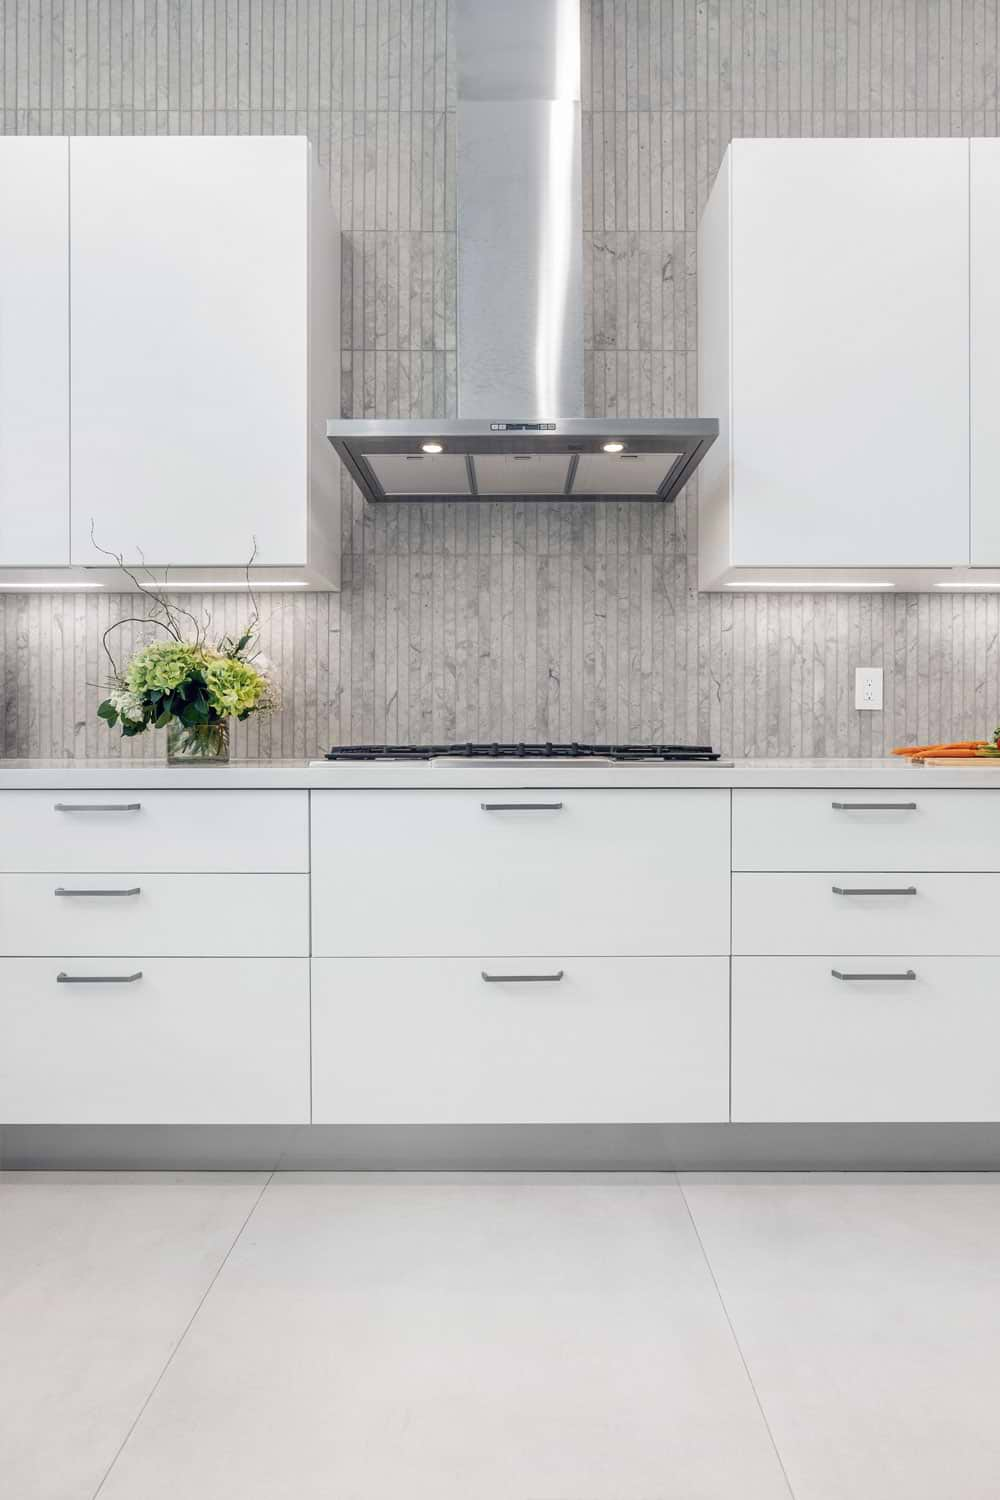
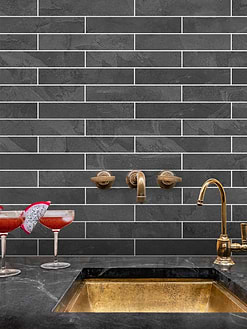
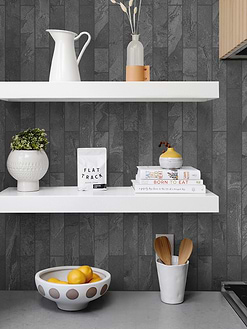
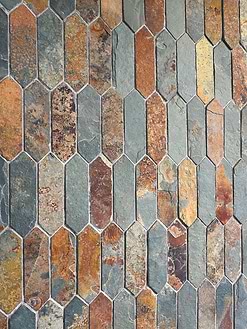
If you want to create a modern culinary space and decide to use white flat-panel cabinets, this gray limestone backsplash will be a perfect fit! These tiles adorned with a sleek gray color and long shape offer a sleek and elegant backdrop for the white kitchen cabinets and white quartz countertops. You can extend the tiles through the ceiling, as you can see in this modern kitchen, to create a seamless backdrop with a nice textural look.
Slate Mosaic Tiles
Can I put a backsplash over the existing backsplash?
Just like the tile floor, you can also put a backsplash over the existing one! But probably you’re not going to get great results. Laying tiles over tiles will create a thick layer for your backsplash and this problem can block your existing cabinets, appliances, or electrical switches. And as we mentioned, your existing tiles need to have a smooth and even surface. Also, the adhesive used for tile installation does not stick well to glossy surfaces which means, you may not secure the new tiles. So, if it is possible, it is better to remove old tile and start with scratch. But, if it’s not possible and your existing tiles meet the expectations, you can apply this method by following the steps!
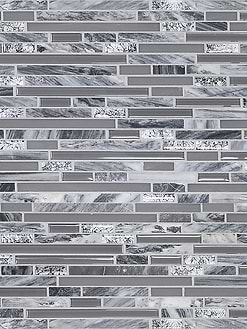
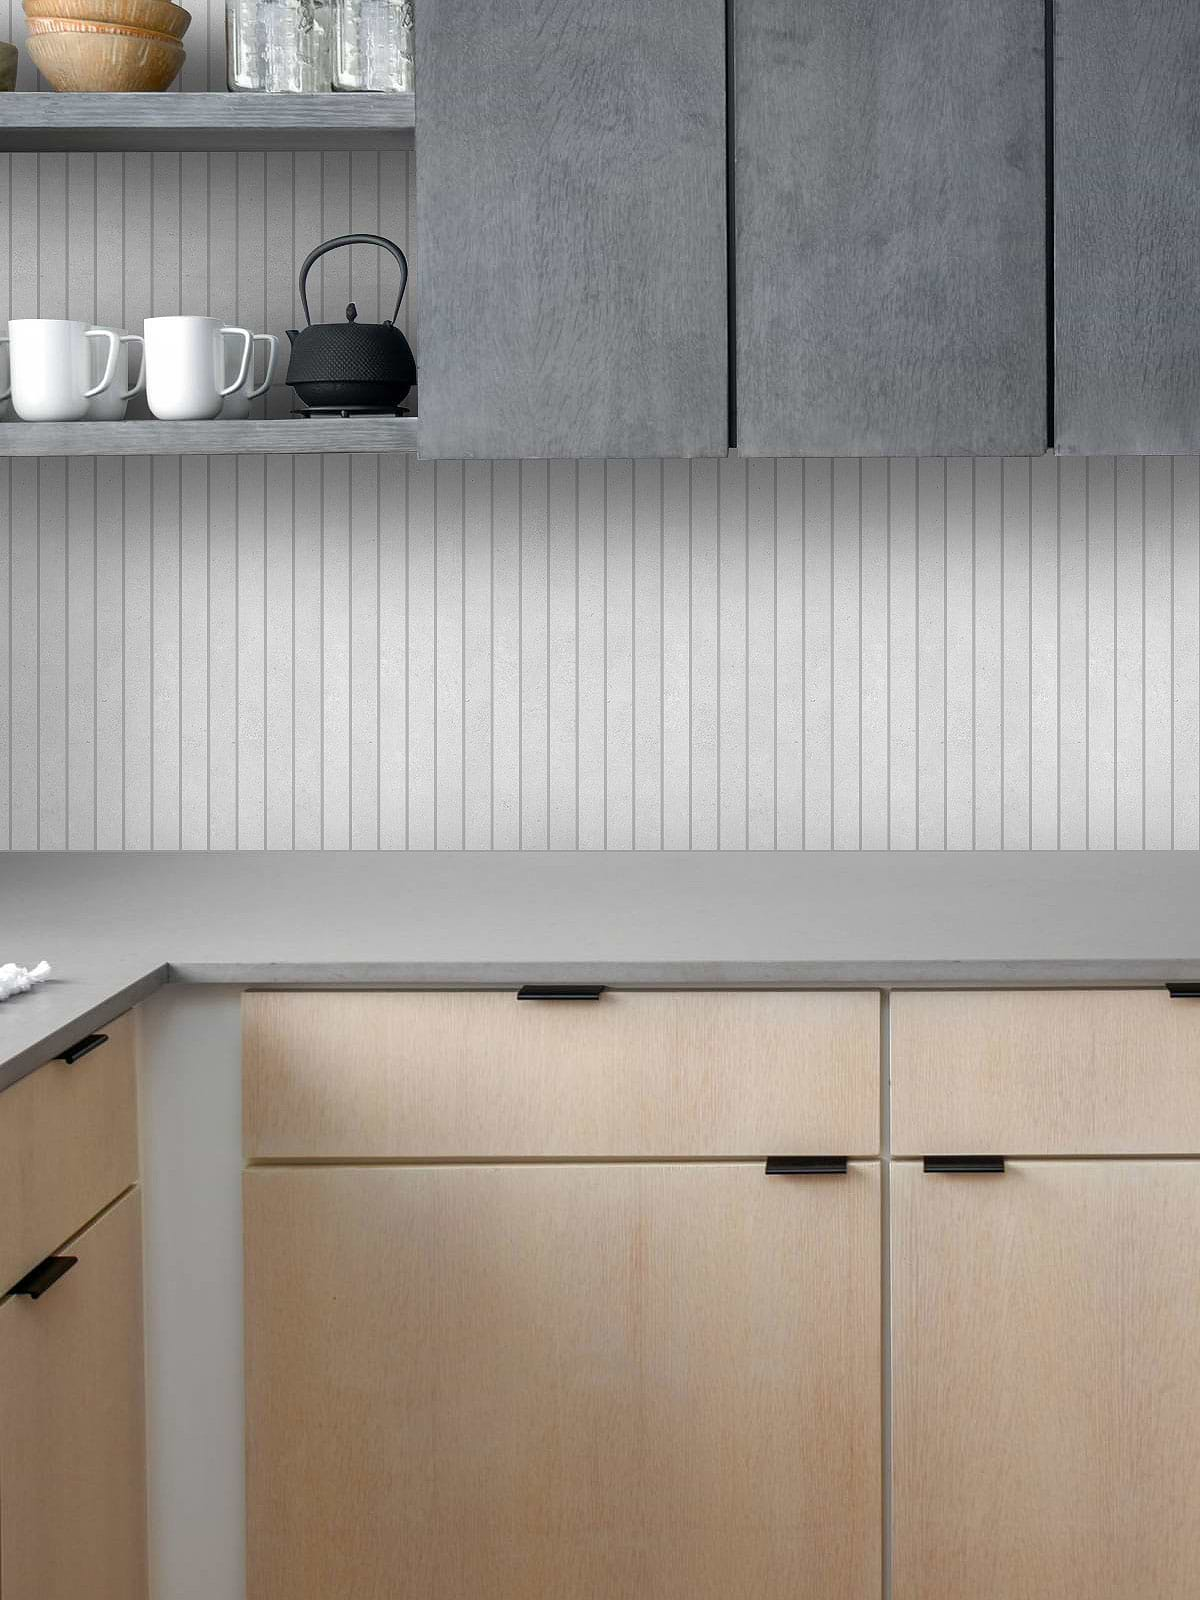
ID# 179905 – Product BA4502 – Modern Light Gray Porcelain Backsplash Tile
Long Gray Porcelain Tile Backsplash with a Modern Look
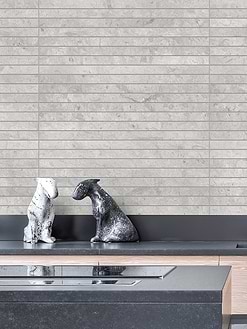
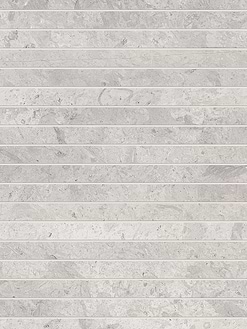
When it comes to backsplash materials, porcelain is one of the most popular of them, providing durable surfaces at affordable prices. In today’s market, there are lots of different porcelain backsplash alternatives that can create a stylish appeal and this one is no exception! This light gray porcelain tile backsplash adorned with a long and slim shape allows you to achieve a cool and modern look and decorate spacious spaces. To complement the neutral color of the tiles, the gray and wood cabinets provide a cohesive look.
Do you need to waterproof before tiling over tile?
If you have an existing waterproof layer behind the old tiles, you don’t have an additional one before tiling. But if there is no waterproof material, it is better to remove the old tiles, place a waterproof membrane and install your new tiles.
Can You Tile Over Tile?
Let’s start at the beginning. Can you tile over tile? The short answer is yes. When it comes to renovating projects, saving time is always a good idea. If your existing tiles are in good condition, without cracks or moisture, you can install new tiles over the existing ones. However, before deciding the method that you will use for renovation, there are some considerations that you need to know. So, what are the pros and cons of this method?
Pros
- The biggest advantage of tiling over tile is saving time. You need to spend too much time removing the old tiles and this method is a more straightforward solution. With this method, you will get rid of the dirt and rubble formed in the removal of old tiles.
- Also, the other important advantage of this method is its affordability. With tiling over tile, you can easily reduce the cost of the installation.
Cons
- When it comes to installations of the tiles, the surface needs to be smooth and solid for the best results and existing tiles don’t provide the best surface for the new tiles. The bond between the tiles and the adhesive is one of the most important factors that can provide long years of use. If the surface is uneven, you won’t be able to cover the surface with adhesive properly. And, existing tiles mostly don’t provide a smooth and even surface. So, there is a risk of having water leaks between the layers which can cause damage and moisture.
- If you will do this procedure, the surfaces of your existing tiles must be in as good condition as possible. Cracks, gaps, pores, or dust on the existing tiles can allow moisture which can cause some problems after the installation. Also, before the installation, you need to inspect the condition of the existing wall or tile floors. If there are any loose tiles, you may consider replacing them before the tiling.
Installing tile over old ones will add any extra height and weight to your wall or floor. Generally, wall tiles are installed on drywalls or plaster and that’s why tiles need to be light and thin. If you double the weight by tiling over the tile, you can cause some damage to your wall. On the other hand, if you are tiling your floor, you will increase the height of your floor with this new layer of tiles. And this new level can block the cabinets, doors, appliances, and furniture.
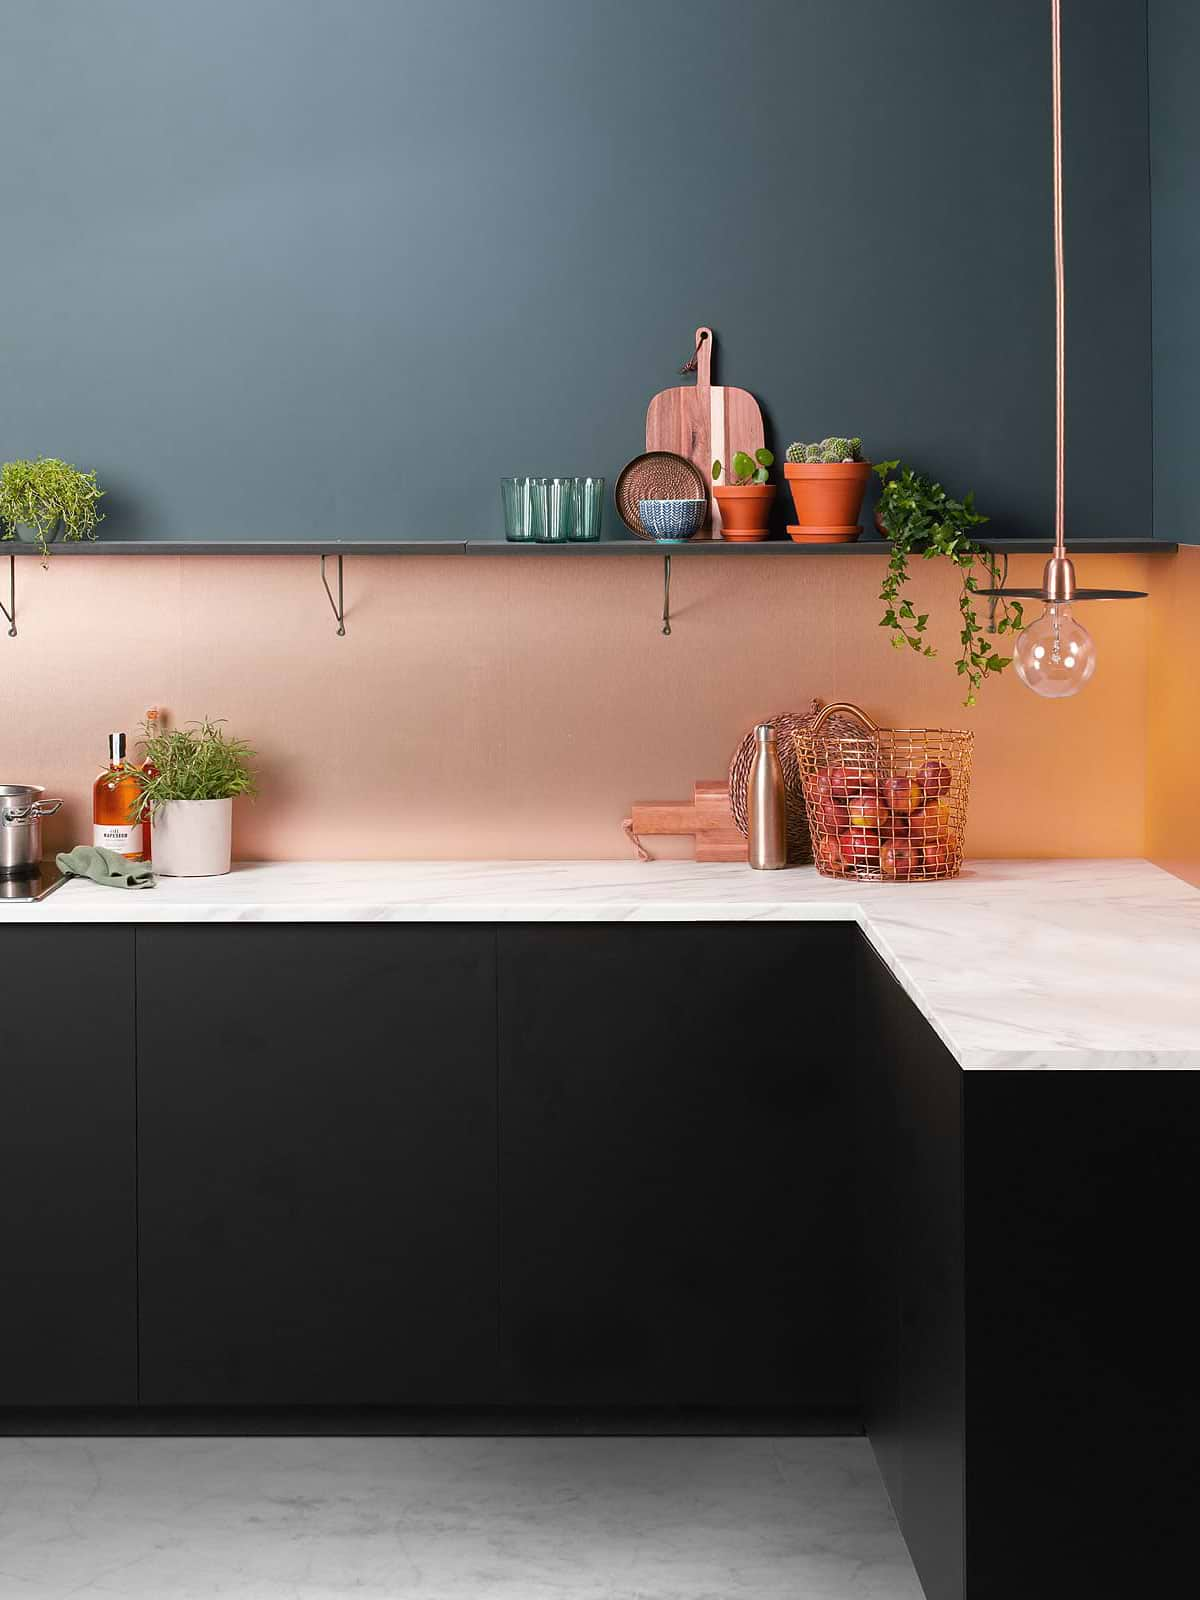
ID# 179907 – Product BA8801 – Modern Copper Metal Groutless Backsplash Panel
Copper Metal Large-format Backsplash Tile with Matte Finish
There is no doubt that tiles are the most popular materials for kitchen backsplashes. From classic subways to hexagons there are tons of different alternatives. However, we want to introduce you to a new type of backsplash: a large-format groutless backsplash panel! This innovative tile redefines a backsplash design and offers durable and long-lasting surfaces with a stylish appeal. With its seamless, groutless design, and sleek matte finish, this copper metal backsplash panel will elevate your space with a touch of modern luxury! If you feel daring enough, match it with black cabinets and dark blue wall paint to create a statement-maker design!
Marble Mosaic Tiles
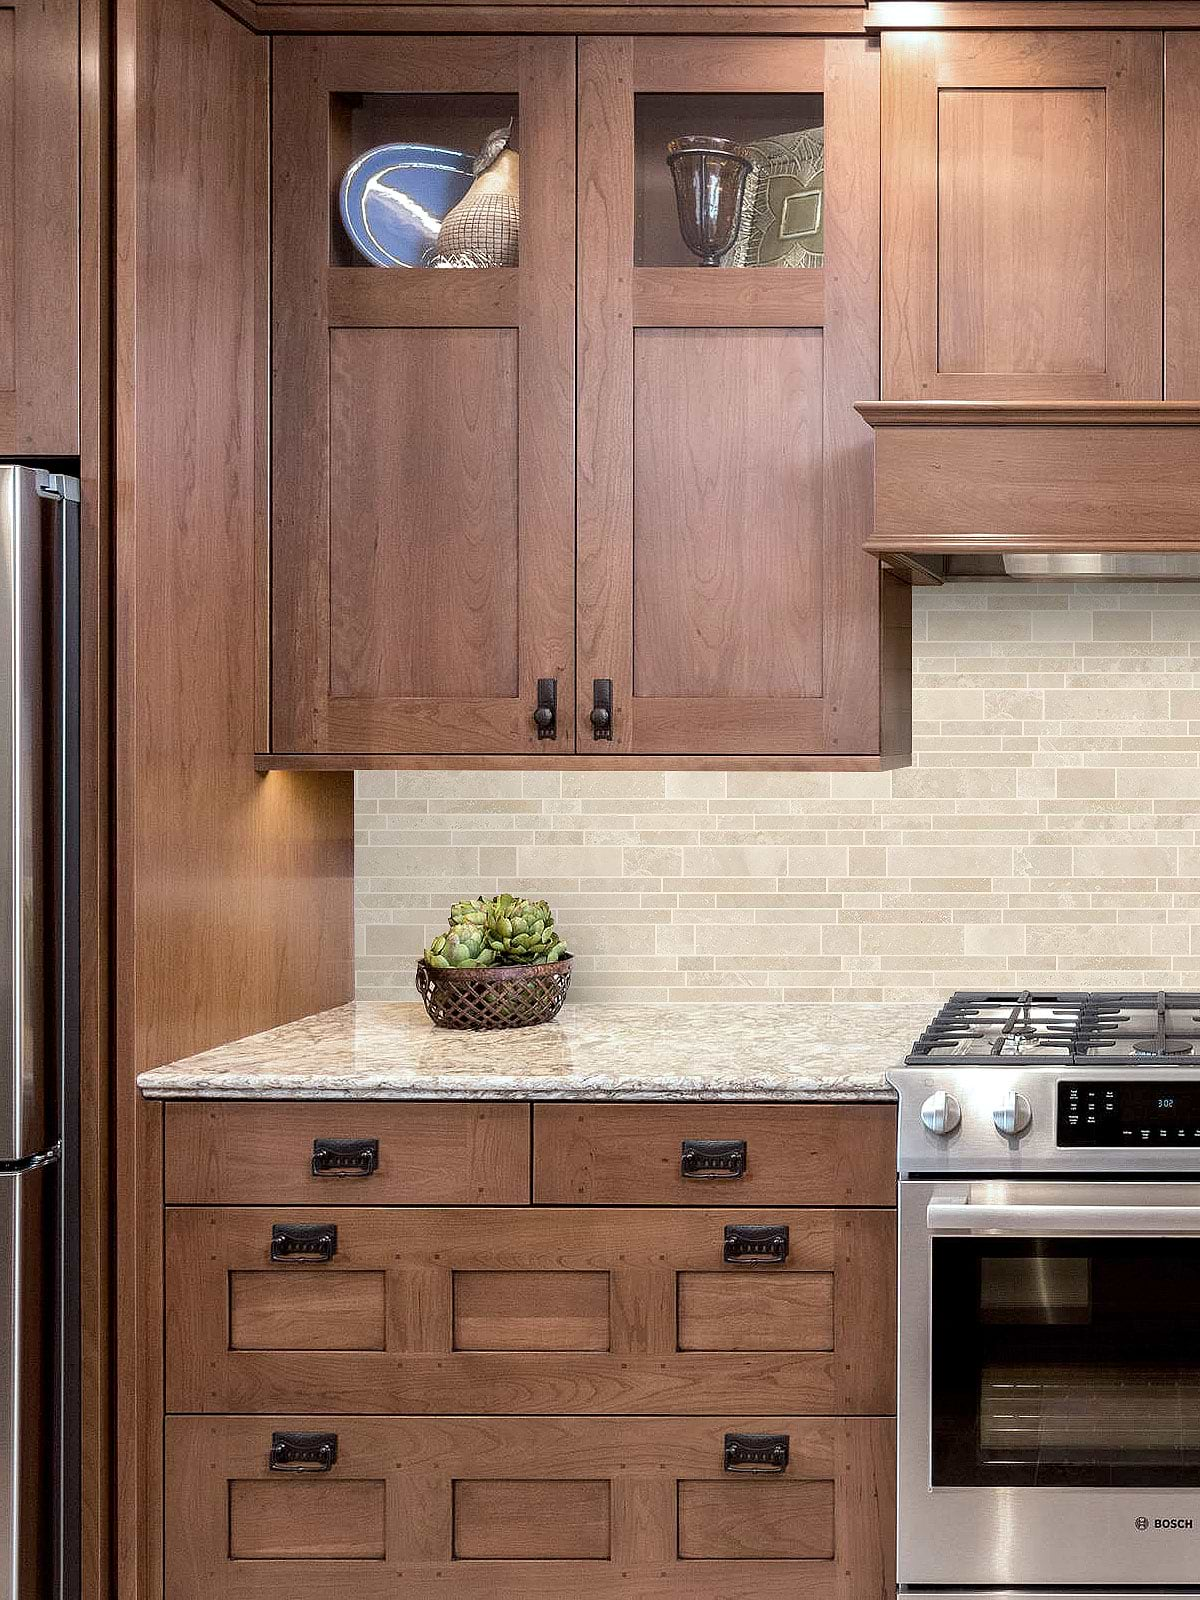
ID# 179908 – Product BA1092 – Ivory Travertine Mosaic Kitchen Backsplash Tile
Ivory Travertine Subway Mosaic Tile with Natural Wood Cabinets
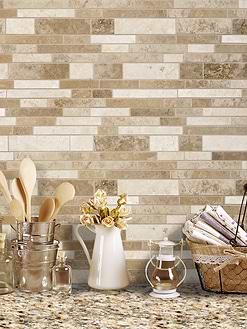
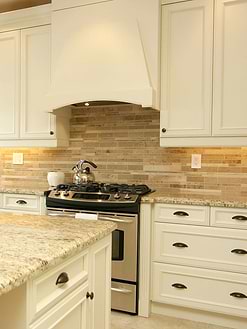
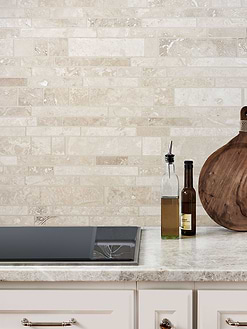
Travertine stone is known for its durability not to mention its warm and inviting appeal! And if you want to incorporate this elegance into your kitchen or bathroom, you will love our ivory travertine backsplash tile. The travertine stones are cut into different sizes to create a unique layout for this mosaic. This layout adds visual interest and modern flair. To complete the warm appeal of the travertine, natural wood cabinets and beige granite countertops are a perfect option.
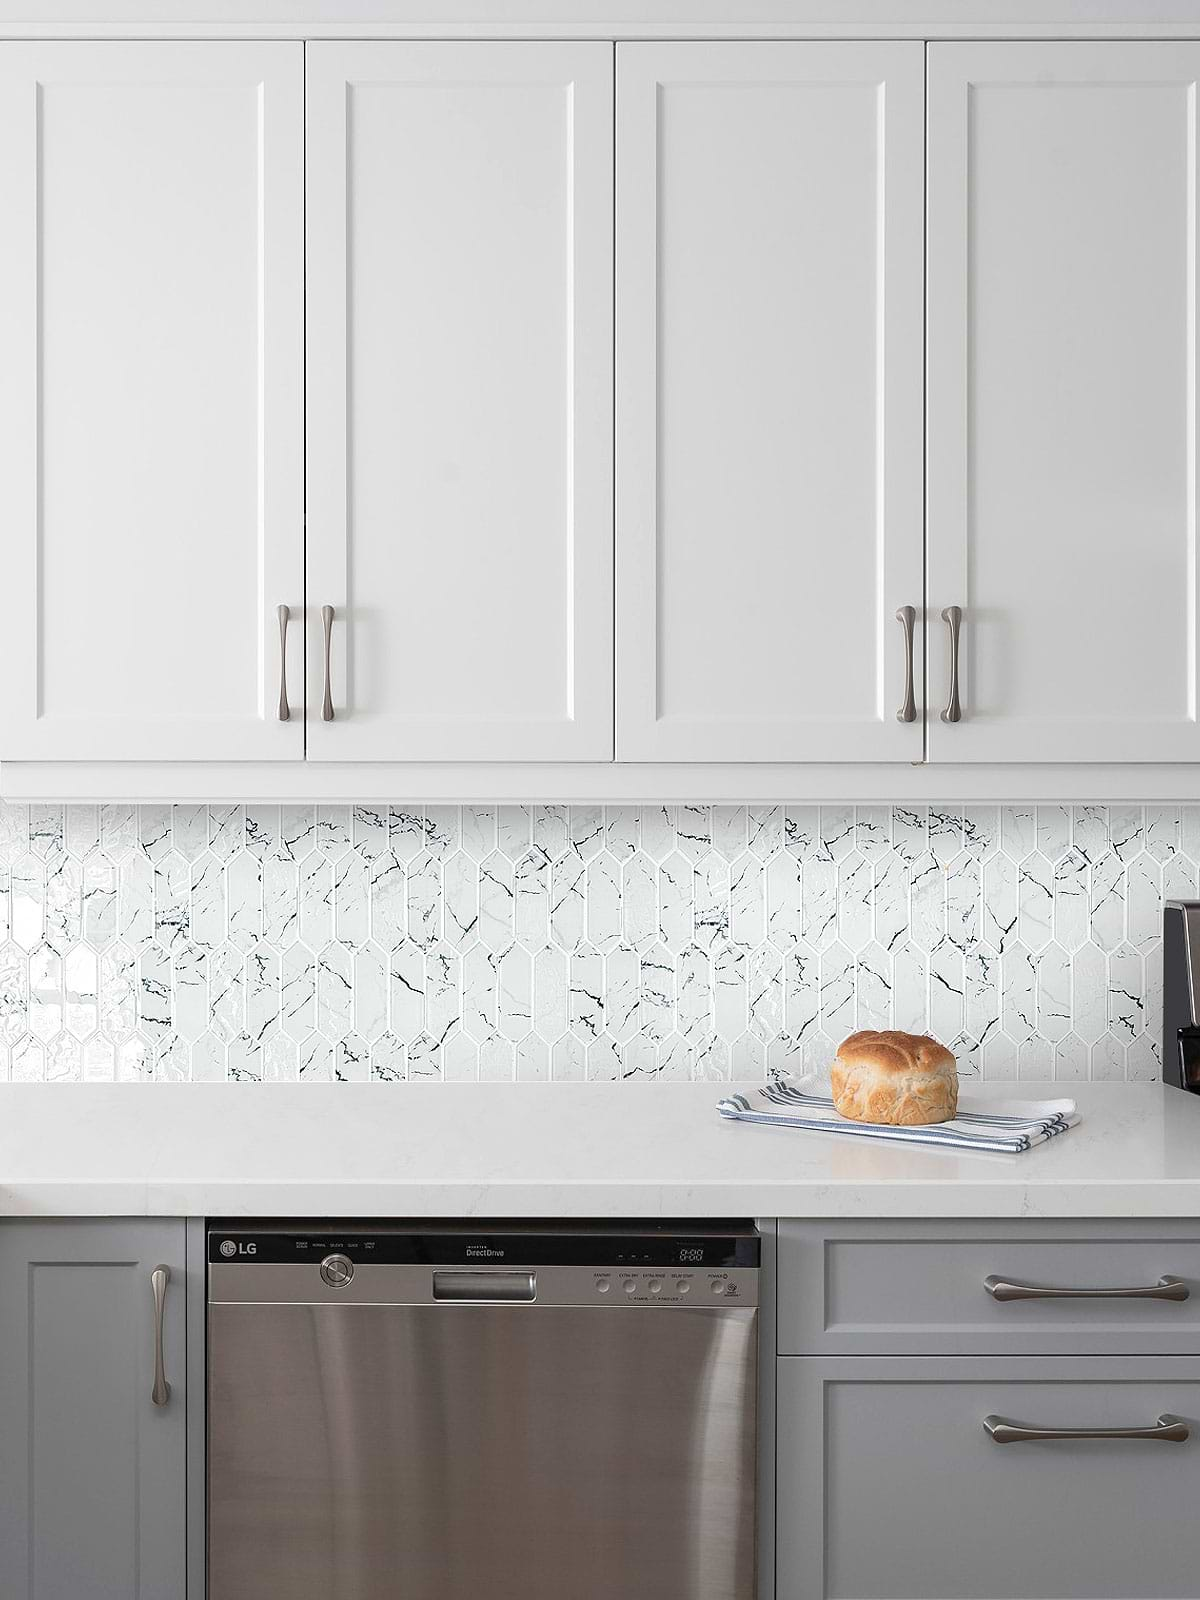
ID# 179909 – Product BA5504 – Marble Look White Glass Picket Mosaic Tile
Marble Look White Glass Picket Backsplash with Two-tone Cabinets
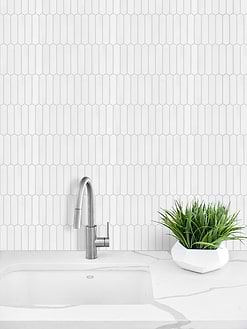
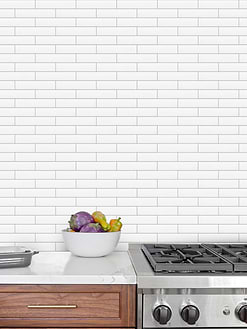
Our marble-look glass picket mosaic backsplash features a uniquely modern design that can easily elevate your kitchen or bathroom walls. Even though this mosaic has a clean white background, the black veins are a reminiscence of the marble stone that exudes a touch of luxury. To complete this modern appeal, the two-tone kitchen cabinets consist of gray and white color. The stainless steel appliances and the brushed nickel cabinet hardware make a cohesive final touch.
How to Install Tile Over Tile? – Step by Step
Starting from scratch by removing old tiles is the best way to create more durable surfaces. However, if you don’t want to remove the existing ones and want to save time, tiling over tiles can be an alternative. For this method you will need;
- Level
- Gloves
- Sponge and Clean Cloths
- Water
- Mild detergent
- Cutting Tools (according to your tile material)
- Tile adhesive
- Grout
- Grout Float
- Trowel
- Sealer
1- Assess the Existing Tiles
If you are not planning to pull out the tiling or simply don’t want to do it, you will have to evaluate the existing tiles prior to the installation of the tile over the tile. If the present tilework offers an even and smooth surface with no cracked tiles, mildew, or moderate discoloration in the current grout lines, your existing tile can be used as a base surface for the new tiles. Nevertheless, it is always better to avoid all these issues and start from a clean surface if you encounter any of them.
Lightly tap the tiles with a wood mallet to determine if there are any loose tiles. If there is a hollow sound that means they are loose, so they are not suitable to use as the lowest level. To search for any deviations from the level, you can use a level. If you find an irregularity, you can grind off the higher areas with a right-angle grinder.
2- Prepare the Surface
Tiling over uneven or unlevel surfaces will give you a less-than-ideal result. So, you need to level out globs of dried grout with a sander to reach the best result. And if there are any loose tiles, you need to replace them with a new tile with an adhesive before the installation. Once your surface is smooth and ready for installation, lay tiles and cut them according to your wall or floor dimensions, as necessary. For the cutting, different materials may require different cutting tools. For example, if you are using natural stone tiles such as marble, you need to use a wet saw with a diamond blade. On the other hand, ceramic tile can be cut with a simple tile cutter.
Once all pieces are cut, move them out of the way and clean the existing tile surfaces with degreasing soap and sponge. Let the surfaces dry and define the limits of the project area with painter’s tape.
3- Start Installation
Now, you are ready to start tiling. Generally, thin-set mortar is great for wet areas like bathrooms or kitchens. Prepare your adhesive according to manufacturer instructions, and scoop the adhesive from the bucket with a trowel. Apply a thin layer of adhesive in small sections with the toothed edge of your trowel drawing straight lines along the wet surface. For a tip, don’t attempt to cover all the tile surfaces with adhesive at once to prevent drying the adhesive.
4- Position Tiles
Set each tile on the adhesive and press firmly with the trowel to the old floor or wall. Repeat this process until all the tiles are set in place. If your existing tiles are in good condition, you can also apply the adhesive to the back of the new tiles. Once, your tiles are set, let them sit to dry for at least 24 hours.
5- Grout & Seal
No matter what kind of adhesive, you will need to apply the grout to secure the tiles and provide a protective layer against the water damage. You can a premixed grout to speed up the process or mix the grout by yourself. Prepare the mix, then apply the grout with a grout float. Once you fill all the gaps with grout, wipe down the tile surfaces with a damp sponge and let them sit to dry. For a final step, seal your grout lines with a proper sealer.
ID# 179910 – Product BA8020 – Black & Gray Metallic Glass Backsplash Tile
Metallic Black and Gray Glass Backsplash with Beveled Edges
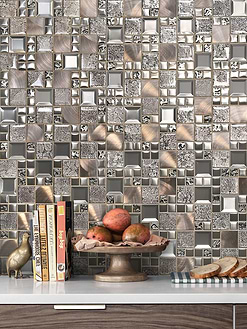
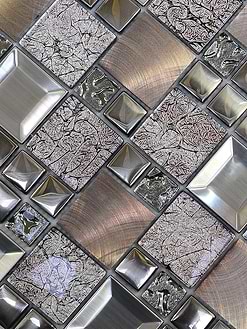
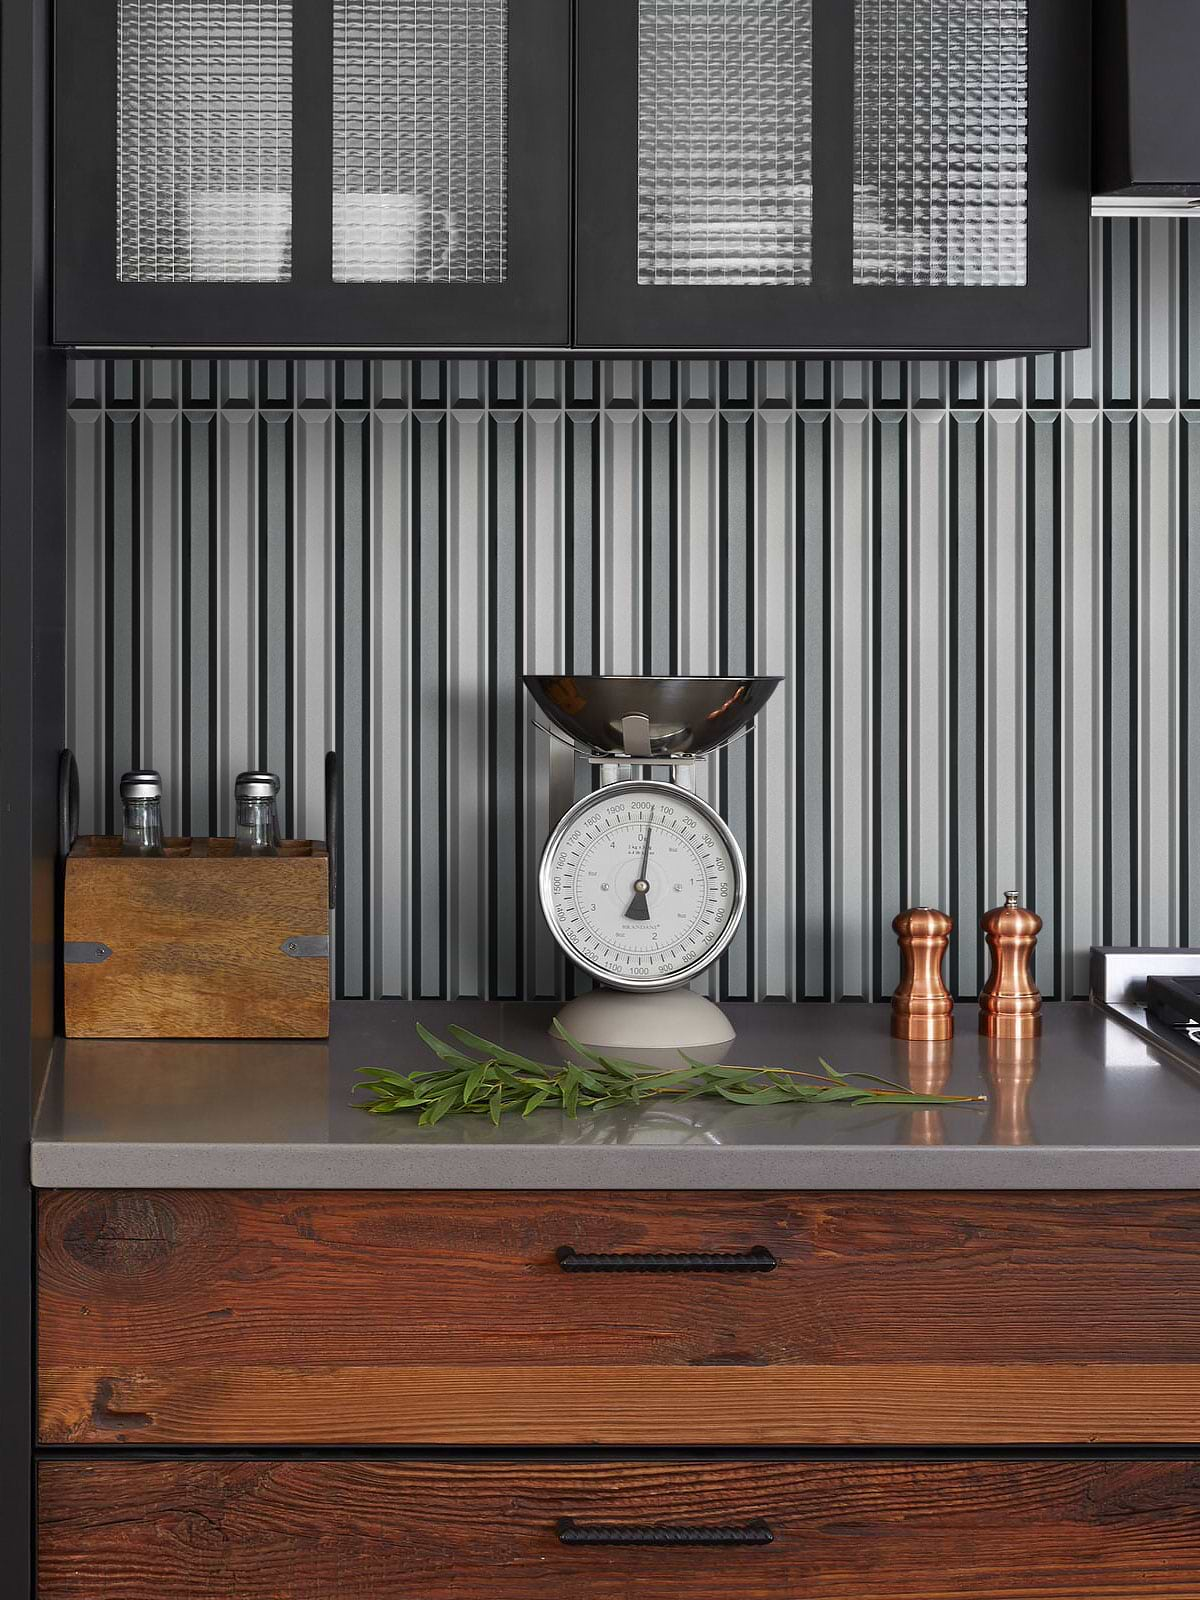
If you are bored with classic designs and looking for a statement-maker piece, check out our gray and black glass backsplash design! Modern and chic, this glass backsplash tile is adorned with a metallic finish and beveled edges to create a super modern look with a 3D effect. Due to its black and white colors, it can be a perfect addition to modern and contemporary designs, as you can see in this example. Here, the black upper cabinets complement the dramatic appeal of the tiles while the wooden base cabinets make a warm touch against the monochrome colors.

